Growing melons at home may sound difficult, but with the right method, it becomes one of the most rewarding gardening experiences you can enjoy. Whether you have a big garden, a balcony, or just a small patch of land, melons can be grown successfully using a simple technique that makes the process easier, faster, and more productive. The secret lies in how you start your seeds—and this method will give you vigorous seedlings and delicious melons with minimal effort.
If you want to grow sweet, flavorful melons at home, this guide will walk you through everything: from choosing seeds to harvesting ripe fruit. Let’s get started!
🌱 Why Grow Melons from Seeds?
Growing melons from seeds gives you several advantages:
- 🍉 More variety—you can grow exotic melons
- 🌿 Stronger plants compared to store-bought seedlings
- 💰 Cost-effective—one melon gives dozens of seeds
- 🏡 Perfect for home gardens, balconies, and terraces
- 🌞 Rewarding—watching fruit develop is magical
The technique below ensures your seeds sprout faster, produce healthier vines, and yield sweeter melons.
🧃 Step 1: The Simple Household Trick to Sprout Melon Seeds Faster
Most gardeners plant seeds directly in soil, but melon seeds grow best when given a special start.
❗ The trick: Soak melon seeds in warm water with a pinch of salt or baking soda.
Why this works:
- Warm water softens the seed coat
- Salt or baking soda kills bacteria and fungus
- Seeds absorb water quicker
- Germination accelerates by 3–5 days
✔️ How to Do It:
- Take a cup of warm water (not hot).
- Add 1–2 pinches of salt OR 1 pinch of baking soda.
- Soak seeds for 8–12 hours.
- Remove and pat dry with a towel.
Your seeds are now ready to grow!
🌱 Step 2: Pre-Sprouting Seeds in Tissue or Cloth
To increase success even more, pre-sprout your seeds before planting.
✔️ Method:
- Place soaked seeds on a moist tissue or cotton cloth.
- Fold gently and keep inside a plastic container or zip-bag.
- Store in a warm place for 2–3 days.
- Seeds will develop small white sprouts—perfect for planting.
This method ensures near-100% germination and faster growth.
🌿 Step 3: Preparing the Soil or Container
Melons love loose, rich, well-drained soil.
🌱 Ideal Soil Mix:
- 40% garden soil
- 40% compost or vermicompost
- 20% sand/cocopeat
This mix provides:
- Good drainage
- High nutrition
- Airflow for roots
✔️ Growing in Containers?
Choose:
- Pots of at least 18–20 inches deep
- Grow bags of 25–30 liters
- Large buckets or tubs
Melons grow large vines, so give them enough space.
🌞 Step 4: Planting the Sprouted Seeds
Planting sprouted seeds helps them grow stronger without struggling.
✔️ Planting Instructions:
- Make small holes 1 inch deep.
- Place sprouted seeds root-side down.
- Cover lightly with soil.
- Water gently.
Plant 2–3 seeds per spot, then keep the strongest seedling.
Within 3–5 days, tiny leaves will appear.
🌱 Step 5: Giving Melon Plants the Right Conditions
Melons love warmth, sunlight, and plenty of space to spread.
☀️ Sunlight:
- Needs 6–8 hours of direct sun
- More sunlight → sweeter melons
💧 Watering:
- Keep soil moist, not soggy
- Water deeply 2–3 times a week
- Avoid wetting leaves
🌡️ Temperature:
- Ideal: 22°C–32°C
- Protect from frost or cold winds
Healthy vines lead to healthy fruit.
🌿 Step 6: Fertilizing for Big, Sweet Melons
Melons are heavy feeders—they need nutrition at the right time.
✔️ Fertilizer Schedule:
Week 2–3:
- Add a handful of compost or vermicompost
Week 4–5:
- Add banana peel fertilizer (potassium-rich)
- Helps flowers turn into sweet fruits
During Flowering:
- Add wood ash or bone meal (boosts fruiting)
Every 2 weeks:
- Use liquid fertilizer like compost tea
Healthy soil = juicy fruit.
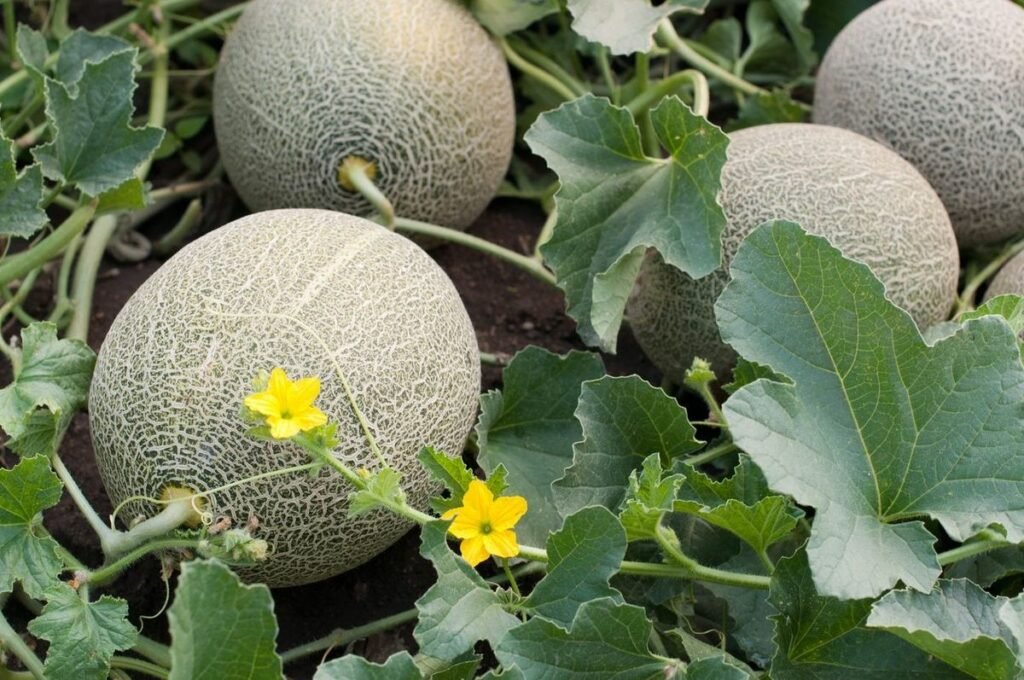
🌸 Step 7: Helping Flowers Turn Into Fruit
Melons have male and female flowers.
- Male flowers: thin stem
- Female flowers: tiny baby melon under the flower
To increase fruiting:
- Encourage bees by keeping flowers around
- You can hand-pollinate if needed
- Gently rub male flower pollen onto female flower
This ensures more melons per plant.
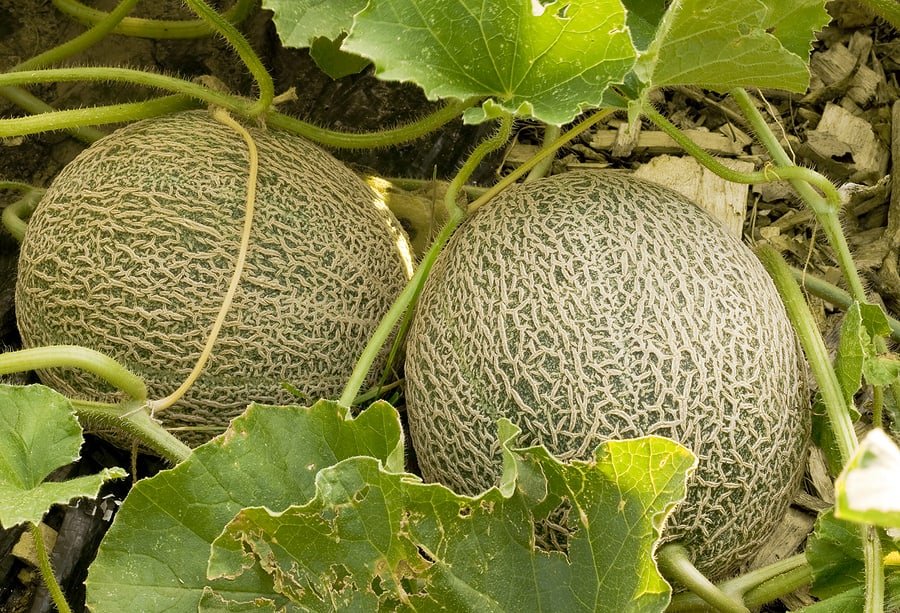
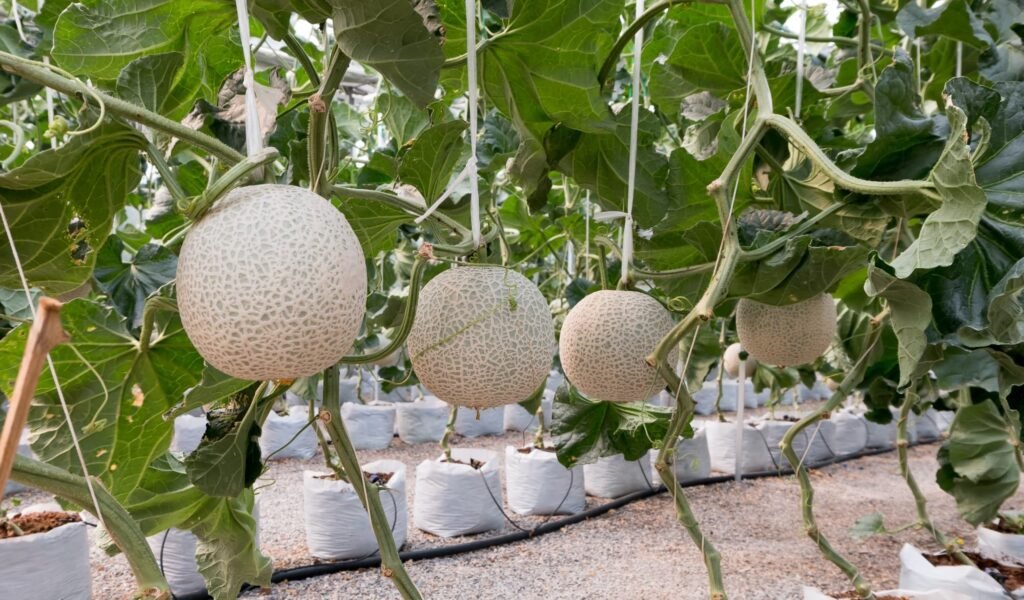
🌿 Step 8: Training and Supporting the Vines
Melon vines grow fast and spread widely.
✔️ Support Options:
- Ground spreading (traditional)
- Trellis or netting (saves space)
- Vertical poles (best for small gardens)
If growing vertically:
- Support fruits with cloth slings
- Prevents breaking of vines
Training vines improves airflow and reduces pests.
🐛 Step 9: Protecting Melons from Pests and Disease
Melons can face:
- Aphids
- Whiteflies
- Powdery mildew
✔️ Simple Natural Remedies:
- Neem oil spray every 10 days
- Garlic water spray
- Baking soda for fungal issues
Avoid chemical pesticides—they reduce fruit sweetness.
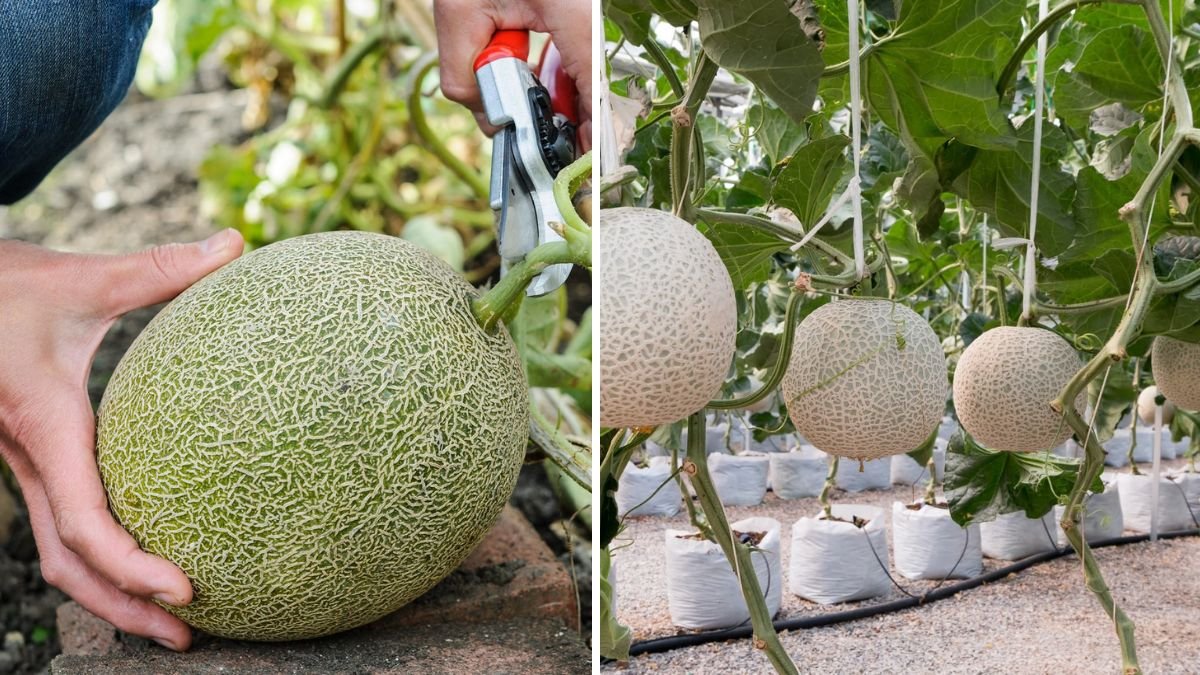
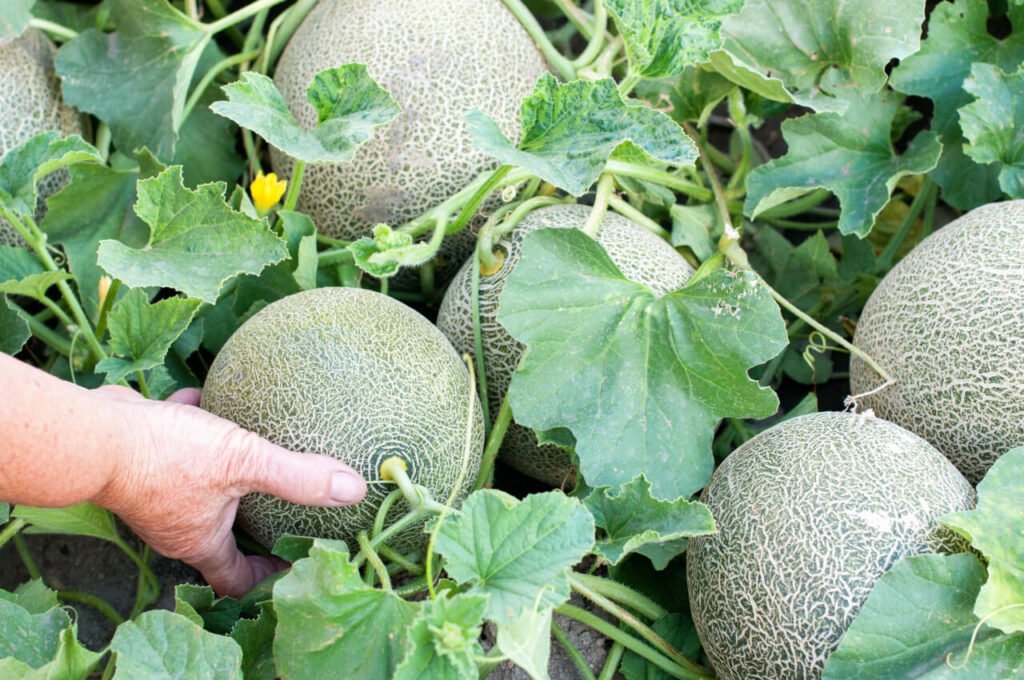
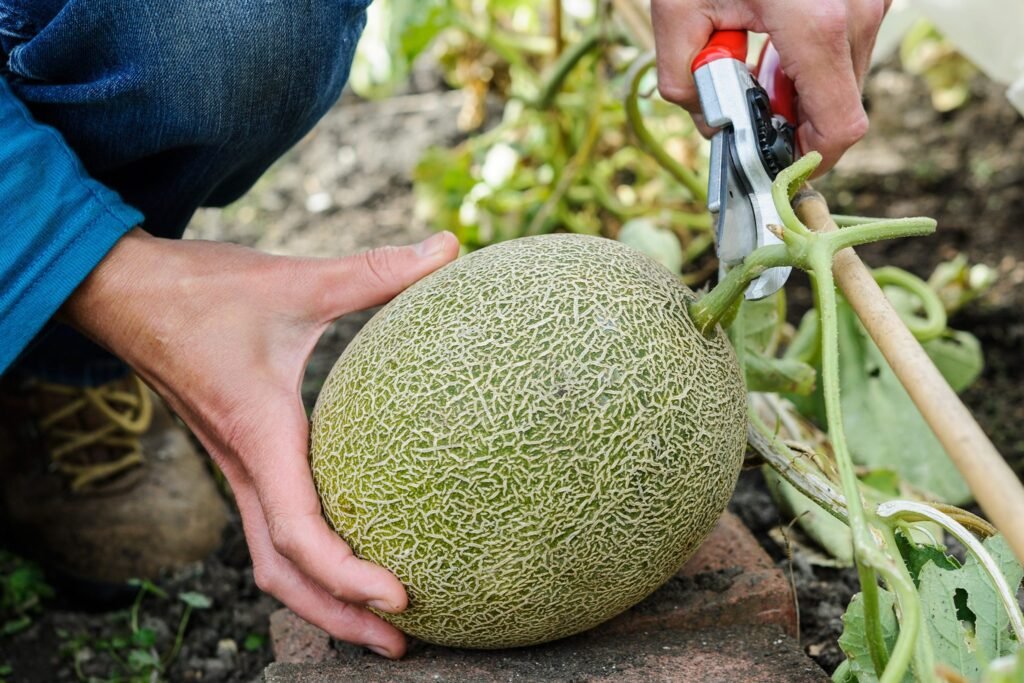
🍈 Step 10: When and How to Harvest Your Melons
The sweetest melons are harvested at the right time.
✔️ Signs Your Melon Is Ready:
- Color becomes brighter
- Sweet aroma appears
- Fruit slips easily from the vine
- Stem turns brown
- Netting on rind becomes more visible (in some varieties)
Do not harvest too early—melons become sweeter only on the plant.
✔️ Harvesting:
- Use scissors or a knife
- Leave a small piece of stem
- Store in a cool, shaded place
Once cut, melons can be chilled and enjoyed immediately.
🍉 Tips for Sweeter, Bigger Melons
Use these expert tips to maximize flavor:
- Add banana peel fertilizer during fruiting
- Reduce watering slightly when fruit is forming
- Give maximum sunlight
- Space vines properly
- Harvest only when fully ripe
Happy vines produce delicious fruit.
🍈 Why This Seed Technique Works So Well
The method of soaking and pre-sprouting seeds:
- Speeds up germination
- Protects from disease
- Produces stronger roots
- Increases yield
It’s one of the most reliable ways to grow melons, especially for beginners.
🌱 Final Thoughts
Growing melons at home is not just possible—it’s incredibly satisfying. With the simple seed-starting trick and proper care, you can enjoy fresh, juicy melons straight from your garden or balcony. This method works for all melon types, including:
- Cantaloupe
- Honeydew
- Musk melon
- Special hybrid varieties
From tiny seeds to big, sweet fruits, the entire process is enjoyable and rewarding.