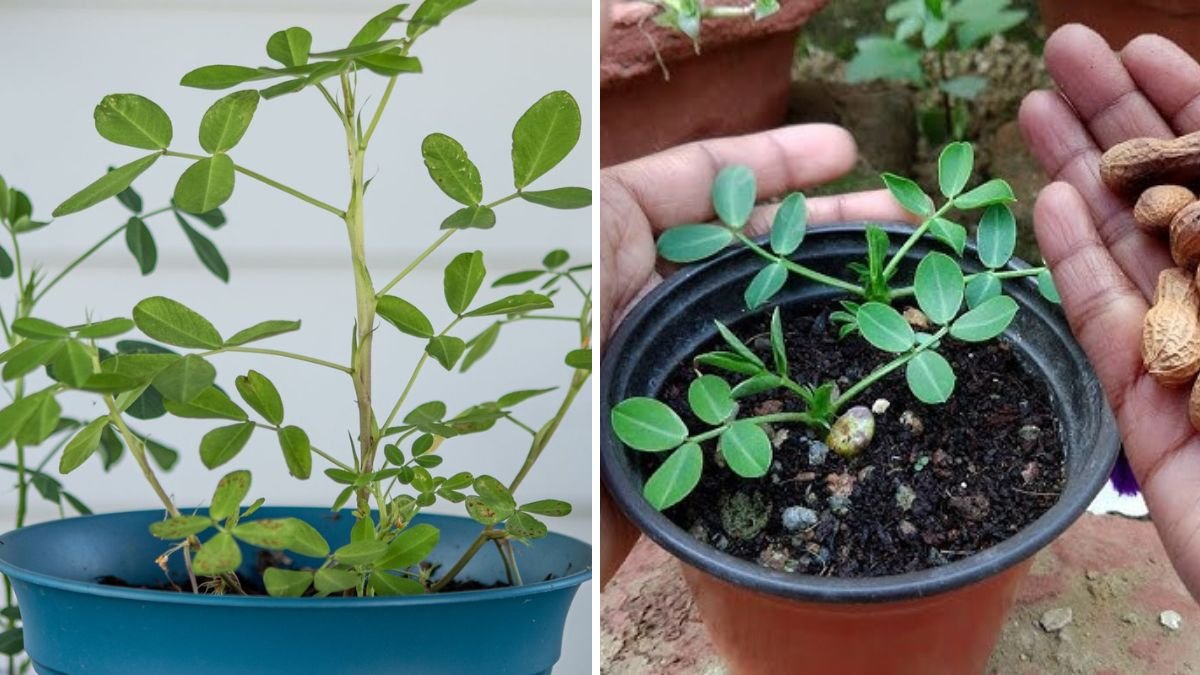
Peanuts are one of the most loved snacks in the world—but did you know you can actually grow them right at home, even in pots, bags, or small garden spaces? Many people think peanuts are difficult or require large farmland, but the truth is that peanuts are incredibly resilient and surprisingly simple to cultivate. With the right soil, sunlight, and a bit of patience, you can harvest handfuls—or even kilograms—of fresh, homegrown peanuts.
This complete 1200-word guide teaches you exactly how to grow peanuts at home, step-by-step, even if you are a beginner with limited space.
🥜 Why Grow Peanuts at Home?
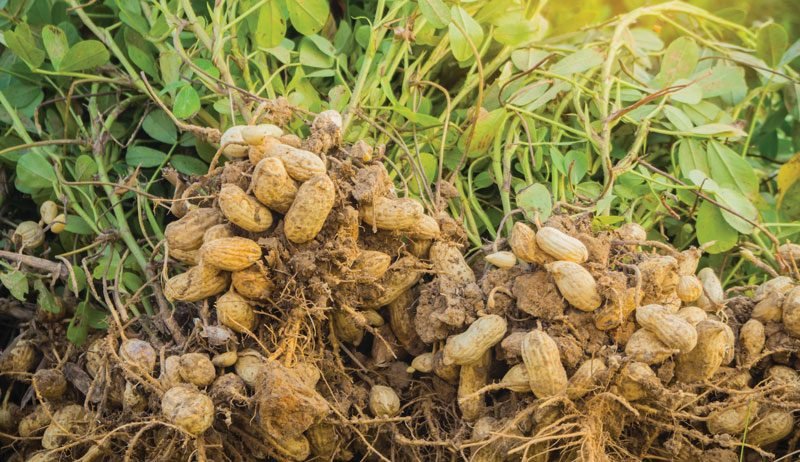
Growing peanuts is not only exciting but also extremely rewarding. The plant itself is beautiful, and the way peanuts grow—under the soil from small pegs—is fascinating to watch.
Here’s why peanuts make a great home crop:
✔ Simple to grow
Peanuts adapt easily to pots, grow bags, and backyard beds.
✔ Low maintenance
They require little fertilizer and minimal pest problems.
✔ High yield
A single plant can produce 30–60 peanuts!
✔ Nutritious harvest
Homegrown peanuts are fresher, sweeter, and chemical-free.
✔ Fun for kids
The underground growth process is a great learning activity.
🌱 What You Need to Start
You don’t need any special equipment. Just gather:
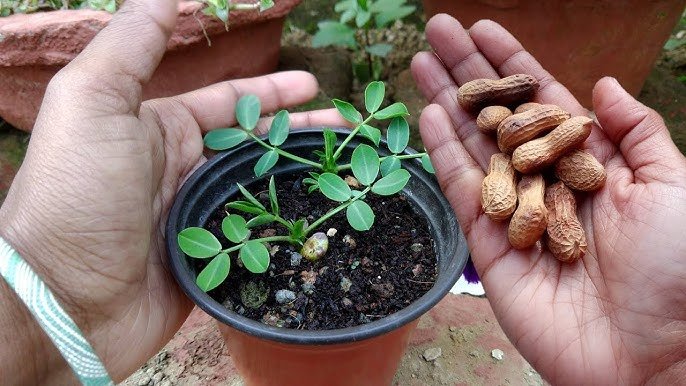
- Raw peanuts with skin (not roasted or salted)
- A sunny spot
- Pot, grow bag, or garden bed
- Loose, sandy soil
- Compost or organic manure
- Watering can
- Mulch (optional)
You can even use peanuts bought from the market—just make sure they are raw and unprocessed.
🌞 Step 1: Choose the Right Peanuts
Peanuts come in several types:
1. Virginia Peanuts
Large seeds, great for boiling or roasting.
2. Valencia Peanuts
Small, very sweet, perfect for home gardens.
3. Spanish Peanuts
High-yielding and fast-growing.
All varieties grow well at home, but Valencia and Spanish types are ideal for containers.
🌿 Step 2: Prepare the Soil
Peanuts thrive in:
- Loose, airy, sandy soil
- pH between 6.0 and 6.5
- Well-drained conditions
Ideal Soil Mix:
- 40% garden soil
- 40% sand or cocopeat
- 20% compost
Why sandy soil?
Peanuts grow underground, and the soil must be airy so the plant can send down “pegs” to form the nuts.
Avoid:
- Heavy clay soil
- Waterlogged areas
- Soil with stones or lumps
🥜 Step 3: Prepare the Peanuts for Planting
Before planting:
- Break the shell open (if using in-shell peanuts).
- Keep the seeds inside the thin red skin—do not peel.
- If seeds look dry, soak them for 2–3 hours to start germination.
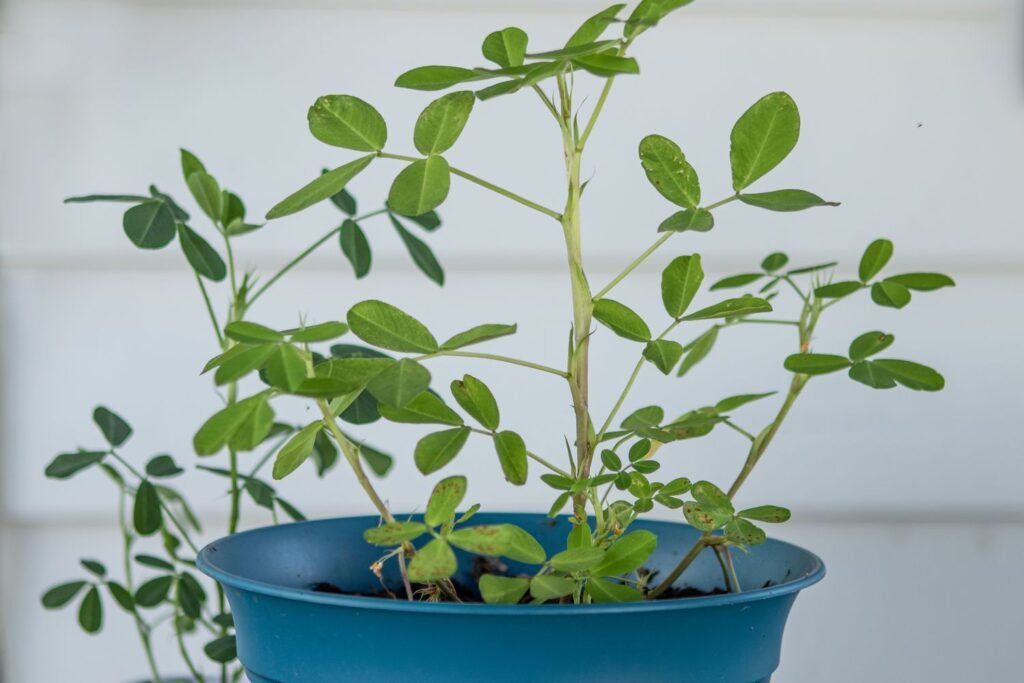
🌱 Step 4: Planting the Peanuts
You can sow peanuts in:
- Grow bags (12–15 inches deep)
- Pots
- Raised beds
- Ground soil
How to Plant:
- Plant seeds 1–2 inches deep.
- Space seeds 5–7 inches apart.
- If planting in pots, use 8–10 seeds per pot.
- Water lightly after planting.
Planting Season:
- Best time: March–June (warm months)
- Temperature required: 20–30°C
Peanuts LOVE heat and sunlight.
🌞 Step 5: Sunlight Requirements
Peanuts need:
- 6–8 hours of direct sunlight every day
The more sun they get, the more peanuts you harvest.
If growing indoors:
- Place near a bright south-facing window.
- Move the pot outside during the day if possible.
💧 Step 6: Watering
Peanuts need moist but not soggy soil.
Watering rules:
- Water lightly every 2–3 days during early growth.
- Do not overwater—roots may rot.
- Once flowers appear, increase watering slightly.
- Reduce watering near harvest time for sweeter nuts.
A mulch layer helps maintain moisture.
🌼 Step 7: Flowering and Pegging—The Magic Stage
This is the most exciting phase.
After 30–40 days:
- Yellow flowers appear.
- Flowers open for one day and then drop.
- After dropping, the plant forms pegs—thin stems that bend toward the soil.
Pegs enter the soil and form peanuts underground!
To help this process:
- Loosen the top soil gently.
- Add a thin layer of extra soil or mulch around the plant base.
🌿 Step 8: Fertilizing (Very Light Feeding)
Peanuts are nitrogen-fixing plants—they create their own nitrogen.
Use ONLY mild fertilizers:
- Compost tea
- Vermicompost
- Banana peel water
Avoid heavy nitrogen fertilizers—they produce leaves, not nuts.
🐛 Step 9: Pest and Disease Care
Peanuts are hardy and rarely face serious problems.
Watch for:
- Aphids
- Caterpillars
- Leaf spots
Solutions:
- Neem oil spray once a month
- Soap-water spray for aphids
- Remove infected leaves immediately
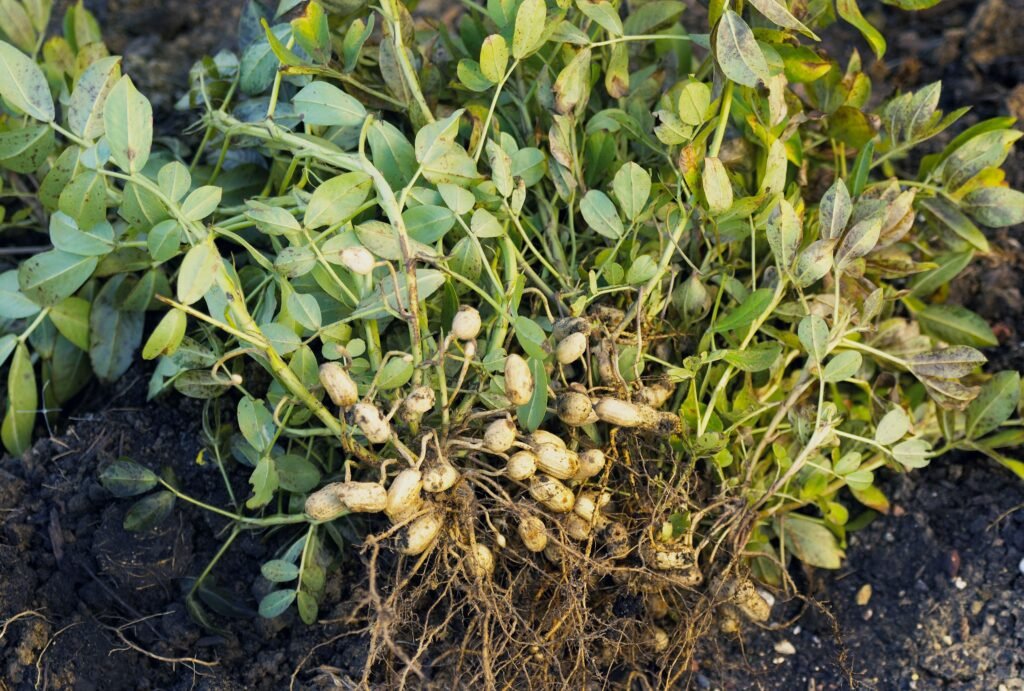
🥜 Step 10: When and How to Harvest
Peanuts are ready in 90–120 days, depending on the variety.
Signs of maturity:
- Leaves turn pale yellow
- Lower leaves begin to dry
- Soil cracks slightly
- Pods inside shells turn brown
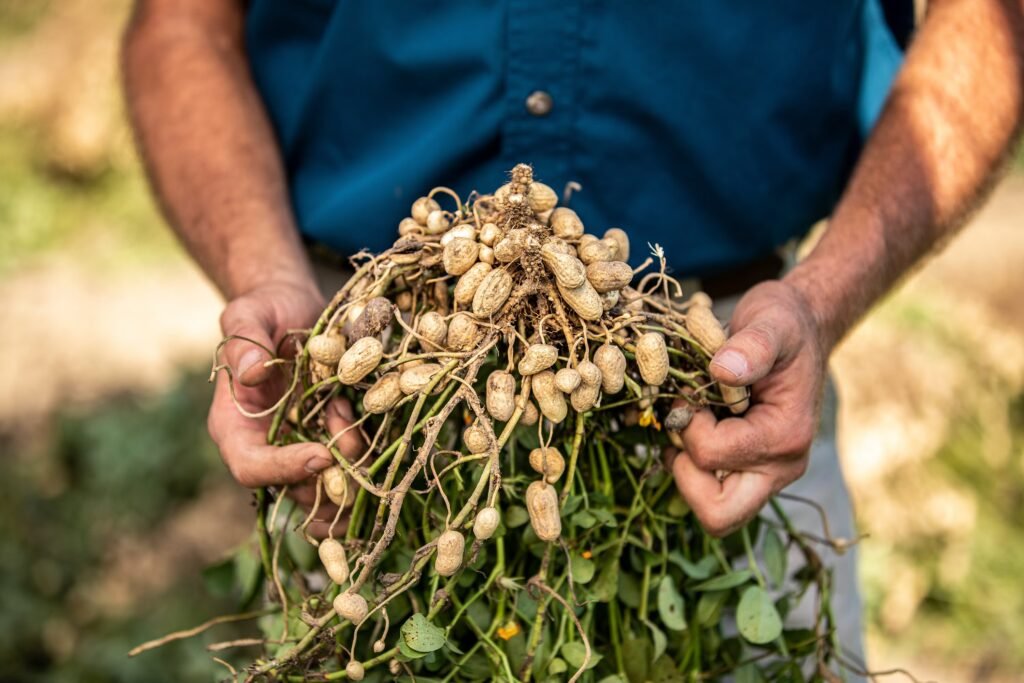
How to harvest:
- Gently dig around the plant.
- Pull the whole plant out.
- Shake off loose soil.
- Leave the plant in the sun for 2–3 days to dry.
Drying improves flavor and storage life.
🌾 Step 11: Curing and Storing Peanuts
After drying the entire plant:
- Remove the peanuts.
- Spread pods on a cloth under shade.
- Leave for 7–10 days to cure.
- Store in airtight containers.
Cured peanuts stay fresh for months.
⭐ Pro Tips for Bigger, Sweeter Peanuts
- Plant peanuts in warm weather only.
- Keep soil loose—never compact around the roots.
- Add extra soil or mulch when pegging begins.
- Grow multiple plants for higher yield.
- Water more during flowering and pegging stages.
🌍 Eco-Friendly Bonus
Peanuts improve soil quality because they:
- Fix nitrogen naturally
- Reduce the need for chemicals
- Leave the soil richer after harvest
Growing peanuts is great for the environment!
🥜 Final Thoughts: Anyone Can Grow Peanuts!
You don’t need farmland to enjoy homegrown peanuts. With a pot, a bag, and a sunny spot, you can grow plenty of fresh, delicious peanuts—perfect for boiling, roasting, or snacking.
This is one of the easiest, most rewarding home-garden crops, whether you’re a beginner or an experienced gardener.
Start today, and in just a few months, you’ll be enjoying your own homegrown peanuts—straight from the soil to your kitchen!