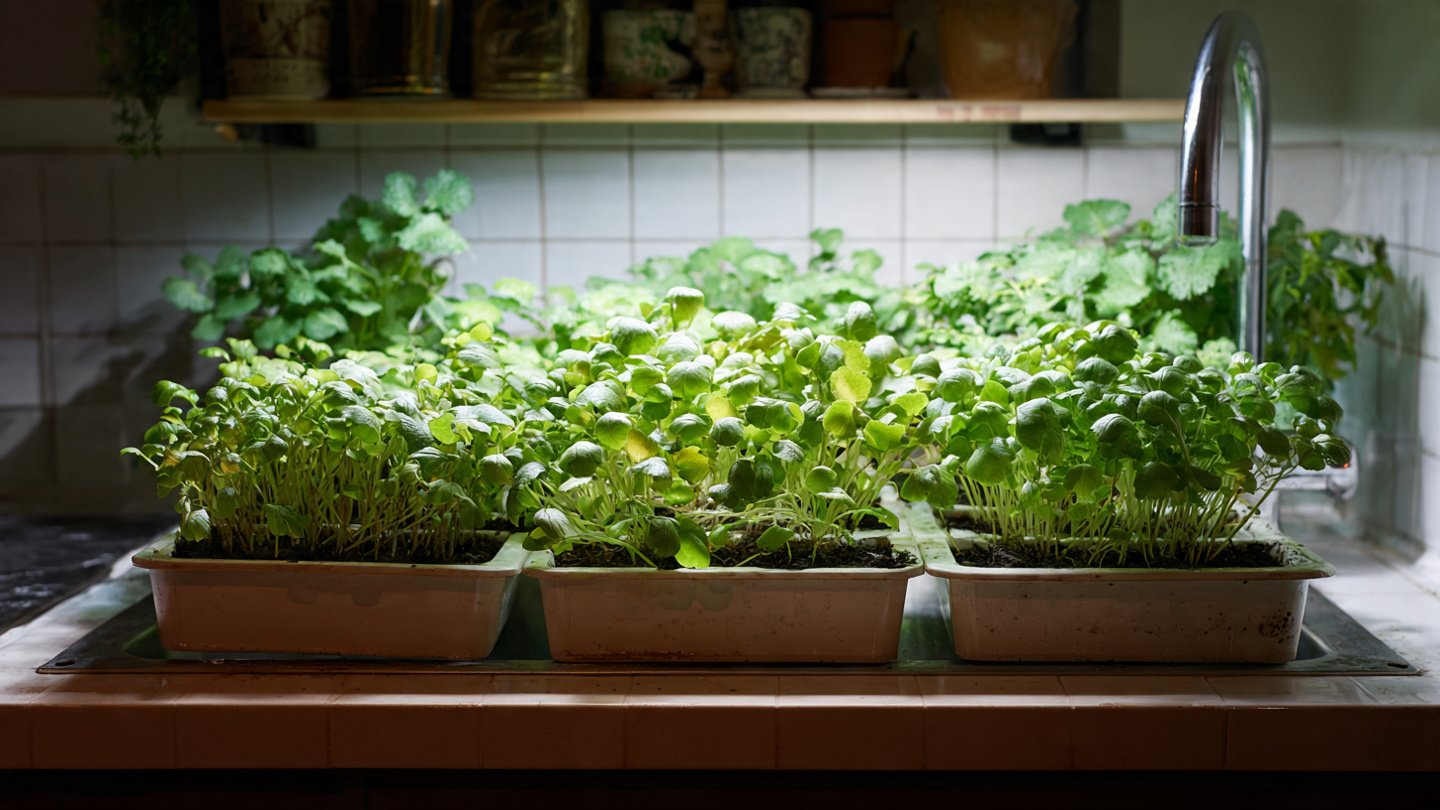
Growing your own greens at home has never been easier, thanks to simple hacks that can turn your kitchen counter into a mini garden. Whether you’re short on space or just want fresh herbs and salad greens at your fingertips, this guide will walk you through the steps to make it happen. From selecting the right greens to understanding the essentials of care, we’ll explore how to use an easy hack to cultivate lush greens in your kitchen.
Why Grow Greens at Home?
Before diving into the how-to, let’s consider the why. Growing your own greens can be beneficial for several reasons:
-
Freshness and Flavor: Homegrown greens can taste significantly better than store-bought ones, which often lose flavor over time during transport and storage.
-
Nutritional Value: Homegrown greens are often more nutrient-dense since they can be harvested at peak ripeness.
-
Cost-Effective: Growing your greens at home can save you money in the long run, especially if you frequently buy fresh herbs or specialty salad greens.
-
Sustainability: Reducing your reliance on store-bought produce cuts down on packaging waste and carbon footprints associated with transportation.
-
Convenience: Having fresh greens at your fingertips means you can add them to your meals without a trip to the store.
Choosing the Right Greens
The first step in your kitchen counter garden is selecting the right greens. Here are some popular options that are well-suited for indoor growth:
1. Basil
Basil is a favorite for many home cooks. It prefers bright light and does well in small pots. Regular pruning also encourages bushier growth.
2. Lettuce
Leafy varieties, such as romaine or butterhead, are easy to grow and can be harvested continuously.
3. Spinach
Spinach grows quickly and can be harvested multiple times. It prefers cooler temperatures, making it suitable for indoor growing.
4. Microgreens
These tiny greens are packed with flavor and nutrients. They grow quickly and can be harvested just after the first true leaves appear.
5. Cilantro
Cilantro is a fast-growing herb that can be used in various culinary dishes. It flourishes in well-draining soil and sunlight.
Once you’ve selected your greens, it’s time to gather your supplies.
Supplies You’ll Need
To set up your kitchen counter garden, you’ll require some basic supplies:
-
Containers: Choose small pots or containers with drainage holes. Recycled items like mason jars or yogurt containers can also work.
-
Potting Soil: Use a lightweight potting mix suitable for indoor plants. This type of soil retains moisture while allowing for proper drainage.
-
Watering Can or Spray Bottle: You’ll need something to water your plants. A spray bottle allows for gentle watering, which is ideal for young seedlings.
-
Light Source: If your kitchen doesn’t receive enough natural light, consider using a grow light to ensure your plants get the necessary illumination.
-
Seeds or Seedlings: Depending on your preference, you can start from seeds or buy seedlings from a nursery.
The Easy Hack: Growing Greens in Water
While soil is the traditional medium for growing plants, you can actually start many greens in water, making this hack incredibly easy. Here’s how to do it:
Step 1: Choose Your Greens
Select greens that can thrive in water or require minimal soil. Herbs such as basil or mint, or vegetables like green onions, are particularly well-suited for this method.
Step 2: Prepare Your Containers
Fill your chosen container with fresh water. If you are recycling containers, make sure they are clean to prevent any potential contamination. For best results, use filtered water.
Step 3: Propagate Your Greens
For Herbs:
-
Cut the Stems: Using sharp scissors, cut a few inches off the stem of your herb plant, ensuring you select healthy, vigorous stems.
-
Place in Water: Submerge the cut end of the stem in the water, ensuring that any leaves are above the waterline.
-
Sunshine is Key: Place your container in a sunny spot. A south-facing windowsill is ideal. If sunlight is limited, consider a grow light.
For Green Onions:
-
Save the Roots: When you chop green onions, save the white roots (about 2-3 inches).
-
Place in Water: Place the roots in a jar or glass of water, ensuring the green tops are above the water.
-
Change the Water Regularly: To avoid stagnation, change the water every few days.
Step 4: Monitor Growth
Watch as your greens begin to sprout! Depending on the type of green, you can start harvesting in days to weeks. Make sure to provide adequate light and change the water regularly to promote healthy growth.
Caring for Your Kitchen Counter Greens
Even though growing greens in water is easy, you’ll want to provide adequate care to ensure they thrive:
-
Light: Ensure your plants receive 12-16 hours of light daily. If using grow lights, keep them about 2-4 inches above your plants.
-
Water: Keep the water level sufficient, replenishing it as needed. For soil-based plants, check the soil for moisture and water when it feels dry.
-
Nutrients: If your plants are in water for extended periods, consider adding a diluted liquid fertilizer every few weeks to provide the necessary nutrients.
-
Pruning: Regularly snip off leaves or stems to encourage new growth and prevent your plants from becoming leggy.
Harvesting Your Greens
Knowing when and how to harvest is crucial:
-
Herbs: Harvest leaves as needed but do not take more than one-third of the plant at once. This will encourage bushier growth.
-
Lettuce and Spinach: For leafy greens, you can either cut the outer leaves or harvest the entire plant, depending on your need.
-
Microgreens: These can typically be harvested when they are 1-2 inches tall, often about 7-14 days after germination.
Troubleshooting Common Issues
As with any gardening endeavor, you may face a few challenges:
1. Yellowing Leaves
This could be a sign of overwatering or lack of nutrients. Check the water level and consider adding fertilizer if your greens have been in the same water for a while.
2. Leggy Growth
If your greens are leggy, they aren’t receiving enough light. Move them to a sunnier spot or adjust your grow light.
3. Mold or Algae
If you notice mold or algae in your water, change it immediately and ensure your container is clean. Limiting surface exposure to light can also help reduce algae.
Conclusion
Growing your own greens on your kitchen counter is both fun and rewarding. With a little effort, you can have fresh, flavorful ingredients right at your fingertips. By using the simple water hack, you eliminate the need for traditional soil gardening, making it accessible even to those with limited space or experience. Incorporating this sustainable practice into your lifestyle not only benefits your meals but also enriches your home environment.
So why wait? Start cultivating your kitchen counter garden today and enjoy the taste of fresh greens in your cooking!