Growing organic potatoes at home is easier than most people think. You don’t need a big farm, heavy equipment, or years of gardening experience. With the right technique, even small spaces like balconies, patios, and terraces can produce baskets of clean, chemical-free potatoes. Potatoes are one of the most rewarding vegetables to grow—every seed potato you plant gives you a handful or even a full bucket of delicious, homegrown tubers.
In this complete guide, you will learn everything you need to know: choosing the best organic seed potatoes, preparing the soil, planting, caring for the plants, and harvesting your final crop. Follow these steps, and you’ll be amazed by how much fresh food you can grow with minimal effort.
🥔 Why Grow Organic Potatoes at Home?
There are many reasons why home gardeners love growing potatoes:
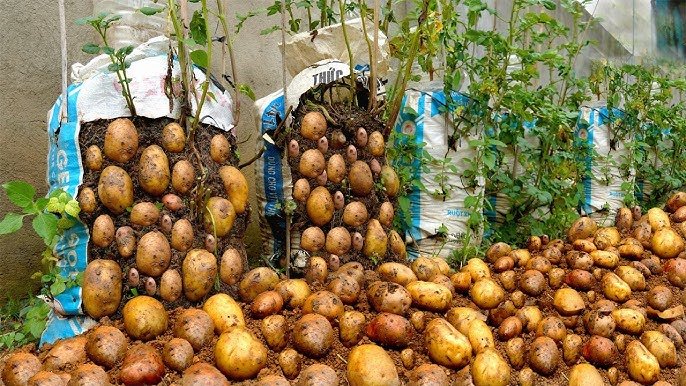
1. They grow well in small spaces
You can grow them in bags, buckets, raised beds, or directly in soil. Even a 10-liter bag can give you several kilograms of potatoes.
2. They require low maintenance
Once planted, potatoes mainly need watering and occasional soil hilling. They’re tough plants that tolerate slight mistakes.
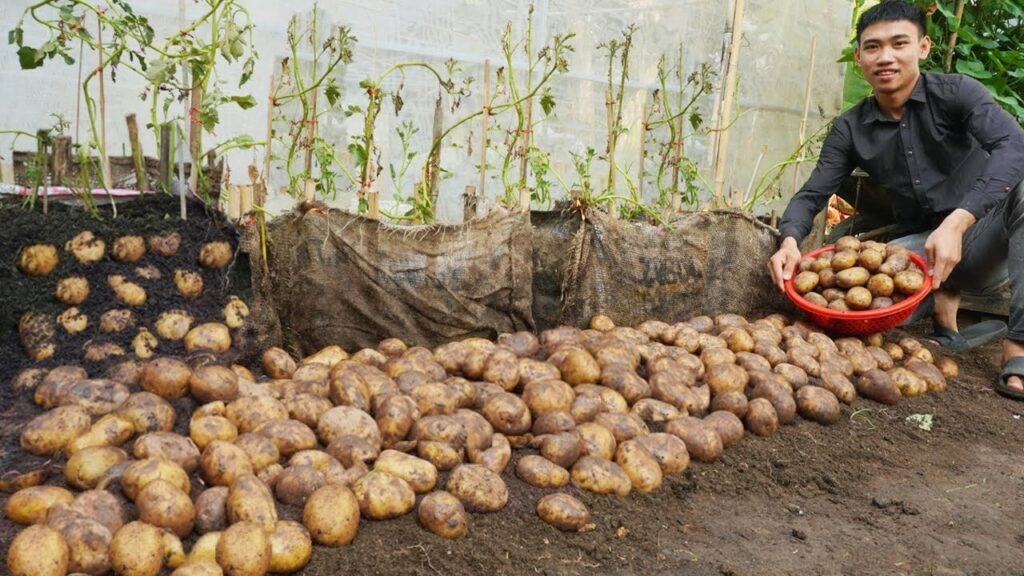
3. They are naturally productive
One small seed potato can multiply into 10–20 potatoes by harvest time.
4. They are healthier and chemical-free
Homegrown potatoes are free from harmful pesticides, chemical fertilizers, and wax coatings often used in store-bought ones.
🌱 Step 1: Choosing the Best Organic Seed Potatoes
The secret to a successful harvest begins with the right seed potatoes.
✔ Use Certified Organic Seed Potatoes
Avoid planting potatoes from the supermarket. They are often sprayed with anti-sprouting chemicals. Certified seed potatoes sprout faster, grow stronger, and produce more.
✔ Choose disease-resistant varieties
Some excellent home-growing varieties include:
- Yukon Gold
- Red Pontiac
- Kennebec
- Russet
- Irish Cobbler
✔ Pre-sprout (chit) your seed potatoes
Place your seed potatoes in a bright place for 1–2 weeks until small green sprouts grow. This gives you a head start and ensures faster growth after planting.
🌿 Step 2: Preparing the Perfect Organic Soil
Potatoes need loose, fertile, and well-draining soil. The quality of your soil determines the size and quantity of your harvest.
Ideal Organic Soil Mix
Use this simple mix for bags, buckets, or containers:
- 40% garden soil
- 30% compost (homemade or organic compost)
- 20% coco peat or rice husk
- 10% sand for drainage
Add Natural Fertilizers
Potatoes love nutrient-rich soil. Mix in:
- Bone meal (promotes tuber formation)
- Vermicompost
- Wood ash (adds potassium)
- Neem cake (prevents soil pests)
Avoid heavy clay soil—it causes small, deformed potatoes and increases rot.
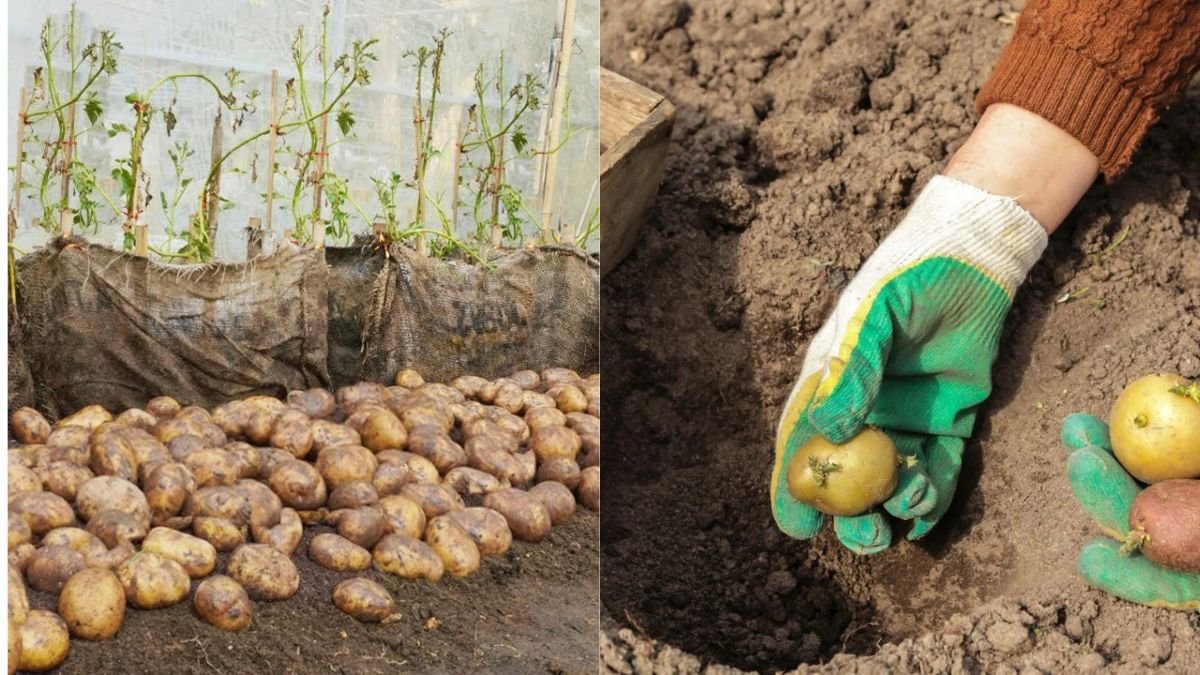
🪴 Step 3: Planting Potatoes the Right Way
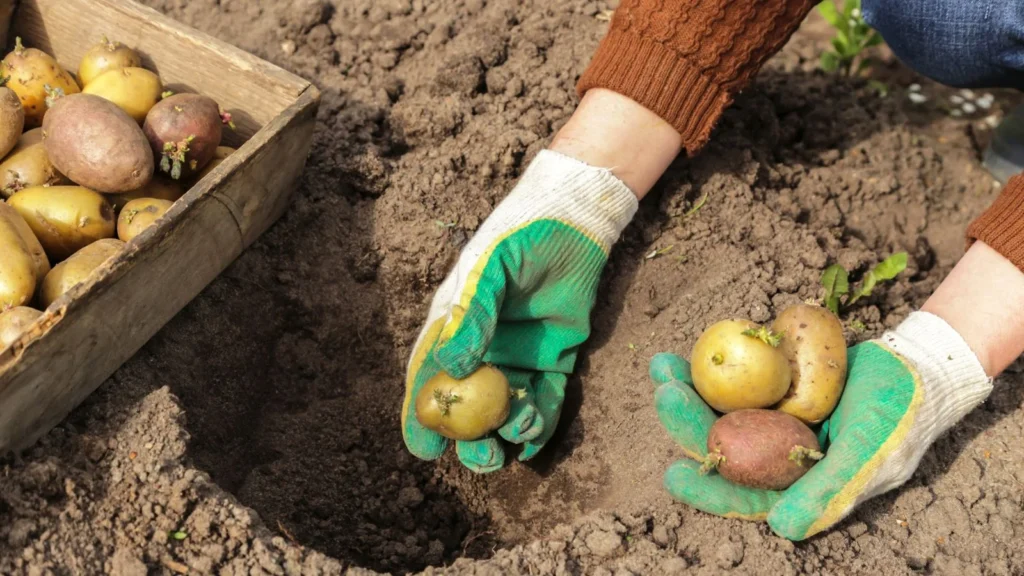
Whether you grow in the ground or containers, proper planting is the key.
✔ Cutting Large Seed Potatoes
If your seed potatoes are large:
- Cut them into pieces with at least 1–2 eyes (sprouts) per piece.
- Let the cut surfaces dry for 12–24 hours.
This prevents rotting.
✔ Planting Depth
- Bury them 8–10 cm (3–4 inches) deep.
- Space 30 cm (12 inches) apart if growing in soil.
- For containers, plant 3–4 seed potatoes per 40-liter grow bag.
✔ Cover Lightly First
Start with only a few inches of soil on top. You will add more soil later as the plants grow.
💧 Step 4: Caring for Your Potato Plants
Once the potatoes sprout, they will grow quickly.
1. Watering
Potatoes love consistent moisture but hate being waterlogged.
- Water twice a week or whenever the top 2 cm of soil feels dry.
- Reduce watering once the leaves begin to yellow before harvest.
2. Sunlight
Potatoes need 6–8 hours of sunlight daily. Insufficient sunlight results in small potatoes.
3. Hilling (Very Important!)
As the stems grow, more tubers form underground. Covering the stems with soil encourages more potato formation.
Every 10–14 days:
- Add more soil or compost around the base.
- Build a small mound/hill.
- Stop when the soil reaches the top of your bag or bed.
4. Feeding
Apply natural fertilizers every 3–4 weeks:
- Compost tea
- Banana peel fertilizer (adds potassium)
- Liquid seaweed
- Cow manure tea
Avoid nitrogen-heavy fertilizers—they cause big plants and tiny potatoes.
5. Pest Control (Organic Methods)
Use:
- Neem oil spray
- Garlic spray
- Wood ash around the base
These keep away aphids, mites, and beetles naturally.
🌼 Step 5: Flowering and Signs of Tuber Formation
Once potato plants begin flowering, they are forming tubers underground. Some varieties may not flower, which is normal. Look for:
- Strong stem growth
- Bushy green leaves
- Soil cracking slightly
This means your potatoes are forming well.
🥔 Step 6: When and How to Harvest
There are two ways to harvest:
✔ Early Harvest (Baby Potatoes)
Harvest 8–10 weeks after planting.
- Gently dig around the plant and remove small baby potatoes without uprooting the plant.
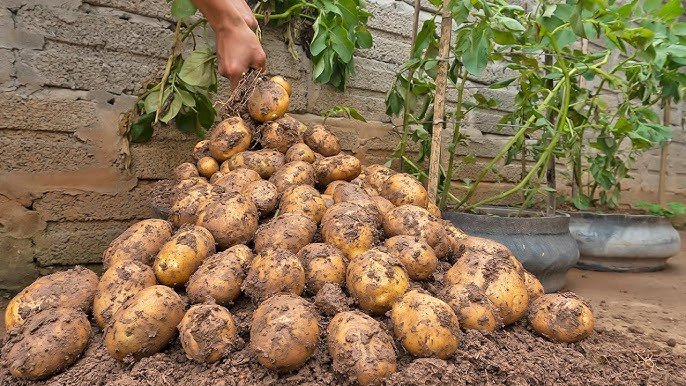
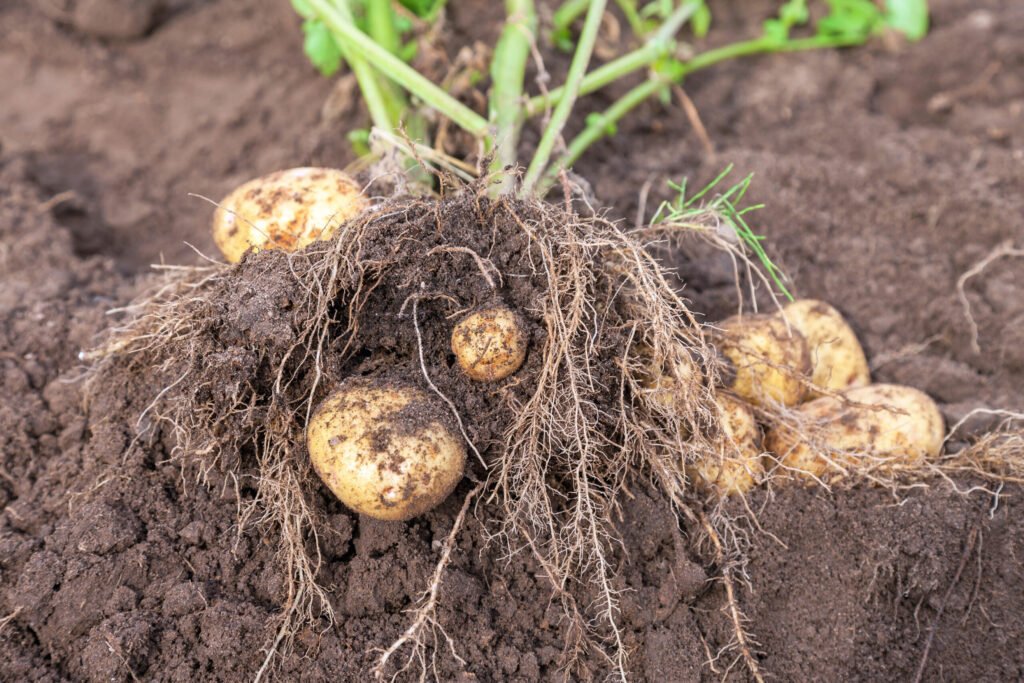
✔ Final Harvest (Full-Size Potatoes)
Harvest 12–16 weeks after planting.
Signs your potatoes are ready:
- Leaves turn yellow
- Stems fall over
- Soil dries
- Plant stops growing
Pull the plant gently or empty your grow bag. Brush off excess soil—never wash before storing.
✔ Storing Organic Potatoes
- Keep in a cool, dark place
- Store in breathable bags (jute or paper)
- Never refrigerate raw potatoes
Well-stored potatoes last 2–3 months.
🏡 Top Tips for Extra-High Potato Yields
Use these simple tricks for better results:
1. Use deep containers
The deeper the container, the more potatoes you’ll harvest.
2. Add compost gradually
Adding compost during hilling boosts tuber production.
3. Avoid letting sunlight reach forming potatoes
Sunlight causes potatoes to turn green and toxic. Keep them fully covered with soil.
4. Rotate your crops
Don’t plant potatoes in the same spot every season to avoid diseases.
🍽️ The Joy of Homegrown Organic Potatoes
Growing your own potatoes is incredibly rewarding. From preparing your soil to gently digging up your first harvest, every step connects you to your food in a meaningful way. Homegrown potatoes taste richer, cook better, and contain more nutrients than store-bought ones. Best of all, they are free from chemicals—safe for you, your family, and the environment.
Whether you’re gardening in a backyard, terrace, balcony, or even a small corner of your home, growing organic potatoes is the perfect project for beginners and experienced gardeners alike. With just a little effort and patience, you can harvest delicious organic potatoes straight from your home garden.