Chikoo, also known as sapodilla (Manilkara zapota), is a tropical fruit renowned for its sweet, malty flavor and grainy texture. Native to Central America and the Caribbean, Chikoo is now grown in many parts of the world. Propagating Chikoo from seed is an approachable way to cultivate this delightful fruit at home. This guide will take you through the step-by-step process to effectively propagate Chikoo from seed, ensuring you enjoy both the journey and the delicious fruits!
Understanding Chikoo
Before diving into propagation, it’s essential to comprehend what makes Chikoo trees unique. The tree can grow up to 30 feet tall, producing large, evergreen leaves and small, brown, sweet fruit. The trees thrive in warm climates and prefer well-drained soil. With the right care, Chikoo trees can yield fruit within 5 to 7 years when propagated from seed.
Step 1: Selecting the Right Seeds
To start propagating Chikoo from seed, select seeds from fresh, ripe Chikoo fruit. Here’s how to choose the best seeds:
- Source Fresh Fruits: Opt for fresh, ripe Chikoo from local markets or fruit stands. Avoid overripe or dried-out fruit.
- Check for Quality: Choose fruits that have a smooth skin with no blemishes or soft spots, indicating freshness and good internal seed quality.
- Extracting Seeds: Cut open the fruit and remove the seeds carefully. Chikoo seeds are typically brown and oval-shaped.
Step 2: Prepping the Seeds
Once you have the seeds, it’s time to prepare them for planting:
- Rinse the Seeds: Clean the seeds in fresh water to remove any fruit residue. This reduces the risk of mold or rot during germination.
- Soak the Seeds: Place the clean seeds in a bowl of water for about 24 hours. Soaking helps soften the seed coat, allowing for easier germination.
- Drying: After soaking, dry the seeds on a paper towel for a few hours.
Step 3: Choosing the Right Soil and Container
Choosing the right growing medium and container is crucial for healthy seedling development.
- Soil Mix: Use a well-draining potting mix. A mixture of equal parts of potting soil, perlite, and sand works well, providing drainage and aeration.
- Containers: Select small pots or seedling trays with drainage holes. This prevents waterlogging, which can lead to root rot.
Step 4: Planting the Seeds
The actual planting process is exciting and straightforward:
- Fill Containers: Fill your pots or trays with the prepared soil mix, leaving about an inch of space at the top.
- Planting Depth: Plant the seeds approximately 1 inch deep in the soil, ensuring they are adequately covered.
- Watering: Gently water the soil after planting to settle it around the seeds. Continue to keep the soil moist, but avoid overwatering.
Step 5: Creating the Right Environment
Creating an optimal environment for germination is vital:
- Temperature: Chikoo seeds prefer warm temperatures to germinate. Ideal conditions are around 75°F to 85°F (24°C to 29°C).
- Humidity: Cover the pots with plastic wrap or a clear lid to retain humidity. Make small holes for airflow. Remove the cover occasionally to prevent mold growth.
- Light: Place the pots in a location that receives bright, indirect sunlight. Avoid direct sunlight, which can scorch the seedlings.
Step 6: Monitoring Germination
Be patient; it can take anywhere from 2 to 8 weeks for Chikoo seeds to germinate. Here’s how to monitor the process:
- Watering: Keep the soil moist but not soggy. Check daily and water as needed.
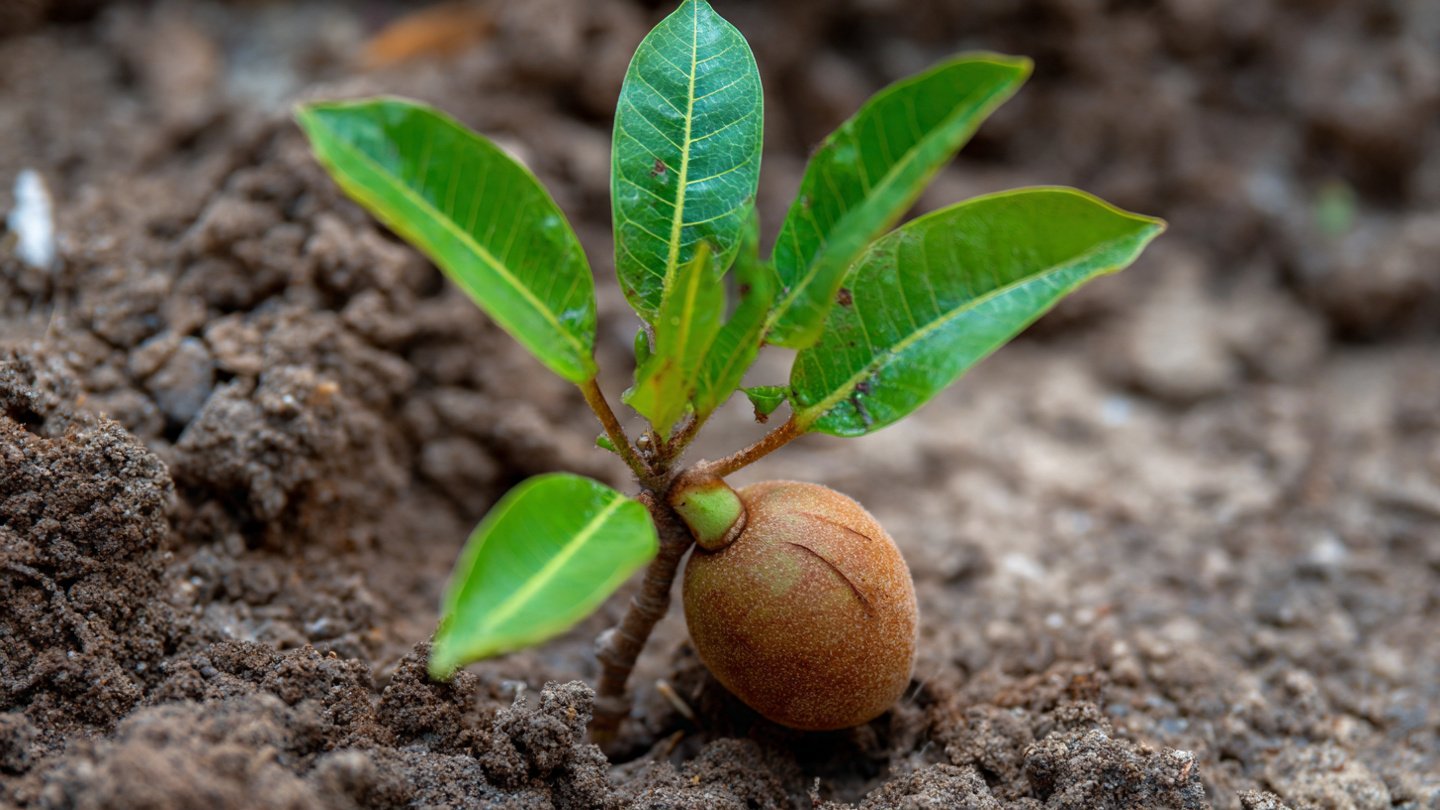
- Observing Growth: Once seedlings emerge, remove the cover to provide more airflow and light.
Step 7: Transplanting Seedlings
When seedlings reach about 4 to 6 inches tall and develop a few sets of true leaves, they are ready for transplanting:
- Prepare Larger Pots: Choose larger pots or a garden bed with well-draining soil.
- Handle with Care: When removing seedlings, be gentle to avoid damaging the roots. Use a spoon or a small trowel to lift them.
- Transplanting: Dig a hole in the new pot or garden bed, place the seedling in, and fill in the soil gently around it. Water thoroughly after transplanting.
Step 8: Caring for Chikoo Trees
Now that the seedlings are transplanted, ongoing care is essential for their growth into healthy trees:
- Watering: Water the newly transplanted seedlings regularly, especially during dry spells. Once established, Chikoo trees can tolerate some drought.
- Sunlight: Ensure they receive plenty of sunlight; Chikoo trees thrive in full sun.
- Fertilization: Use a balanced fertilizer every few months during the growing season to promote healthy growth.
- Pruning: As trees grow, regular pruning helps shape the trees and remove dead or diseased branches.
Step 9: Protecting from Pests and Diseases
Chikoo trees can be susceptible to certain pests and diseases. Here’s how to protect them:
- Regular Inspection: Check the trees frequently for signs of pests such as scale insects, mealybugs, or leaf miners. Early detection is key.
- Organic Sprays: Consider using organic insecticidal soap or neem oil to treat infestations.
- Soil Health: Ensure good soil drainage to prevent root rot and fungal diseases.
Step 10: Patience Pays Off
As your Chikoo tree matures, patience is essential. Depending on the tree’s health and growing conditions, you can expect fruit production within 5 to 7 years. Familiarize yourself with the signs of fruiting:
- Blooms: Chikoo trees produce small, cup-shaped flowers that eventually develop into fruits.
- Fruit Development: The fruits are ripe when they change from green to a brownish color. They should feel slightly soft to the touch.
Conclusion
Successfully propagating Chikoo from seed is a rewarding journey that requires patience, care, and a little bit of knowledge. From selecting the right seeds to nurturing them into fruitful trees, following these steps can help ensure a bountiful harvest. Remember, every garden has its unique challenges and rewards, so enjoy the process and celebrate your successes along the way!
Whether you’re sharing the sweet fruits with family and friends or enjoying them yourself, the effort put into propagating Chikoo will surely be worth it. Happy gardening!