Moringa oleifera, often referred to as the “miracle tree,” is renowned for its nutrient-rich leaves packed with vitamins, minerals, and antioxidants. Growing moringa in pots is a fantastic way to enjoy fresh leaves year-round, especially for those with limited garden space. However, mastering the art of harvesting moringa leaves from pots involves understanding the plant’s growth habits, timing, and best practices to maximize yield without harming the plant. This comprehensive guide will walk you through everything you need to know to become a pro at moringa leaf harvesting in pots.
Why Grow Moringa in Pots?
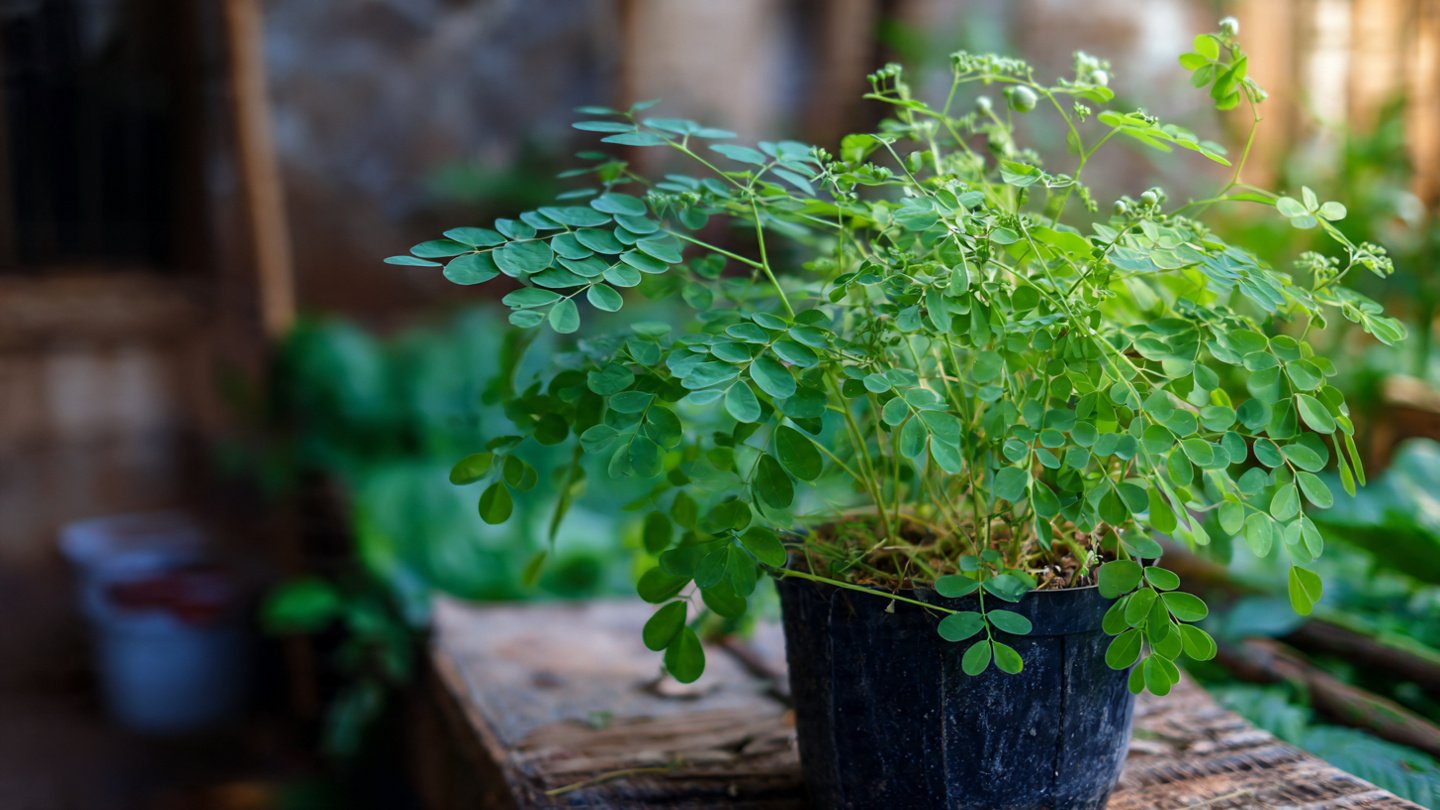
Growing moringa in pots allows gardeners to cultivate this nutritious plant even in small spaces such as balconies, patios, or indoors with adequate sunlight. Pots offer the advantage of mobility, allowing you to control the plant’s exposure to sunlight and protect it from harsh weather conditions. Additionally, container growth helps in managing soil quality and moisture levels more effectively.
Choosing the Right Pot and Soil
The journey to mastering moringa harvesting starts with selecting the right pot and soil:
- Pot Size: Choose a pot that is at least 12-18 inches deep and wide. Moringa has a long taproot, so deeper pots are preferable.
- Material: Terracotta pots are ideal because they allow better air exchange, but plastic pots can work if they have good drainage.
- Drainage: Ensure the pot has drainage holes to prevent waterlogging, which can cause root rot.
- Soil Mix: Use a well-draining, sandy loam soil mixed with organic compost. Moringa thrives in slightly acidic to neutral soil (pH 6.5-7.5).
Planting Moringa in Pots
You can start moringa in pots either from seeds or cuttings:
- From Seeds: Soak the seeds overnight and plant 1-2 inches deep in the soil. Keep the soil moist but not soggy.
- From Cuttings: Use a 12-18 inch cutting from a mature moringa tree and plant it about one-third of its length in the soil. Water immediately after planting.
Place the pot in a sunny location where the plant can receive at least 6 hours of direct sunlight daily.
Watering and Fertilization
- Watering: Moringa is drought-tolerant but prefers consistent moisture, especially when young. Water when the top inch of soil feels dry, but avoid overwatering.
- Fertilization: Use a balanced, organic fertilizer every 4-6 weeks. Avoid excessive nitrogen as it can encourage too much leafy growth at the expense of flowers and seed pods.
Pruning for Optimal Harvest
Pruning is essential for a healthy, bushy moringa tree in a pot:
- Begin pruning when the plant reaches about 12-18 inches tall.
- Cut back the main stem by about one-third to encourage branching.
- Regularly pinch off the top to stimulate leafy growth.
- Remove any dead or yellowing leaves promptly.
When and How to Harvest Moringa Leaves
The best time to harvest moringa leaves depends on the plant’s maturity and your intended use:
- First Harvest: Typically possible 6-8 weeks after planting from seeds or 4-6 weeks from cuttings.
- Frequency: Harvest every 2-3 weeks to encourage new growth.
- Time of Day: Early morning is best for harvesting to maximize nutrient retention.
- Harvesting Method: Use sharp scissors or shears to cut the leaf stems about 1-2 inches from the main branch. Avoid stripping the entire branch; instead, harvest individual leaflets or small clusters to sustain continuous growth.
- Amount to Harvest: Do not remove more than one-third of the plant’s leaves at a time to prevent stress.
Tips for Maximizing Leaf Yield
- Sunlight: Ensure your moringa plant receives ample sunlight; insufficient light reduces leaf growth.
- Consistent Care: Regular watering, fertilization, and pruning promote vigorous growth.
- Pest Control: Keep an eye out for pests like aphids. Use organic insecticidal soap or neem oil as a safe treatment.
- Rotate Pots: If growing multiple pots, rotate them occasionally to ensure even sunlight exposure.
Storing and Using Harvested Moringa Leaves
- Fresh Use: Moringa leaves can be used fresh in salads, smoothies, or cooked dishes.
- Drying: Spread leaves in a single layer in a shady, well-ventilated area until dry. Store in an airtight container.
- Freezing: Blanch leaves in boiling water for 2 minutes, drain, and freeze in airtight bags.
- Powder: Dry leaves can be ground into powder and stored for long-term use as a supplement or seasoning.
Troubleshooting Common Issues
- Yellowing Leaves: Often caused by overwatering or nutrient deficiency.
- Slow Growth: May result from insufficient sunlight or poor soil quality.
- Pest Infestation: Aphids, spider mites, or caterpillars can damage leaves. Use natural pest control methods promptly.
- Root Bound: If the plant stops growing, it might be root-bound. Repot into a larger container.
Conclusion
Mastering moringa leaf harvesting in pots is a rewarding experience that combines proper planting techniques, consistent care, and informed harvesting practices. By following this guide, you’ll not only enjoy a bountiful harvest of nutritious moringa leaves but also cultivate a beautiful and resilient plant that can thrive in limited spaces. With dedication and attention to your moringa plant’s needs, you can effortlessly integrate this superfood into your daily diet, reaping its numerous health benefits year-round.
If you want, I can also provide advice on specific moringa recipes or nutrient benefits related to the leaves!