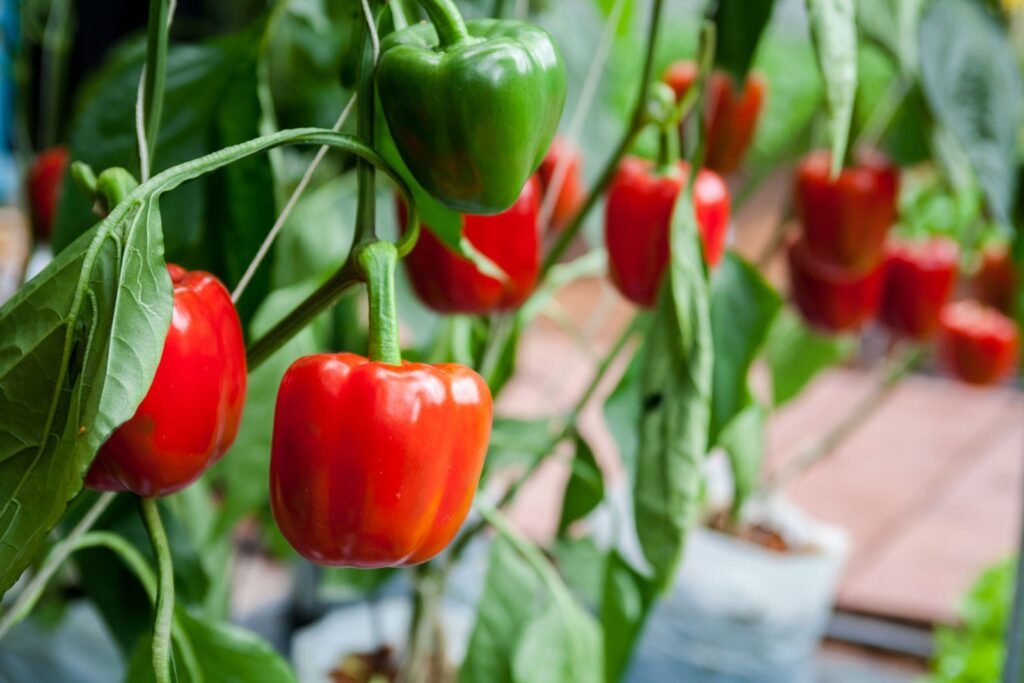
Capsicum—commonly known as bell peppers, chili peppers, or sweet peppers—is one of the most rewarding crops to grow at home. With their vibrant colors, crisp texture, and rich flavor, capsicums are a staple in kitchens around the world. Whether you prefer mild bell peppers or fiery hot varieties, propagating capsicum plants the right way can help you produce an abundance of healthy, flavorful fruits throughout the growing season.
What many gardeners don’t realize is that capsicum plants are surprisingly easy to propagate. With the right methods, you can grow dozens of healthy plants from a single parent plant—saving money, increasing productivity, and ensuring stronger harvests. In this detailed guide, you’ll learn how to propagate capsicum plants using seeds, cuttings, and advanced techniques, along with essential care tips to maximize your yield.
🌱 Understanding Capsicum Propagation
Capsicum plants can be propagated in several ways, each with its own benefits:
✔️ Propagation by Seeds
This is the most common method and is great for growing large quantities.
✔️ Propagation by Stem Cuttings
A faster way to clone your favorite high-yielding plant with identical traits.
✔️ Propagation from Air Layering
An expert technique that speeds up root development and ensures strong early growth.
Whether you’re a beginner or an experienced gardener, these techniques will help you create a thriving capsicum garden with continuous harvests.
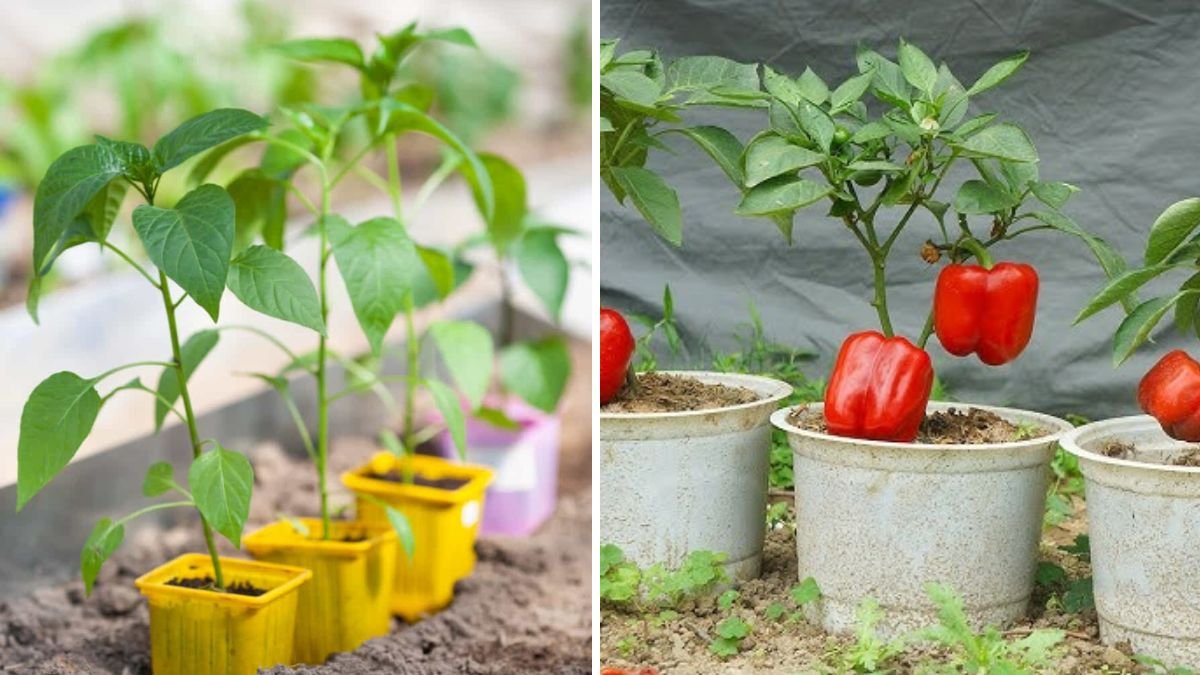
🫑 1. Propagating Capsicum Using Seeds
Growing capsicum from seeds is simple, cost-effective, and gives great results if you choose the right seeds and follow proper germination practices.
🌶️ Step 1: Choose Quality Seeds
You may use:
- Fresh seeds from ripe capsicums
- Store-bought hybrid seeds
- Heirloom seeds for unique colors and flavors
Select seeds from fully mature fruits—soft, underdeveloped seeds won’t germinate well.
🌱 Step 2: Pre-Soak the Seeds
Soak the seeds in lukewarm water for 8–12 hours.
This:
- Softens the seed coat
- Speeds up germination
- Improves sprouting success rate
🌿 Step 3: Prepare the Germination Tray
Fill seed trays or small pots with a light, fluffy medium such as:
- 50% coco peat
- 25% garden soil
- 25% compost
This mixture ensures good drainage and oxygen flow—critical for germination.
🌞 Step 4: Plant the Seeds
- Plant seeds 1 cm deep
- Cover lightly
- Mist with water
- Keep the tray in a warm area (25–30°C)
Capsicum seeds need warmth—not direct sunlight—to sprout successfully.
⏳ Step 5: Germination
Seeds usually sprout within 7–14 days.
Once seedlings grow 4–5 true leaves, they can be transplanted into grow bags or the garden.
✂️ 2. Propagating Capsicum Plants Using Stem Cuttings
If you want faster growth, larger plants, and exact clones of a high-yield variety, stem cuttings are your best option.
🪴 Why stem cuttings?
- Faster fruiting
- Stronger disease resistance
- Identical traits to the mother plant
- Ideal for small spaces or container gardening
🌶️ Step 1: Select the Right Branch
Choose:
- A semi-hardwood branch
- 6–8 inches long
- With at least 3–4 nodes
- Healthy and pest-free
Avoid soft green shoots—they rot easily.
✂️ Step 2: Prepare the Cutting
- Remove leaves from the lower half
- Keep only 2–3 leaves at the top
- Make a clean diagonal cut
🧪 Step 3: Apply Rooting Hormone (Optional)
Dip the base in:
- Commercial rooting powder
OR - Natural alternatives like cinnamon powder, aloe gel, or honey
This helps stimulate root development.
🌱 Step 4: Plant the Cutting
Insert the cutting into a pot filled with:
- Coco peat
- Sand
- Perlite
These well-draining mediums prevent stem rot.
💧 Step 5: Maintain Moisture
- Keep soil moist but not soggy
- Cover with a plastic bag to retain humidity
- Keep in indirect light
Roots will form in 10–20 days.
Once new leaves appear, the cutting is ready for transplanting.
🌳 3. Propagating Capsicum Through Air Layering
Air layering is an advanced technique normally used for fruit trees, but it works beautifully for capsicum too—especially for larger, woody plants.
🫑 Step 1: Choose a Mature Branch
Pick a branch that is:
- 6–10 months old
- Strong and healthy
- At least pencil thickness
🔪 Step 2: Make a Bark Ring Cut
- Remove a 1 cm ring of bark
- Expose the white inner wood
- Do not cut the branch completely
🧴 Step 3: Apply Root Hormone
This increases root production speed.
🪵 Step 4: Wrap with Moist Moss
- Use moist sphagnum moss or coco peat
- Cover the wound completely
- Wrap with plastic
- Tie tightly at both ends
🌞 Step 5: Wait for Root Development
Within 3–5 weeks, roots will form inside the moss ball.
Once the root mass is strong:
- Cut below the rooted area
- Plant in a pot
This creates a ready-made sapling, already mature and quick to fruit.
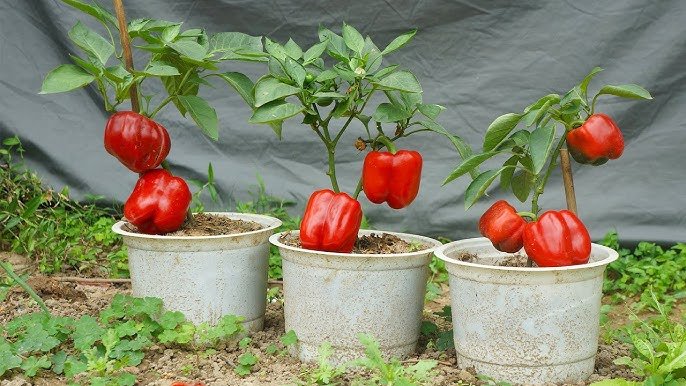
🌻 Best Growing Conditions for High-Yield Capsicum Plants
Propagation is only the beginning. To ensure heavy fruiting, follow these essential care tips:
🌞 Light Requirements
Capsicum plants need:
- 6–8 hours of sunlight daily
- Partial shade in very hot climates
🌱 Soil Mix
Ideal mix:
- 40% garden soil
- 30% compost or cow dung
- 20% coco peat
- 10% sand
💧 Watering
Keep soil consistently moist but avoid overwatering.
Water when the top inch of soil feels dry.
🧪 Fertilizing for Bigger Fruits
Feed plants with:
- Seaweed solution every 15 days
- Compost every 20 days
- Banana peel fertilizer for potassium
- Bone meal for flowering
🛡️ Pest Control
Common pests:
- Aphids
- Whiteflies
- Thrips
Use neem oil spray once a week to keep plants healthy.
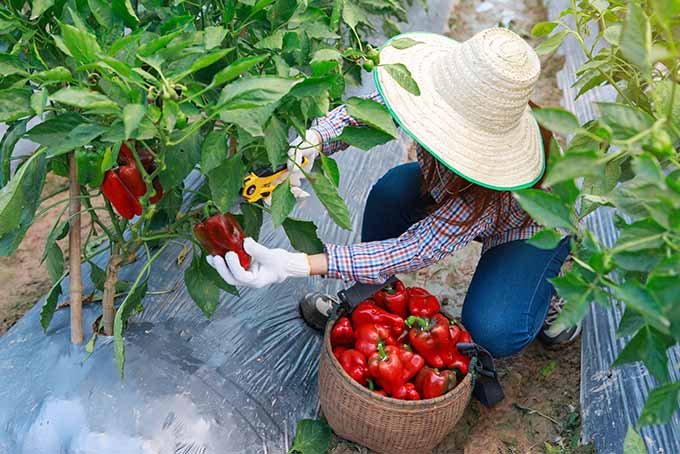
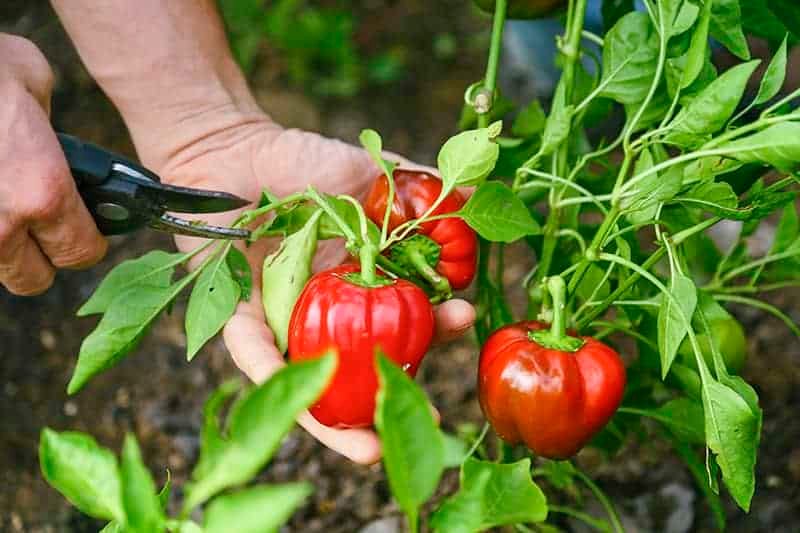
🌶️ Harvesting for Maximum Productivity
Capsicum fruits can be harvested at various stages:
- Green for cooking
- Yellow/Red for full sweetness
- Purple/Orange for specialty varieties
Regular harvesting encourages continuous fruit production.
Never allow fruits to over-ripen on the plant—it reduces overall yield.
🌟 Final Thoughts
Propagating capsicum plants is not just easy—it’s incredibly rewarding. Whether you choose to grow them from seeds, cuttings, or air layering, each method offers unique advantages. With the right care, your garden can produce a continuous supply of fresh, colorful, and delicious peppers all year long.
Capsicum plants respond beautifully to proper nutrition, sunlight, and pruning. Follow the techniques in this guide, and you’ll enjoy an abundant harvest—perfect for salads, curries, pickles, and even selling locally.