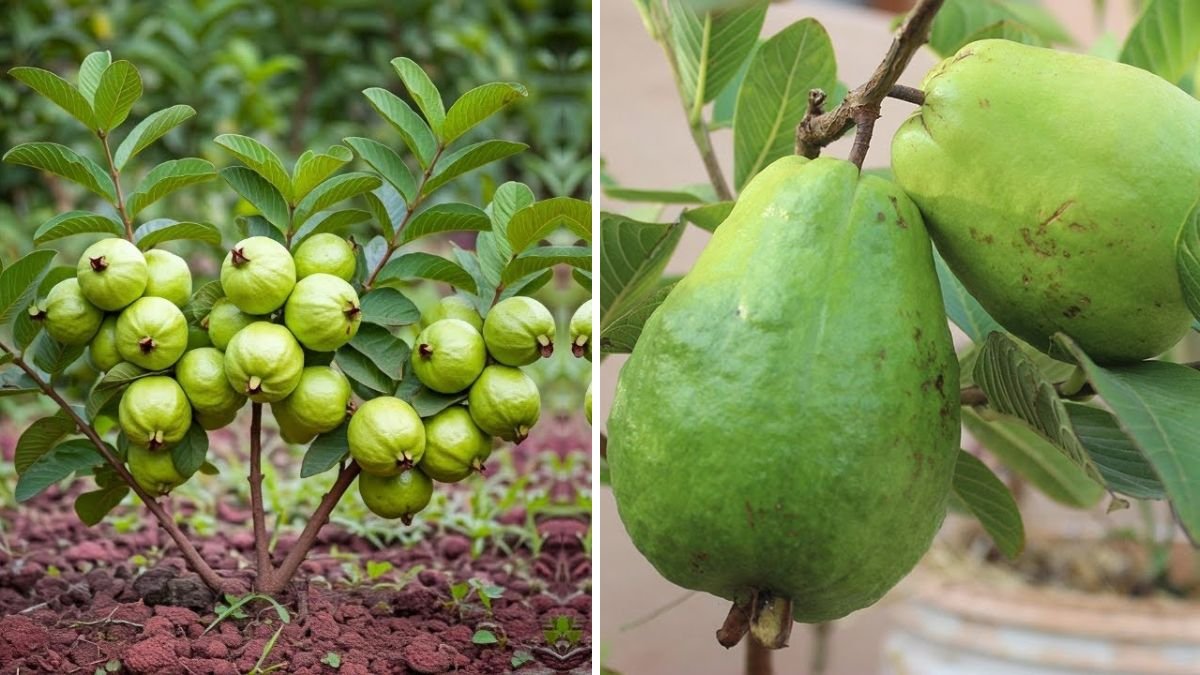
Guava — also known as Psidium guajava — is one of the easiest and most rewarding fruit trees to grow at home. It grows fast, adapts to many climates, and produces delicious, vitamin-rich fruits that can be enjoyed fresh, juiced, or turned into jams. But many gardeners face a common problem: plants grown from seed take too long to fruit, and the quality of fruit is often unpredictable.
Fortunately, guava is one of the few fruit trees that can be propagated quickly and successfully using simple vegetative methods, resulting in faster growth, stronger plants, and heavy fruit production in just a few years. Whether you have a backyard, a terrace garden, or a small farm, learning how to propagate guava properly will help you grow a tree that produces abundant, flavorful fruits every season.
This article will guide you through the best and easiest propagation techniques — stem cuttings, air layering, and grafting — and show you how to care for your young guava tree so it matures into a heavy-bearing plant.
🌳 Why Propagate Guava Instead of Growing from Seeds?

Guava seeds germinate easily, but seed-grown plants:
- Take 4–8 years to fruit
- Produce unpredictable fruit size and taste
- Grow vigorously but not productively
- May become tall, making harvesting difficult
Propagation through cuttings, air-layering, or grafting creates clones of the mother plant, ensuring:
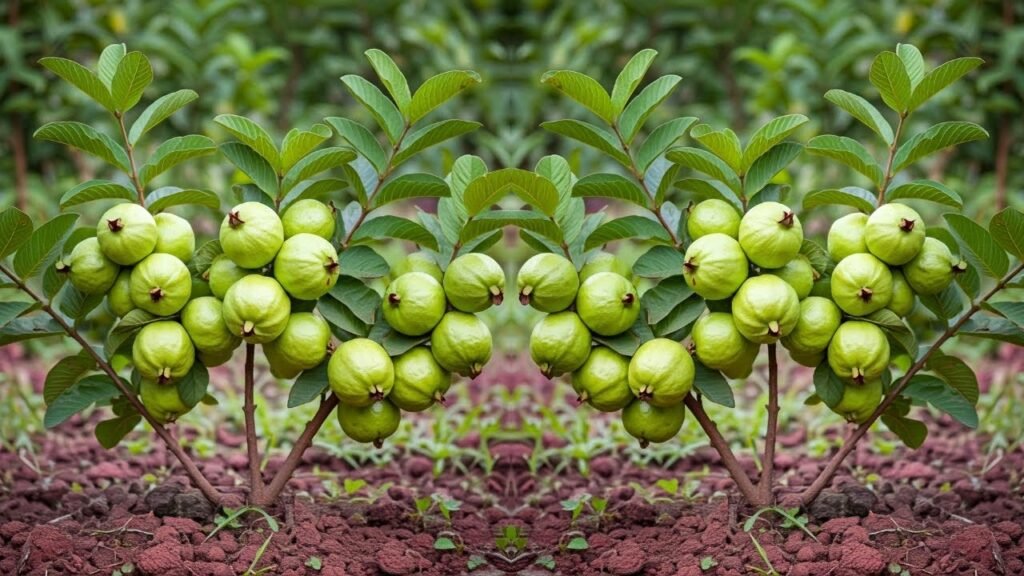
✔ Early fruiting
✔ High-quality fruits
✔ Uniform growth
✔ Disease resistance
✔ Strong root system
If your goal is faster harvest and higher yield, propagation is the key.
🌱 Best Methods to Propagate Guava
Guava can be propagated through:
- Stem Cuttings (most common & easy)
- Air Layering (high success rate)
- Grafting (professional method)
- Seeds (least effective)
Let’s dive into each method step-by-step.
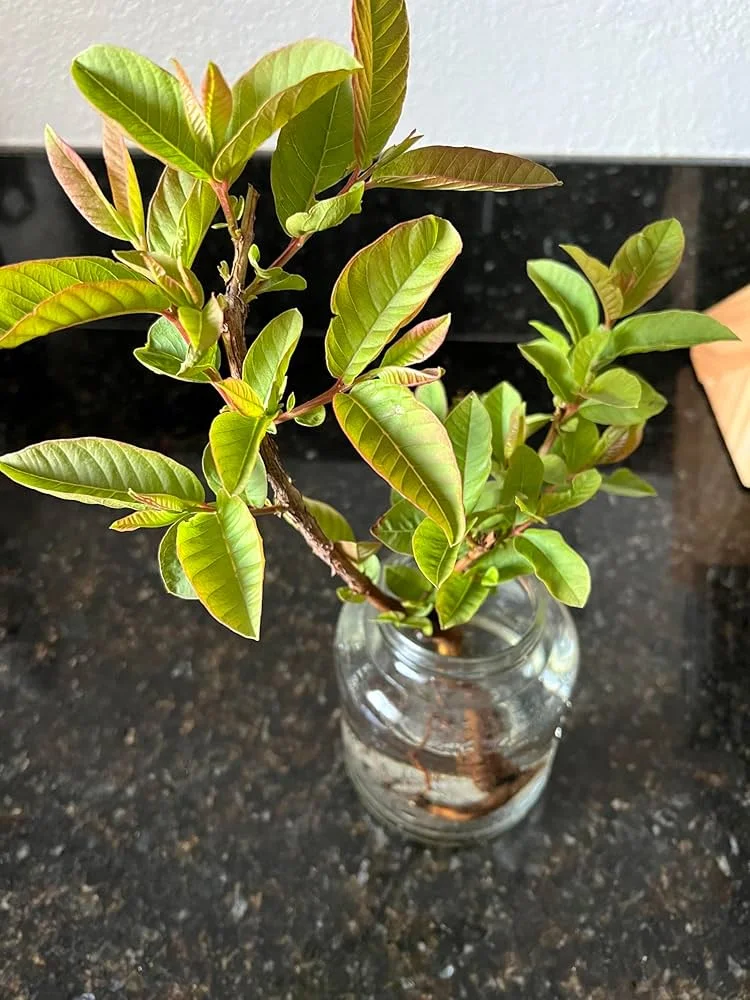
🌿 Method 1: Propagating Guava Using Stem Cuttings
(Perfect for beginners — simple and reliable!)
Guava responds exceptionally well to stem cuttings when done properly.
✔ What You Need
- Healthy guava branch
- Sharp, sterilized pruner
- Pot with draining soil
- Rooting hormone (optional but increases success)
- Clear plastic bag or humidity dome
- Spray bottle with water
✔ Step-by-Step Guide
Step 1: Select the Correct Branch
Choose a semi-hardwood branch — neither too soft nor too woody.
Ideal characteristics:
- 20–25 cm long
- Pencil-thick
- Disease-free
- From a productive guava tree
Step 2: Make the Cut
Cut the branch at a 45-degree angle.
Remove all leaves from the lower half, and cut large leaves in half to reduce transpiration.
Step 3: Dip in Rooting Hormone
This step is optional but boosts rooting significantly.
Guava cuttings tend to root faster with a hormone dip.
Step 4: Prepare the Soil Mix

Use a lightweight, well-draining mix:
- 50% cocopeat
- 30% compost
- 20% sand
Moisten the soil before planting.
Step 5: Insert the Cutting
Push the cutting 4–5 cm into the soil and firm it gently.
Step 6: Create a Humid Environment
Cover the pot with a plastic bag to trap moisture.
This prevents drying and increases rooting success.
Step 7: Place in Partial Shade
Indirect sunlight is ideal.
Keep soil moist but never soggy.
✔ Rooting Timeline
- Week 2–3: Callus formation
- Week 4–6: Roots begin to grow
- Week 6–10: New leaves appear
If new leaves appear, the cutting is successful.
🌿 Method 2: Air Layering (Marcotting)
(Fastest and most successful method — produces roots while still attached to the mother tree!)
Air layering guarantees early rooting because the branch is nourished by the mother plant during root formation.
✔ What You Need
- A healthy guava branch
- Knife
- Sphagnum moss or cocopeat
- Plastic wrap
- Twine or tape
- Rooting hormone (optional)
✔ How to Do It
Step 1: Select the Branch
Choose a productive branch 1–1.5 cm thick.
Step 2: Remove Bark
Cut a ring around the branch, 2–3 cm wide, and peel off the bark.
Expose the inner wood — this prevents nutrients from traveling back and stimulates root formation.
Step 3: Apply Rooting Hormone
Optional, but increases root quantity.
Step 4: Wrap with Moist Moss
Take damp sphagnum moss or cocopeat and place it around the exposed area.
Step 5: Seal the Moss
Wrap with plastic and secure both ends.
Make sure no air escapes and moisture stays inside.
Step 6: Wait for Root Growth
In 4–8 weeks, white roots will appear inside the plastic.
Once roots are dense, cut the branch below the rooted ball and plant it in a pot.
🌿 Method 3: Grafting Guava (For Exceptional Fruit Quality)
Grafting is used to combine a strong rootstock with a high-quality, sweet-fruit variety.
✔ Common Types of Guava Grafting
- Cleft grafting
- Whip-and-tongue grafting
- Approach grafting
✔ Basic Steps
- Choose a strong rootstock (1 year old).
- Select a scion from a productive guava tree.
- Make matching cuts on both.
- Join tightly and wrap with grafting tape.
- Keep in shade for 2–3 weeks.
Grafted guava trees fruit very early — often within 1–2 years.
🌿 Method 4: Propagation by Seeds
(Simple but slow, not recommended for fruit quality)
Steps:
- Extract fresh seeds from ripe guava.
- Rinse and dry.
- Sow shallowly in moist soil.
- Keep in shade for 2–3 weeks.
Seeds germinate in 2–6 weeks, but fruiting may take 4–8 years.
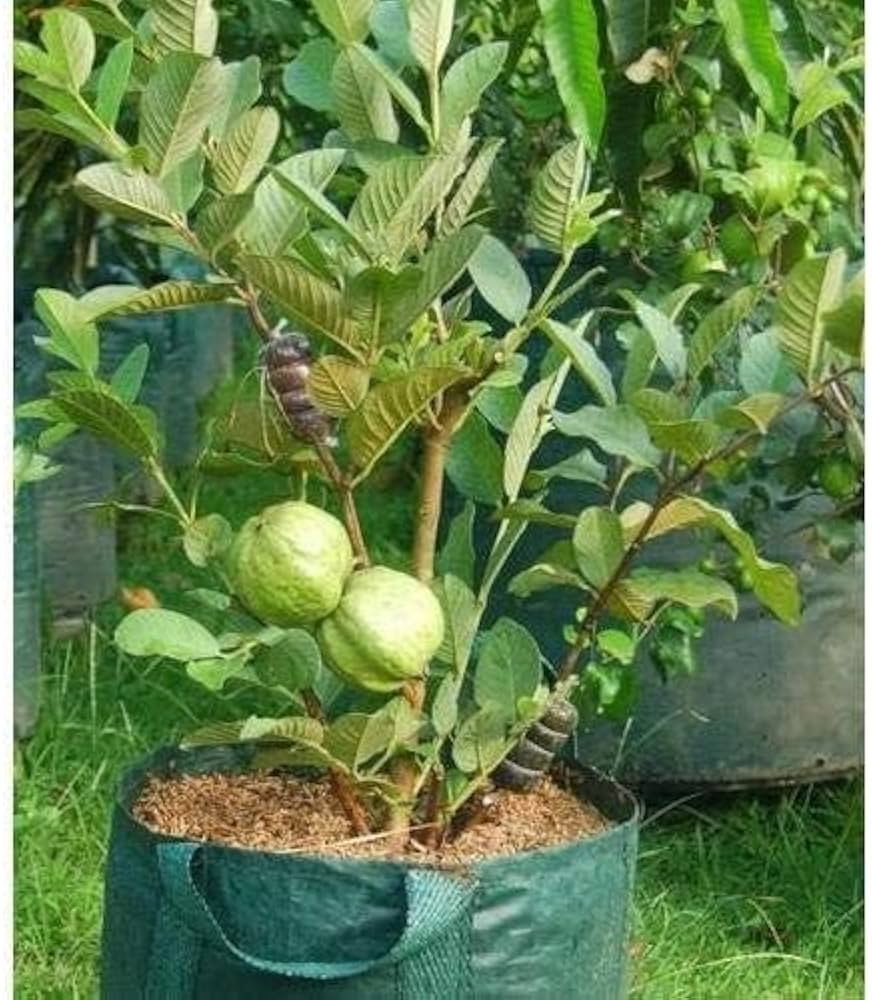
🍃 How to Care for Your Young Guava Plant
Now that you have propagated your guava plant successfully, the next step is proper care. This is crucial for getting maximum fruit production.
☀ 1. Sunlight
Guava loves sunlight.
Give your plant 6–8 hours of full sun daily.
💧 2. Watering
Water deeply twice a week.
But avoid waterlogging — guava roots rot easily.
🌱 3. Soil Requirements
Guava thrives in:
- Slightly acidic to neutral soil
- Well-draining structure
- Rich organic matter
Ideal soil mix:
- 40% garden soil
- 30% compost
- 20% sand
- 10% cocopeat
🌿 4. Fertilizing Schedule
Feed your guava every month with:
Organic options:
- Compost
- Cow dung manure
- Banana peel fertilizer
- Bone meal (for flowering)
- Neem cake (pest control)
During fruiting:
Add potash-rich fertilizer for bigger, sweeter fruits.
✂ 5. Pruning
Pruning increases fruit production dramatically.
Prune:
- Suckers
- Weak branches
- Crossing branches
- Tall vertical shoots
Maintain a bush shape, not a tall tree.
🐛 6. Pest & Disease Control
Common guava pests:
- Fruit flies
- Mealybugs
- Aphids
Spray neem oil every 10–15 days as prevention.
🍈 When Will a Propagated Guava Tree Produce?
| Method | Time to Fruit |
|---|---|
| Grafting | 1–2 years |
| Air Layering | 2–3 years |
| Cuttings | 3–4 years |
| Seeds | 4–8 years |
Air layering and grafting give fastest, strongest, and sweetest results.
🌟 Final Thoughts
Propagating a guava tree is a rewarding project for any gardener. By choosing the right method — especially cuttings or air layering — you can grow a healthy, productive guava tree that yields plenty of delicious fruits within just a few years. With proper care, your propagated guava will thrive, offering fresh fruits season after season.
If you want, I can also create:
✔ A short YouTube script
✔ A 300-word blog summary
✔ Thumbnail titles and description
✔ SEO-friendly keywords
Just tell me!
create attractive title and 1200 words article from these titles ” “
ChatGPT