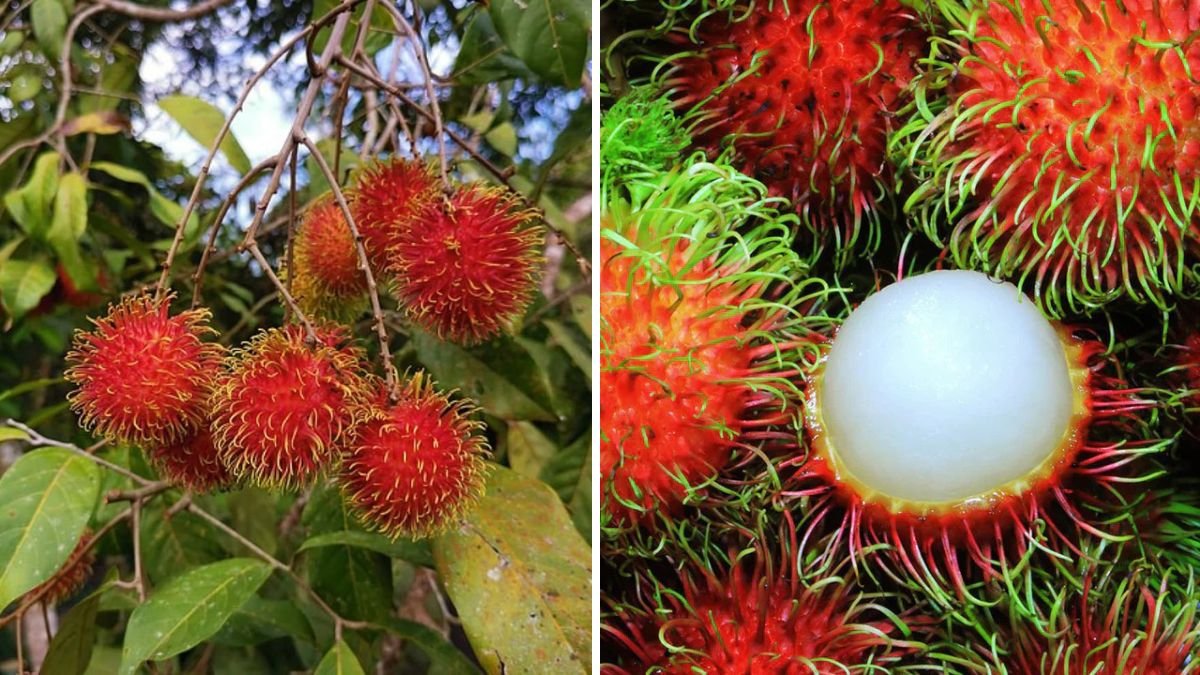
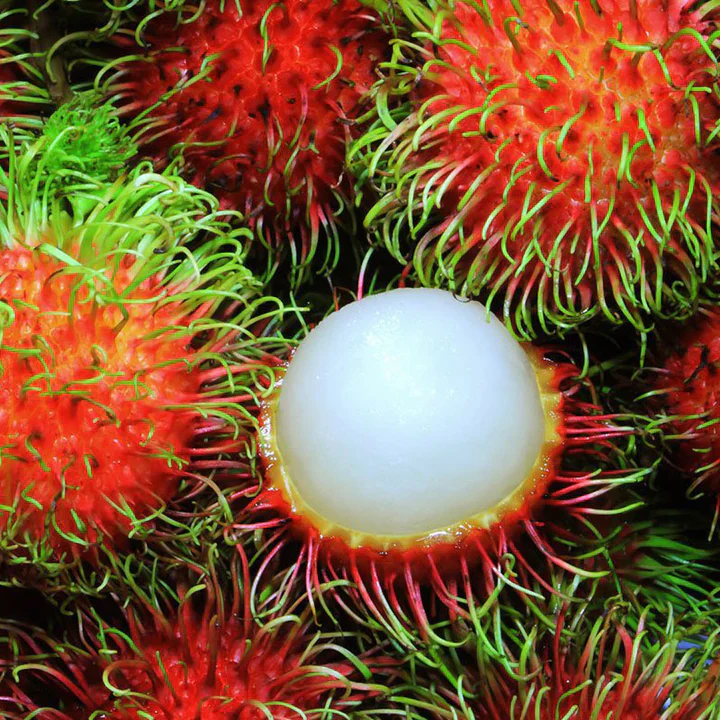
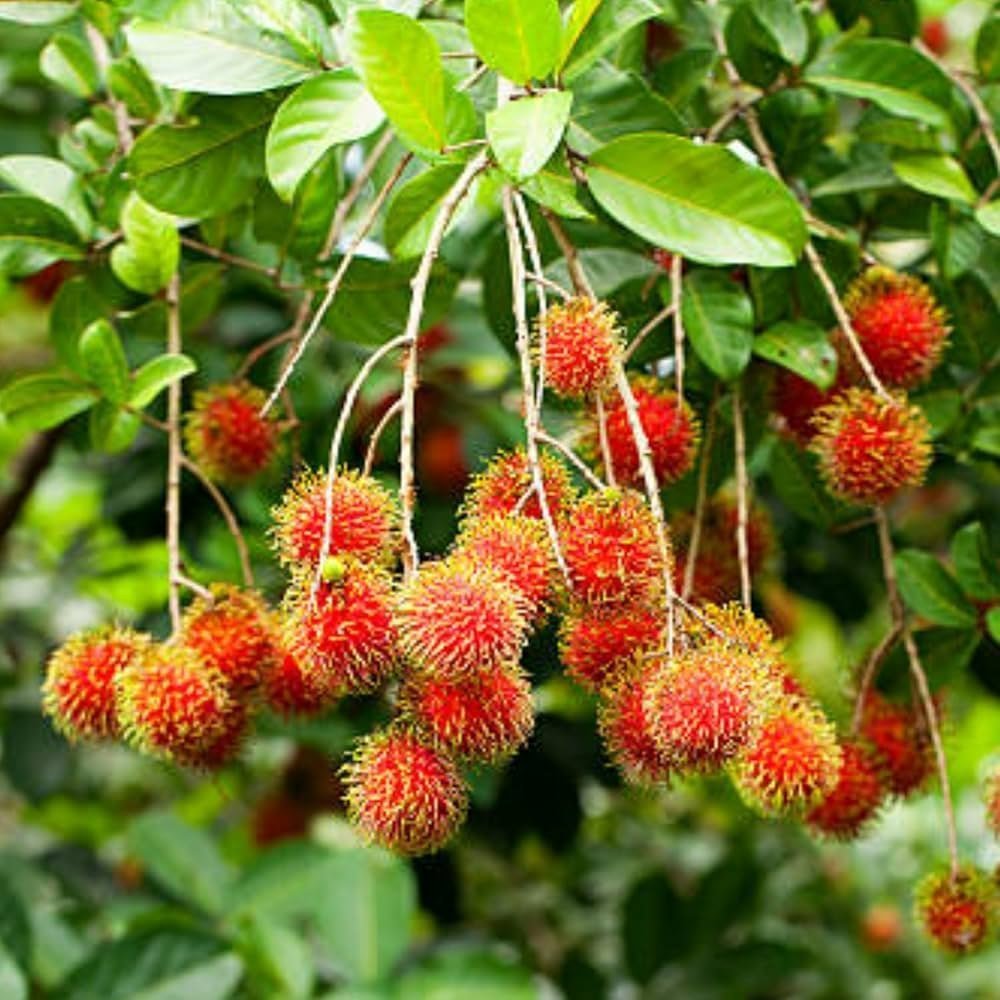
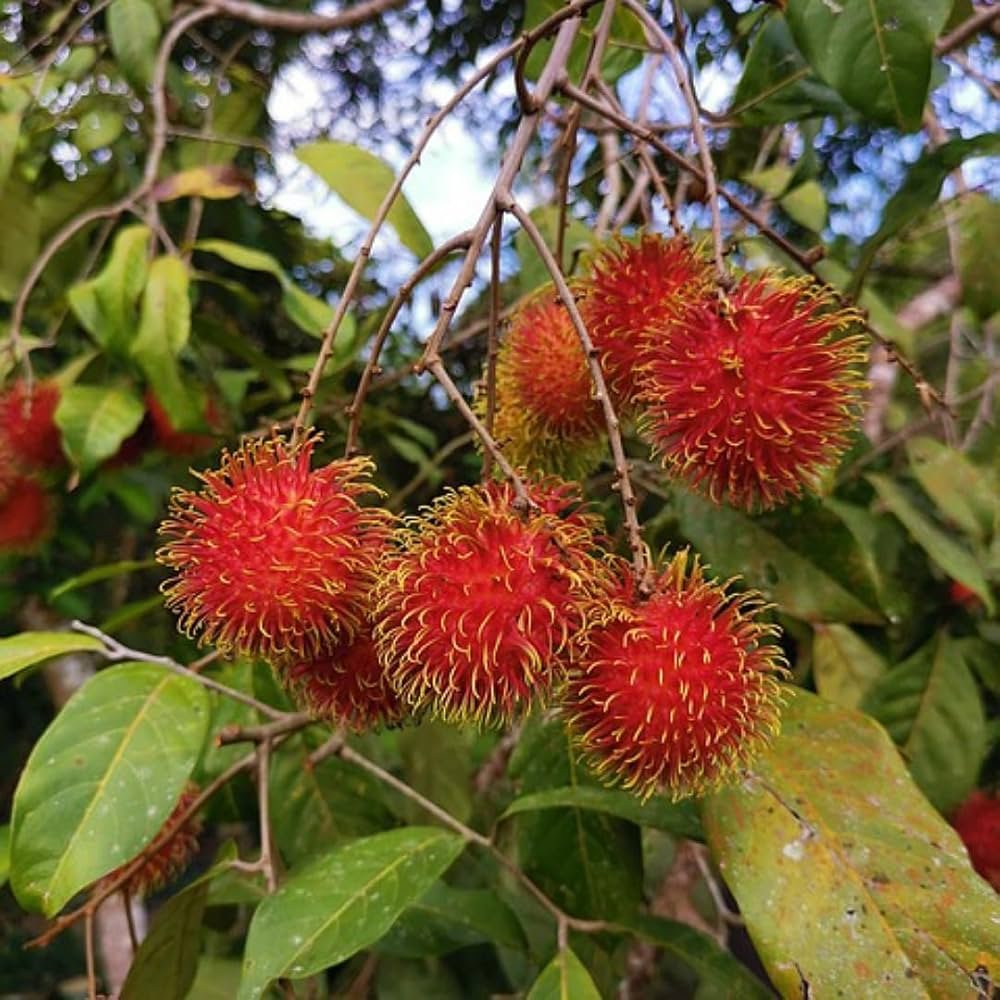
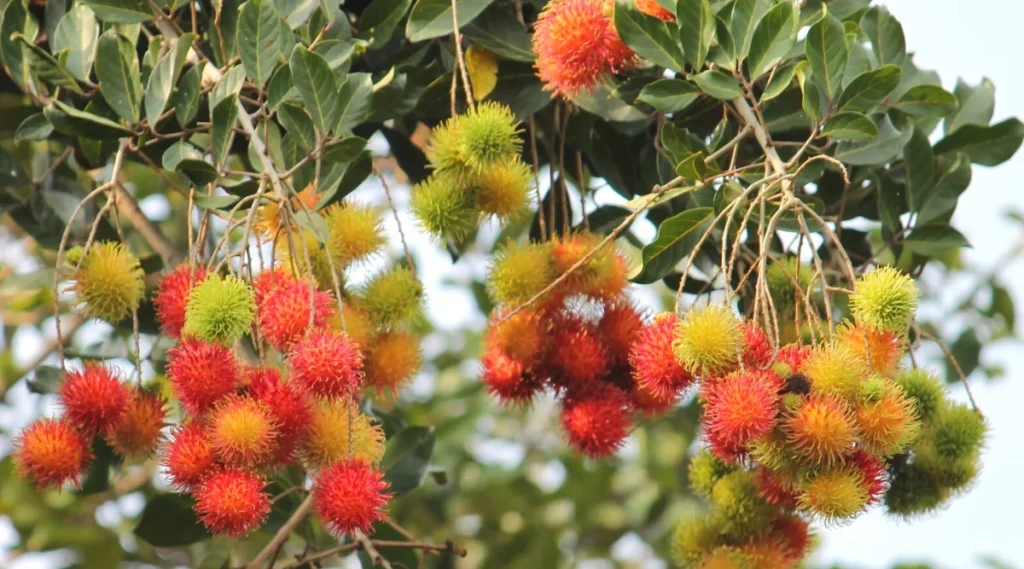
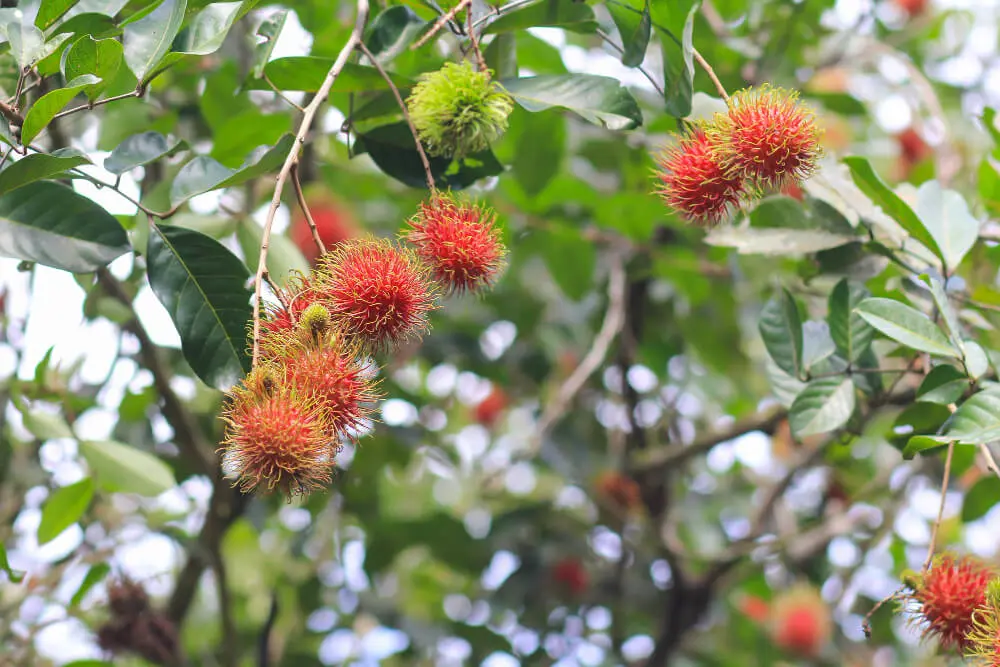
Growing rambutan trees usually requires patience, good soil, and the right tropical climate. But gardeners have recently started experimenting with a unique technique that’s surprisingly simple yet incredibly effective — grafting rambutan onto banana stems. While this method may sound unusual, it’s grounded in solid gardening principles and can significantly improve rooting success, early growth, and plant vigor.
If you want a method that is fun, low-cost, and highly effective, this banana-grafting trick may be the perfect technique to try at home. Below is a detailed guide on how and why this works, how to do it correctly, and how to care for the grafted plant to ensure a healthy and productive rambutan tree.
🌿 Why Grafting Rambutan onto Banana Stems Works
Rambutan seeds often take a long time to germinate, and the seedlings are delicate during the early stages. Banana stems, on the other hand, are full of moisture, nutrients, and natural hormones that promote rapid root initiation.
Here’s why banana-stem grafting is surprisingly successful:
1. Banana stems hold water like a sponge
This moist environment keeps the rambutan scion from drying out, ensuring faster callus formation.
2. High natural cytokinin content
Bananas contain plant hormones that stimulate cell division and help the graft heal more quickly.
3. Naturally sterile and pest-resistant
Fresh banana trunks have fewer pathogens than soil, reducing early infections.
4. Provides steady nutrition
As the banana stem breaks down, it releases essential minerals the new graft can absorb.
This method doesn’t create a permanent banana-rambutan hybrid (that’s biologically impossible), but it provides a powerful growth environment for the rambutan cutting, increasing survival rates dramatically.
🌳 Materials You’ll Need
- Fresh banana stem (medium-sized trunk preferred)
- Healthy rambutan branch (6–8 months old semi-hardwood)
- Sharp grafting knife or sterilized blade
- Plastic wrap or grafting tape
- Rope, twine, or rubber band
- Natural rooting hormone (optional)
- Shade cloth or large leaves for protection
🍌🌱 Step-by-Step Guide: Easy Grafting Rambutan in Banana Stem
Follow these steps carefully to ensure maximum success.
Step 1: Select a Good Banana Stem
Choose a banana plant with:
- A thick, succulent stem
- No disease or pest damage
- Plenty of internal moisture
Cut the stem horizontally to expose a fresh surface. The top part should look wet and spongy — this is exactly what we want.
Step 2: Prepare the Rambutan Cutting
Use a semi-hardwood rambutan branch. It must include:
- 2–3 leaf nodes
- A pencil-thick stem
- Healthy, pest-free bark
Cut the leaves, leaving only half to reduce water loss.
Trim the base at a 45-degree angle for better contact.
If you have it, dip the cut end in rooting hormone to speed up root development — though the banana trunk alone works well.
Step 3: Insert the Cutting into the Banana Stem
Using a knife, make a vertical slit (2–3 cm deep) in the banana stem.
Slide the rambutan cutting into this slit so:
- The cut end is fully inside
- At least one node touches the banana flesh
This contact is crucial because that’s where the rambutan absorbs moisture and nutrients.
Step 4: Wrap and Secure
Seal the graft area tightly using:
- Plastic wrap
- Grafting tape
- Banana leaf strips
- Rope or twine
The seal:
- Prevents moisture loss
- Keeps the cutting stable
- Protects from insects
Make sure the wrap is snug but not too tight to crush the stem.
Step 5: Provide Shade and Moisture
Place the banana trunk (with the rambutan inserted) in a shaded area.
Maintain moisture by:
- Sprinkling water lightly around the banana stem
- Avoiding direct sunlight
The graft will begin to callus within a week.
🌦️ Rooting and Growth Timeline
Week 1–2: Callus Formation
The base of the rambutan cutting connects with the banana tissue and begins forming healing cells.
Week 3–5: Root Initiation
Tiny roots appear inside the banana stem. The cutting remains green and firm.
Week 6–8: First New Leaves
If new leaves sprout, the graft is successful.
At this stage, the cutting is ready for transplantation.
Week 9–12: Potting
Remove the cutting along with a small chunk of banana tissue and plant it in loose soil.
The decomposing banana tissue continues feeding the plant.
🌳 Transplanting the Grafted Rambutan Cutting
When roots have formed:
- Prepare a pot with:
- 50% cocopeat
- 30% compost
- 20% river sand
- Make a small hole and gently place the rooted cutting.
- Cover lightly and water well.
- Keep in partial shade for 1 month.
- After 8–12 months, transplant to the ground.
🌱 Caring for Your New Rambutan Plant
To ensure strong growth and high fruit production:
1. Watering
Rambutan loves moisture but hates waterlogging.
Water deeply 2–3 times per week.
2. Fertilizer
Feed every 45 days with:
- Compost
- Cow manure
- Banana peel fertilizer
- Fish amino acid (optional)
3. Sunlight
Provide at least 6 hours of filtered sunlight daily.
4. Pruning
Prune to maintain a low, round canopy. This helps:
- Increase fruiting
- Improve air circulation
- Make harvesting easier
🍈 When Will It Bear Fruit?
Rambutan grown from grafted cuttings usually fruits in:
3–4 years
(compared to 6–8 years from seed)
This banana-stem method boosts early development, making the plant stronger and better prepared for early fruiting.
🌟 Why This Method “Yields a Lot”
The banana trunk technique results in:
- Higher graft success rates
- Stronger early growth
- Better nutrient uptake
- Reduced transplant shock
- Faster maturity
A vigorous young tree is more likely to produce heavy fruit harvests sooner.
🍌🌿 Final Thoughts
The “Rambutan-in-Banana” grafting method may look unusual, but it’s incredibly effective — especially for home gardeners who struggle with delicate rambutan seedlings. This technique:
- Saves time
- Increases success rates
- Produces a stronger plant
- Encourages earlier and heavier fruiting
Whether you are a beginner or an experienced gardener, this fun and practical trick is absolutely worth trying.
If you want, I can also create: