
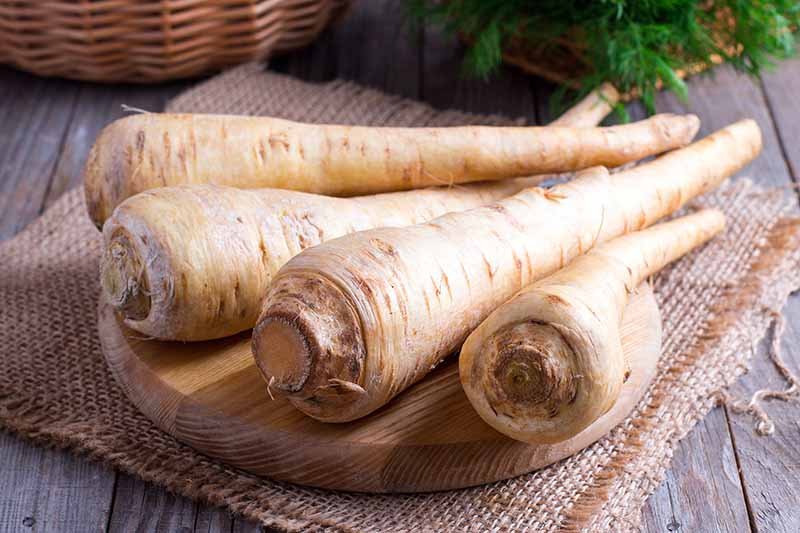
The parsnip tree—often confused with the common parsnip root vegetable—is a hardy, fast-growing plant valued for its medicinal benefits, aromatic leaves, and soil-improving qualities. Whether you grow it for herbal uses, shade, composting material, or ornamental beauty, you can easily multiply this useful tree at home using simple propagation techniques.
If you’ve been wondering how to propagate parsnip trees to produce more plants and enjoy faster growth, this detailed guide will walk you through everything you need to know. From choosing the right planting material to boosting growth speed and preventing common mistakes, this 1200-word article covers it all.
🌱 Why Propagate Parsnip Trees?
The parsnip tree grows quickly, adapts to different climates, and requires minimal care. Gardeners love propagating it because:
✔ It grows easily from cuttings
✔ Produces new plants at zero cost
✔ Enhances soil fertility
✔ Creates a natural shade canopy
✔ Offers medicinal and culinary uses
✔ Grows well in pots and open ground
Propagating your own trees means you can expand your garden, share plants with others, or create a small home nursery.
🌿 Best Methods to Propagate Parsnip Trees
There are three popular and highly effective methods:
⭐ 1. Propagating from cuttings (most popular)
⭐ 2. Propagating from seeds
⭐ 3. Propagating using root division
Cuttings are the fastest and easiest, while seeds are useful when you want many plants at once.
Let’s go step-by-step.
🌱⭐ 1. Propagation Through Stem Cuttings (Fastest Method)
This method is easy, beginner-friendly, and gives the highest success rate.
Tools and materials you need:
- Healthy parsnip tree branch
- Sharp knife or pruning shears
- Water container
- Small pots or grow bags
- Coco peat or loose garden soil
- Rooting hormone (optional)
🔧 Step-by-Step Process
⭐ Step 1: Select the Right Branch
Choose a semi-hardwood branch that is:
- 6–8 inches long
- Healthy and disease-free
- Flexible but not too soft
Branches that are slightly older root faster and remain stable in soil.
⭐ Step 2: Cut at a 45-Degree Angle

Make a clean, slanted cut at the bottom of the branch. This increases surface area and helps the plant absorb moisture easily.
Remove the leaves from the bottom half of the cutting. Keep only 2–3 leaves at the top.
⭐ Step 3: Dip in Rooting Hormone (Optional)
If available, dip the cut end in rooting hormone.
If not, natural alternatives include:
- Cinnamon powder
- Aloe vera gel
- Honey
These prevent fungal infection and help with root formation.
⭐ Step 4: Prepare the Growing Medium
The ideal soil mix is:
- 50% cocopeat
- 30% sand
- 20% compost
This mixture is soft, drains well, and promotes root development.
Fill your pot or grow bag with this mix.
⭐ Step 5: Plant the Cutting
Push the cutting 2–3 inches into the soil.
Press gently around the base so it stands upright.
Water lightly until the soil is moist but not soggy.
⭐ Step 6: Provide Shade and Humidity
Keep the pot in:
- Indirect sunlight
- Warm and humid environment
- Away from wind
You may also cover the pot with a transparent plastic bag to trap humidity for faster rooting.
⭐ Step 7: Wait for Rooting
Roots start forming within 2–4 weeks.
Signs of successful rooting:
- New leaves appear
- The cutting becomes firm
- Growth becomes steady
Once the cutting becomes strong, shift it to a bigger pot or the ground.
🌿⭐ 2. Propagation From Seeds
Growing parsnip trees from seeds is slower but useful if you want many plants.
How to do it:
⭐ Step 1: Collect Fresh Seeds
Choose ripe seedpods and dry them completely.
⭐ Step 2: Pre-Soak Seeds
Soak the seeds in warm water for 8 hours to soften the shell.
⭐ Step 3: Prepare Soil
Use a mixture of garden soil + compost + sand.
⭐ Step 4: Plant the Seeds
Sow them 1 inch deep. Cover lightly with soil.
⭐ Step 5: Water Gently
Keep the soil consistently moist.
⭐ Step 6: Provide Sunlight
Place the pot where it gets morning sunlight.
Seeds germinate in 7–14 days.
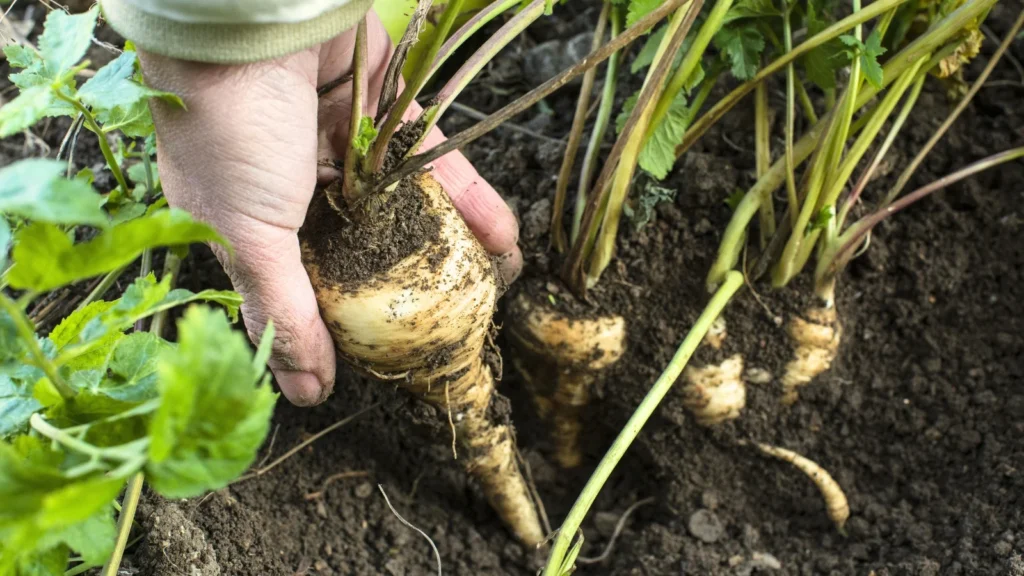
🌿⭐ 3. Root Division Method
If your parsnip tree produces multiple basal shoots or suckers, you can divide and replant them.
⭐ Steps:
- Water the plant deeply the day before.
- Gently dig around the base.
- Separate a young shoot with part of the root attached.
- Replant in soft soil.
- Water well and keep shaded for 10 days.
This method gives you an already established plant with faster growth.
🌞 Ideal Conditions for Strong Root Development
To improve success rate and speed:
🌿 Temperature:
Warm climates between 22–32°C work best.
🌿 Light:
Bright indirect light for young cuttings.
Full sunlight once established.
🌿 Water:
Moist soil—not too dry and not waterlogged.
🌿 Soil Type:
Loose, airy, and drainage-friendly soils give excellent results.
🍃 How to Care for Newly Propagated Parsnip Trees
Proper care ensures rapid growth and strong root formation.
⭐ 1. Watering
Water lightly every 2–3 days.
Avoid heavy watering that may cause rot.
⭐ 2. Mulching
Use:
- Dry leaves
- Grass clippings
- Coconut fiber
Mulching keeps the soil cool and moist.
⭐ 3. Feeding
Use organic fertilizers like:
- Cow dung manure
- Compost
- Vermicompost
Apply every 30–40 days.
⭐ 4. Pruning
Once the plant grows 1–2 feet tall:
- Remove weak branches
- Allow strong shoots to develop
- Shape the tree early
This improves airflow and future branching.
🌿 Common Mistakes to Avoid
Avoid these errors to improve success rate:
❌ Using very soft, green stems
They rot easily and rarely root.
❌ Overwatering
Leads to fungal infection.
❌ Keeping cuttings in harsh sunlight
Direct heat burns young tender shoots.
❌ Planting in heavy clay soil
This suffocates the roots.
❌ Not removing lower leaves
Leaves touching soil cause rotting.
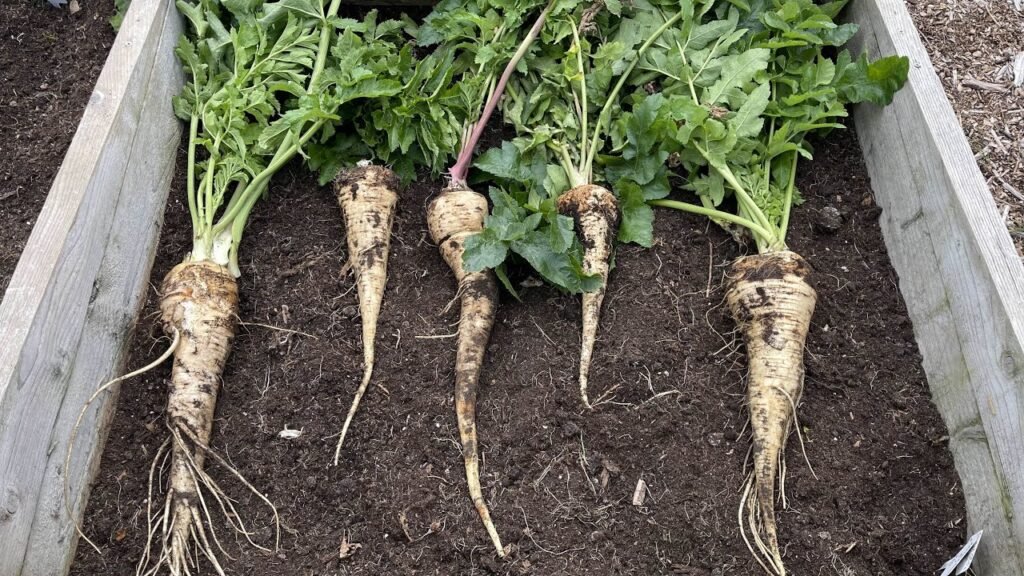
🌱 When to Transplant Your New Parsnip Tree
Once the new plant shows:
- 8–10 new leaves
- Strong stem
- Root growth visible at bottom of pot
It is ready to be moved.
Best time to transplant:
- Early monsoon
- Late summer
- Early winter in warm regions
Dig a hole twice the size of the root ball, place the plant, and fill with enriched soil.
🌳🌼 How to Promote Faster Growth and More Yield
To help the plant grow quickly and become more productive:
✔ Add bone meal or rock phosphate
Boosts strong root growth.
✔ Provide at least 5–6 hours of sunlight
Essential for leaf and stem development.
✔ Use compost tea every 20 days
Improves nutrient availability.
✔ Keep soil loose
Roots expand faster when soil is soft and airy.
✔ Protect from pests
Use neem oil spray every 15 days.
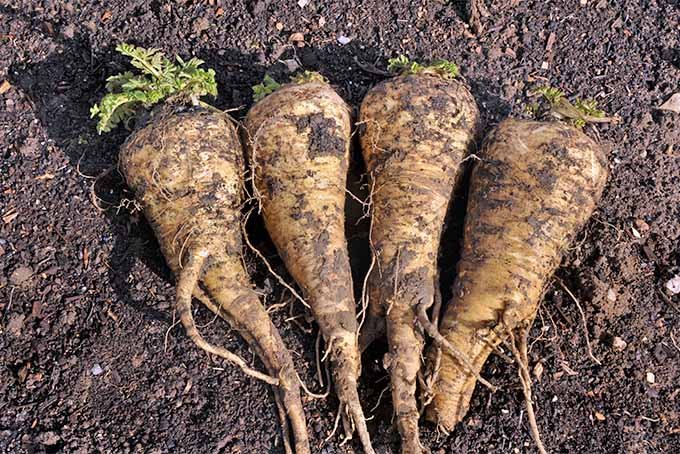
🌿🎉 Final Thoughts: Grow More Parsnip Trees with Simple Propagation
Propagating parsnip trees is easy, cost-effective, and highly rewarding. Whether you choose stem cuttings, seeds, or root division, you can multiply your plants quickly with minimal effort.
With the right care—good soil, proper watering, sunlight, and organic feeding—your propagated parsnip trees will grow strong and healthy, enhancing your garden and giving you a continuous supply of leaves, shade, and beauty.