If you’ve ever walked past mushrooms in the supermarket and wondered whether you could grow your own at home—fresh, organic, chemical-free—the answer is YES, and the method is far easier than you can imagine.
In fact, you don’t need a garden…
You don’t need a greenhouse…
You don’t even need fancy mushroom-growing equipment…
All you need is one bowl, a little care, and the right ingredients.
This article reveals the incredibly simple step-by-step method for growing mushrooms at home using a bowl. Even complete beginners can produce big, tasty, healthy mushrooms without spending much money or space. The process works in apartments, small homes, cold climates, and warm countries alike.
Let’s explore the unbelievable world of bowl-grown mushrooms!
🌱 Why Growing Mushrooms in a Bowl Works So Well
It sounds too easy to be true, but growing mushrooms in a bowl is perfectly possible. Mushrooms don’t behave like typical plants—they don’t need sunlight, soil, or fertilizers.
Here’s why this method works:
✔ Mushrooms grow in the dark
They thrive in low-light areas where most plants fail.
✔ They need very little space
A single medium-sized bowl is enough to produce a generous batch.
✔ They grow quickly
Some varieties mature in just 10–20 days.
✔ They require minimal tools
Just a bowl, water, substrate, and mushroom spawn.
✔ They are perfect for beginners
No garden knowledge needed—just follow the simple process.
✔ Home-grown mushrooms are healthier
No chemicals, pesticides, or preservatives.
You’ll be surprised how much food you can harvest from such a tiny setup!
🍄 The Best Mushroom Types for Bowl Growing
Not all mushrooms grow equally well in a bowl. These varieties are the easiest and most productive:
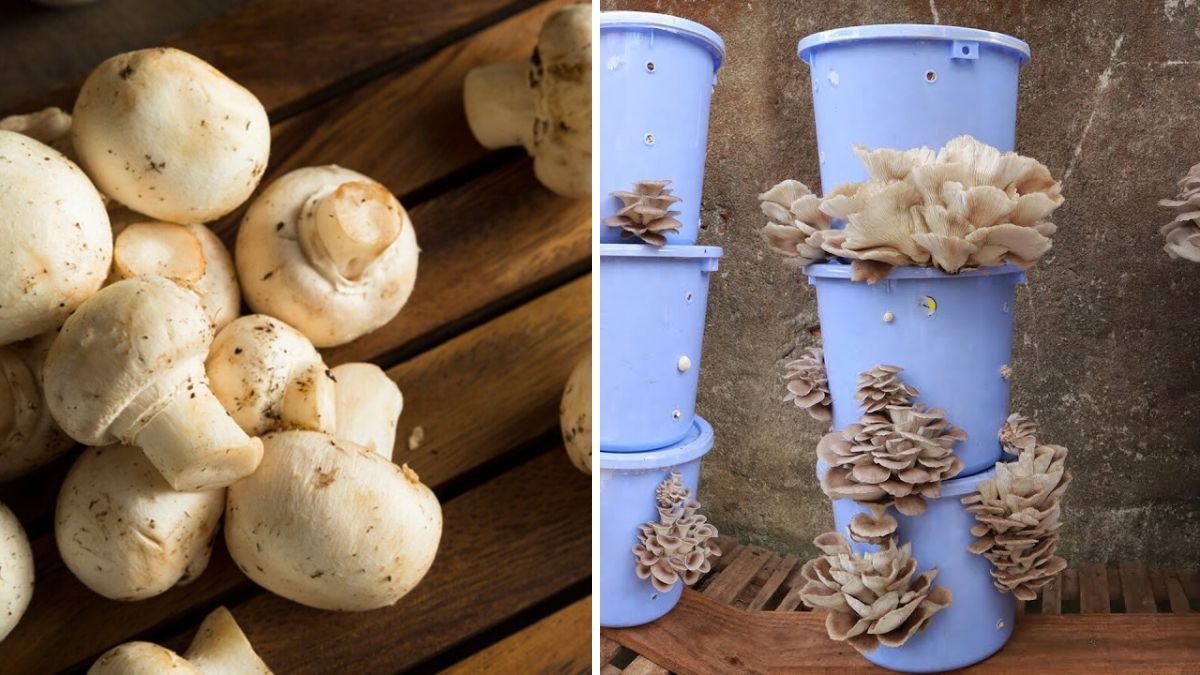
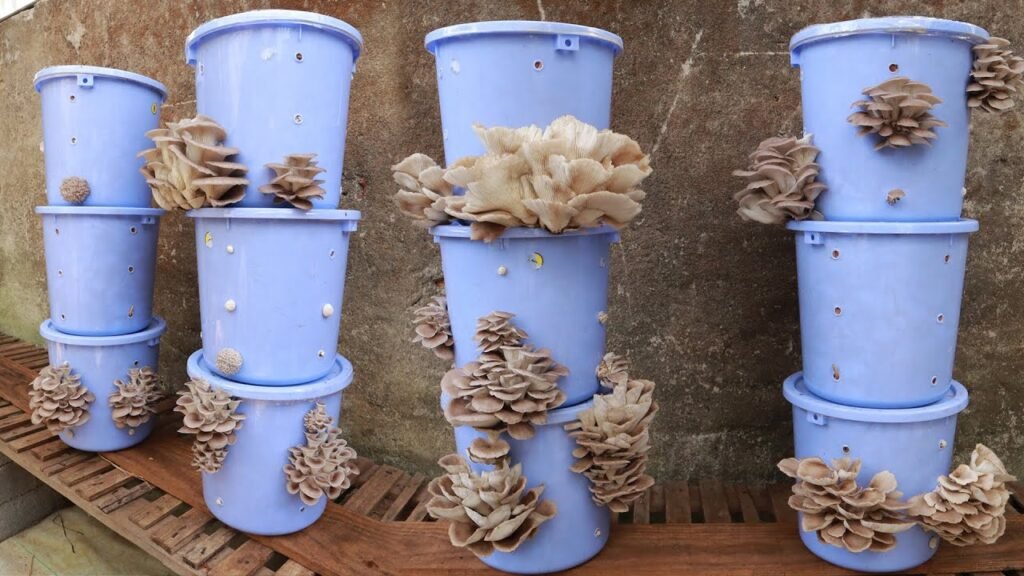
⭐ Oyster Mushrooms
Fast-growing, delicious, and perfect for beginners.
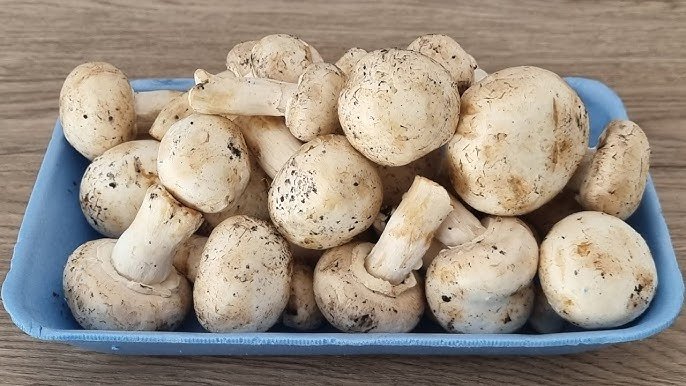
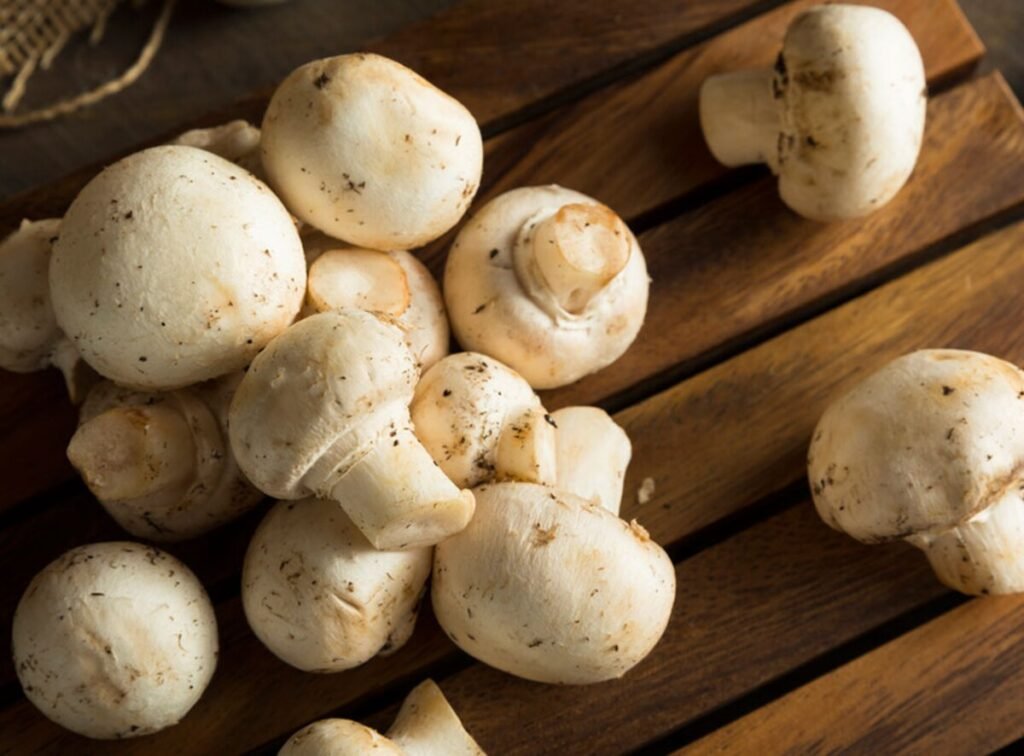
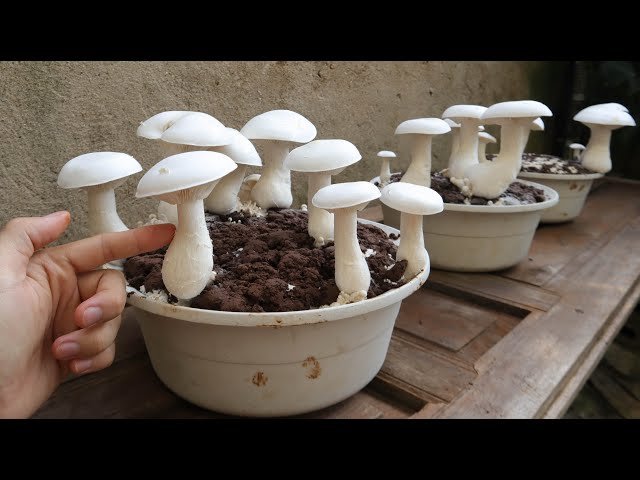
⭐ Button Mushrooms
Classic white mushrooms used in soups and pizzas.
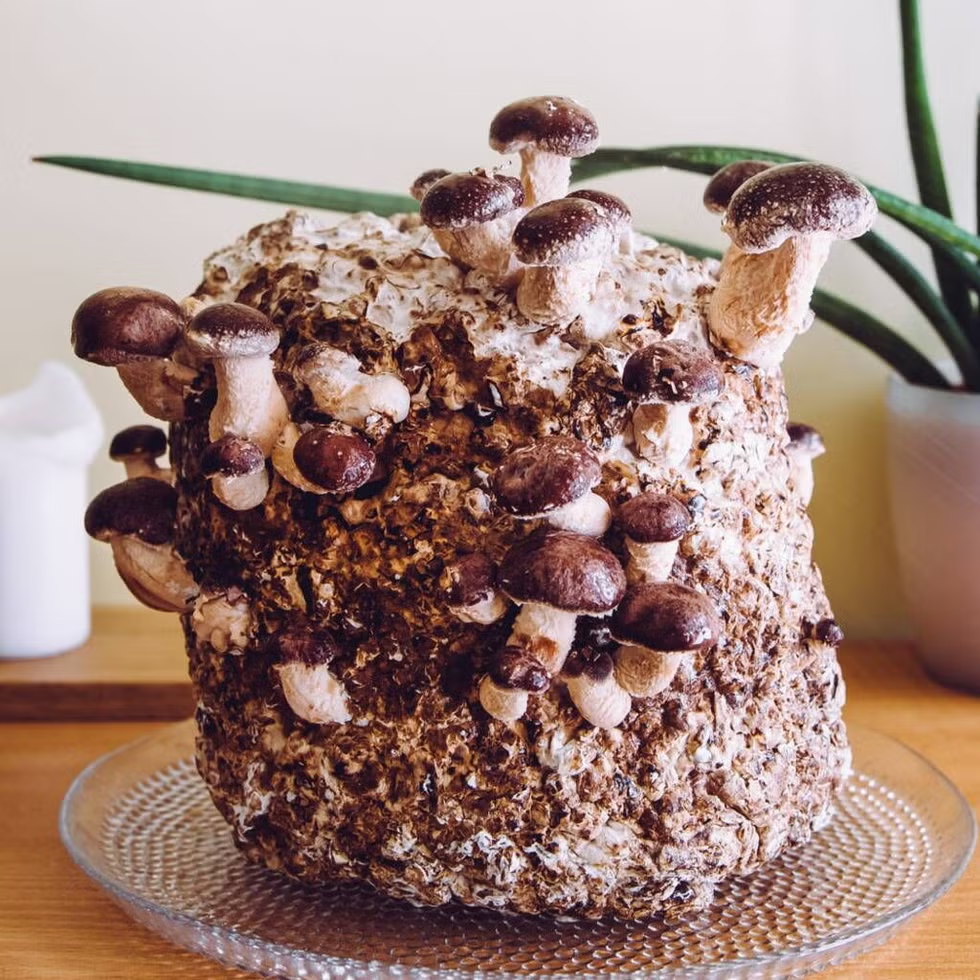
⭐ Shiitake Mushrooms
More flavor, slower growth—but worth the wait.
⭐ King Oyster Mushrooms
Thicker stems and premium texture.
Among these, oyster mushrooms are the easiest and most forgiving.
🧰 What You Need to Start
The beauty of this method is how few items you need. Most can be found at home.
✔ A medium or large bowl
Plastic, ceramic, metal, or glass—all work.
✔ Substrate (mushroom growing base)
Choose from:
- Straw (chopped & boiled)
- Cardboard (soaked)
- Coconut coir
- Sawdust
- Coffee grounds
✔ Mushroom spawn (seed)
Buy from local suppliers or online.
✔ Plastic wrap or a cloth cover
To maintain humidity.
✔ Spray bottle
For misting.
✔ Gloves (optional)
For hygienic handling.
That’s it! You’re ready to grow mushrooms like a pro.
🪜 Step-by-Step Guide: Grow Mushrooms in a Bowl at Home
Follow these steps carefully, and you’ll see little white mushroom pins start popping up in days.
Step 1: Prepare the Bowl
Choose a bowl that:
- Is at least 4–6 inches deep
- Has a wide opening
- Can retain moisture
Wash it thoroughly with hot water to remove bacteria.
Step 2: Prepare Your Substrate
Mushrooms grow on materials rich in cellulose. Different materials need different preparation:
If using straw
- Chop into small pieces
- Boil for 30 minutes to sterilize
- Drain and let cool
If using cardboard
- Tear into strips
- Soak in hot water
- Squeeze out excess moisture
If using coffee grounds
Use freshly brewed, cooled grounds (within 24 hours).
If using cocopeat
Hydrate with warm water until fluffy and moist.
Your substrate should feel like a wrung-out sponge—moist but not dripping.
Step 3: Mix in the Mushroom Spawn
When the substrate has cooled completely:
- Break the mushroom spawn into small pieces
- Mix evenly into the substrate
- Use gloves to avoid contamination
Make sure the spawn is spread throughout the bowl—not just on top.
Step 4: Pack the Bowl Loosely
Fill the bowl with the substrate-spawn mix, leaving 1–2 inches of space at the top.
Do NOT pack it tightly. Mushrooms need some airflow.
Level the surface gently with your hand.
Step 5: Create a Humid, Dark Environment
Humid air is crucial for mushroom growth.
Cover the bowl with:
- Plastic wrap (poke a few tiny holes)
OR - A moist cloth
Place the bowl in a:
- Dark corner
- Cabinet
- Under-sink area
- Basement
- Pantry shelf
Ideal temperature: 20–25°C (68–77°F).
Step 6: Let the Mycelium Grow (Incubation Phase)
Over the next 7–10 days:
- The white mycelium will spread
- The substrate will turn white
- A pleasant mushroom smell will appear
This is exactly what you want!
Do NOT open the bowl too much—just check moisture once every 2 days.
If the substrate starts drying:
- Mist lightly with clean water
Avoid overwatering.
Step 7: Initiate Fruiting
Once the substrate turns mostly white, move the bowl to a slightly brighter spot (not direct sunlight).
Light triggers mushrooms to start forming.
Remove the cover and:
- Increase airflow
- Mist lightly 1–2 times daily
- Maintain humidity around 90%
Within a few days, you’ll start seeing tiny mushroom buds appear.
Step 8: Harvesting Your Mushrooms
Your mushrooms are ready when:
- Caps expand fully
- Edges flatten
- They look plump and fresh
- They smell earthy and clean
To harvest:
- Gently twist and pull
OR - Cut at the base with a clean knife
Do not let mushrooms open too wide—they may drop spores.
A single bowl can give multiple flushes (harvest cycles) if kept moist.
🍽 Enjoying Your Home-Grown Mushrooms
Home-grown mushrooms taste richer and fresher than store-bought ones. Use them in:
- Stir-fries
- Soups
- Pasta
- Rice bowls
- Omelets
- Grilled recipes
- Sandwiches
- Homemade pizza
They absorb flavors beautifully and cook in minutes.
🧽 Caring for Your Bowl Garden After Harvest
To keep getting more mushrooms:
✔ Mist daily
✔ Maintain humidity
✔ Keep in indirect light
✔ Remove old stems
✔ Add a thin layer of fresh substrate if needed
Most bowls can produce 2–4 harvests before the substrate is exhausted.
🐞 Common Problems & Easy Fixes
❌ Green Mold Appears
Cause: Too much moisture or poor air circulation
Fix: Remove moldy areas, reduce watering, improve airflow.
❌ Mushrooms Grow Thin or Long
Cause: Not enough fresh air
Fix: Remove cover earlier or place in a better-ventilated area.
❌ No mushrooms forming
Cause: Spawn died or substrate is too dry
Fix: Mist more regularly and check temperature.
❌ Substrate smells bad
Cause: Contamination
Fix: Discard and start fresh (common for beginners).
Most issues are easily corrected.
🌟 Why This Method Is So Popular Worldwide
Growing mushrooms in a bowl is becoming a global trend because:
⭐ It’s extremely cheap
⭐ Requires almost no space
⭐ Produces food fast
⭐ Uses household items
⭐ Perfect for apartments & small homes
⭐ Reduces grocery expenses
⭐ A fun family activity
⭐ Environmentally friendly
⭐ Gives fresh, organic harvests
Even children and elderly gardeners love this project.
🌱 Conclusion: Grow Fresh Mushrooms Anytime, Anywhere!
It’s unbelievable but absolutely true—you can grow a thriving mushroom crop right in a simple bowl with just a bit of preparation and patience. Whether you live in a small apartment, a busy city, or a cold region, this method fits perfectly.
With no soil, no sunlight, and no expensive equipment, you’ll be harvesting fresh mushrooms in just weeks. Once you try this incredibly simple technique, you’ll never want to buy mushrooms from the store again.
Start today with one bowl, and soon you may find yourself growing a mini mushroom farm at home!