Kale has emerged as a superfood in recent years, loved for its nutritional value and versatility in the kitchen. Growing your own kale baby greens at home can not only enhance your meals but also bring a sense of accomplishment and joy to your gardening experience. This guide will walk you through the simple steps to successfully grow delicious kale baby greens right in your backyard, on your balcony, or even indoors.
Understanding Kale
Kale (Brassica oleracea var. sabellica) is a member of the cruciferous family, which includes broccoli, cauliflower, and brussels sprouts. The leaves of kale are rich in iron, calcium, vitamins A, C, K, and antioxidants, making it a nutrient-dense addition to salads, smoothies, and various dishes.
Benefits of Growing Kale
-
Nutritional Value: Freshly harvested kale is packed with nutrients that are beneficial for health.
-
Flavor: Homegrown kale often tastes better than store-bought varieties, which can be picked prematurely.
-
Cost-effective: Growing your own greens lessens your grocery bill.
-
Convenience: Having kale at your fingertips means you can pick what you need when you need it.
Step-by-Step Guide to Growing Kale Baby Greens
Step 1: Choose Your Variety
Kale comes in various types. For baby greens, you might want to consider:
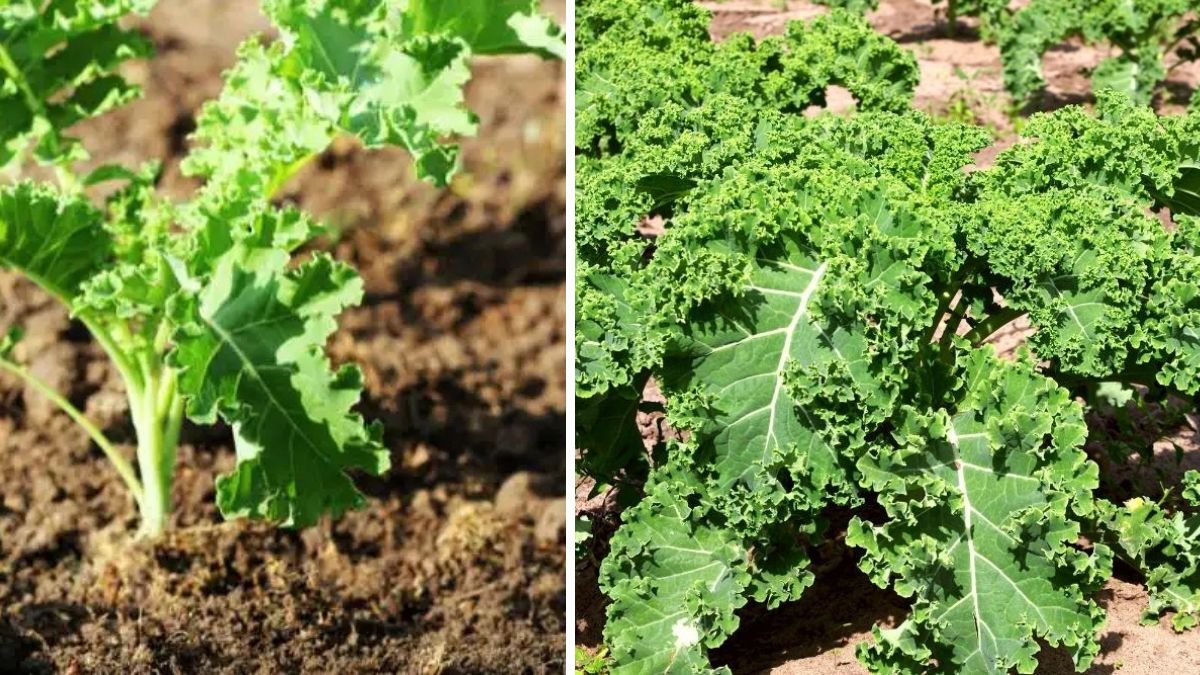
- Lacinato (Dinosaur): Dark green, narrow leaves with a wrinkled texture.
- Curly Kale: A classic variety with ruffled leaves, great for salads.
- Red Russian: Tastes slightly sweeter and has a purplish hue.
Select a variety that you enjoy or want to experiment with, as each has its unique flavor and texture.
Step 2: Gather Your Supplies
To grow kale baby greens at home, you will need the following supplies:
- Seeds: Zone-appropriate kale seeds.
- Containers: If you’re growing indoors or on a balcony, choose pots that are at least 6-8 inches deep.
- Soil: A quality potting mix with good drainage is ideal.
- Watering can or spray bottle: For gentle watering.
- Grow lights (if growing indoors): If you don’t receive adequate natural light.
Step 3: Prepare the Soil
Kale thrives in well-draining, nutrient-rich soil with a pH of 6.0-7.5.
- Mix Potting Soil: Combine potting soil with compost to increase nutrient levels.
- Containers: If using containers, ensure they have drainage holes to prevent waterlogging.
Step 4: Sow the Seeds
- Timing: Kale can be sown indoors 6-8 weeks before the last frost date or directly outdoors in early spring or fall.
- Planting Depth: Sow the seeds about 1/4 to 1/2 inch deep and space them about 2-4 inches apart.
- Watering: Lightly water the seeds after sowing.
Step 5: Provide Optimal Conditions
Kale loves cooler temperatures but requires some sunlight to grow adequately.
- Light: Kale needs at least 4-6 hours of sunlight daily. If you’re growing indoors, position your seeds near a south-facing window or use grow lights.
- Temperature: Aim for temperatures between 45°F and 75°F (7°C to 24°C).
Step 6: Watering
Kale needs consistent moisture, but avoid overwatering.
- Watering Routine: Water when the top inch of soil feels dry. Test by touching the soil with your finger. If it’s dry, it needs a drink.
- Technique: Water gently to avoid disturbing seedlings.
Step 7: Thinning the Seedlings
Once your seedlings have developed their first true leaves, it’s time to thin them out:
- Spacing: Keep the healthiest seedlings, spacing them about 4-6 inches apart.
- Technique: Cut the excess seedlings at the soil line with scissors to avoid disturbing the roots of the remaining plants.
Step 8: Fertilizing
Kale grows best with a nutrient boost.
- Fertilizer Type: Use a balanced, water-soluble fertilizer (like a 10-10-10 or 20-20-20).
- Application: Feed every 4-6 weeks, following the manufacturer’s guidelines.
Step 9: Pest and Disease Management
Being vigilant will help you keep your kale healthy.
- Pests: Keep an eye out for aphids, caterpillars, and other pests. Hand-picking and insecticidal soap can be effective.
- Diseases: Watch for signs of fungal disease. Ensure good air circulation and avoid watering the leaves.
Step 10: Harvesting
Kale baby greens are ready to harvest when they are about 3-4 inches tall, typically within 25-30 days after sowing.
- Cut Leaves: Use scissors to cut the outer leaves, allowing the inner leaves to continue growing.
- Frequency: You can continually harvest, which encourages more growth.
Step 11: Enjoy Your Kale
Kale can be enjoyed fresh in salads, smoothies, or sautéed as a side dish. Experiment with different recipes to find out how you prefer it.
FAQs About Growing Kale Baby Greens
1. How long does it take for kale baby greens to grow?
Kale baby greens typically take 25-30 days to grow, depending on the variety and growing conditions.
2. Can kale be grown indoors?
Yes! Kale can be successfully grown indoors with adequate light. Utilizing grow lights can enhance growth when natural light is insufficient.
3. What is the ideal temperature for growing kale?
Kale thrives in cooler temperatures generally between 45°F and 75°F (7°C to 24°C).
4. How often should I water my kale?
Water your kale when the top inch of soil feels dry. Ensure the soil remains consistently moist but not waterlogged.
5. Can I plant kale in the summer?
Kale prefers cooler weather, so it’s best planted in early spring or fall. However, if you live in a mild climate, you can plant it in summer with some shade.
6. How do I store harvested kale?
Store your harvested kale in a plastic bag in the refrigerator’s crisper drawer. It can stay fresh for about 5-7 days.
7. What pests should I watch out for when growing kale?
Common pests include aphids, caterpillars, and flea beetles. Inspect your plants regularly and take appropriate action if you spot these pests.
8. Is kale safe for pets?
Kale is generally safe for pets like dogs, but in large amounts, it can contribute to kidney problems. Always consult your vet regarding dietary changes for your pets.
9. What are the best companion plants for kale?
Companion plants like garlic, herbs, and flowers (like marigolds) can help deter pests and boost growth.
10. What’s the nutritional value of kale?
Kale is rich in vitamins A, C, and K, along with minerals like calcium and iron. It’s also high in antioxidants.
Conclusion
Growing kale baby greens at home is a fulfilling and straightforward endeavor that yields delicious and nutritious results. By following these simple steps, you can enjoy a steady supply of fresh greens right from your garden or kitchen. Remember to experiment with varieties, recipes, and techniques, and soon you’ll be a kale-growing expert in no time! Happy gardening!