Kale has gained immense popularity over the years, heralded as one of the superfoods of the modern era. Known for its high nutrient density, kale is not only versatile in the kitchen but also surprisingly easy to grow. In this article, we’ll explore the simple steps to cultivate delicious kale baby greens at home, perfect for salads, smoothies, and garnishes. We’ll also address some frequently asked questions (FAQs) to help you get started and troubleshoot common issues.
Why Grow Kale Baby Greens?
Kale baby greens are harvested early, typically between 2 to 4 weeks after germination, when the leaves are tender and flavorful. Here are a few compelling reasons to grow kale at home:
- Nutritional Powerhouse: Kale is rich in vitamins A, C, and K, antioxidants, and fiber.
- Easy to Grow: Whether you have a garden, balcony, or windowsill, kale can thrive in various spaces.
- Variety of Uses: Use them in salads, smoothies, stir-fries, or as a garnish for soups and stews.
- Pest Resistance: Kale is relatively resistant to pests compared to other leafy greens.
Step-by-Step Guide to Growing Kale Baby Greens
Step 1: Choose Your Kale Variety
Kale comes in several varieties, including:
- Curly Kale: Most commonly found, with ruffled leaves and a robust taste.
- Lacinato Kale (Dinosaur Kale): Characterized by dark blue-green, flat leaves; tends to be sweeter.
- Red Russian Kale: Has a mild flavor with purplish leaves.
For baby greens, select any variety that appeals to your taste. Each has unique flavors and textures.
Step 2: Select the Right Container or Garden Space
Kale can be grown in containers, raised beds, or directly in the garden. Here are a few options:
- Containers: Choose pots that are at least 6-8 inches deep. Ensure they have drainage holes.
- Raised Beds: If utilizing a raised garden bed, make sure it’s well-draining.
- Garden Soil: When planting in-ground, select a sunny spot with fertile soil.
Step 3: Prepare the Soil
Kale prefers well-draining soil rich in organic matter. Here’s how to prepare it:
- Soil Testing: Consider testing your soil pH. Kale prefers a pH of around 6.0 to 7.5.
- Amendments: Incorporate compost or well-rotted manure into the soil to enhance fertility and drainage.
Step 4: Sowing the Seeds
You can start kale seeds indoors or outdoors, depending on your climate:
- Indoors: Start seeds 4-6 weeks before the last frost date. Sow them in seed trays or small pots, planting seeds about ¼ inch deep.
- Outdoors: Sow seeds directly in the soil after the last frost date. Space seeds about 1-2 inches apart.
Step 5: Watering
Kale requires consistent moisture, especially during germination. The general rule of thumb is:
- Watering Schedule: Water the seedlings daily or every other day, ensuring the soil remains moist but not soggy. Once established, water kale about twice a week.
Step 6: Providing Light
If you are growing kale indoors, ensure they receive adequate light:
- Sunlight: Kale needs about 6 hours of sunlight daily. If sunlight is insufficient, consider using grow lights.
Step 7: Thinning Seedlings
Once the seedlings are about 2-3 inches tall, thin them to prevent overcrowding:
- Spacing: Space the plants 4-6 inches apart. Use scissors to snip off excess seedlings at the soil level rather than pulling them out, to avoid disturbing the roots of the remaining seedlings.
Step 8: Fertilizing
Kale benefits from fertilization during its growth stages:
- Type of Fertilizer: Use a balanced, organic fertilizer or one high in nitrogen (like fish emulsion) every few weeks after establishing growth.
Step 9: Pest and Disease Management
While kale is resistant to many pests and diseases, monitoring for issues is key:
- Common Pests: Watch for aphids, cabbage worms, and flea beetles.
- Organic Solutions: Utilize insecticidal soap, neem oil, or introduce beneficial insects like ladybugs to help manage pests.
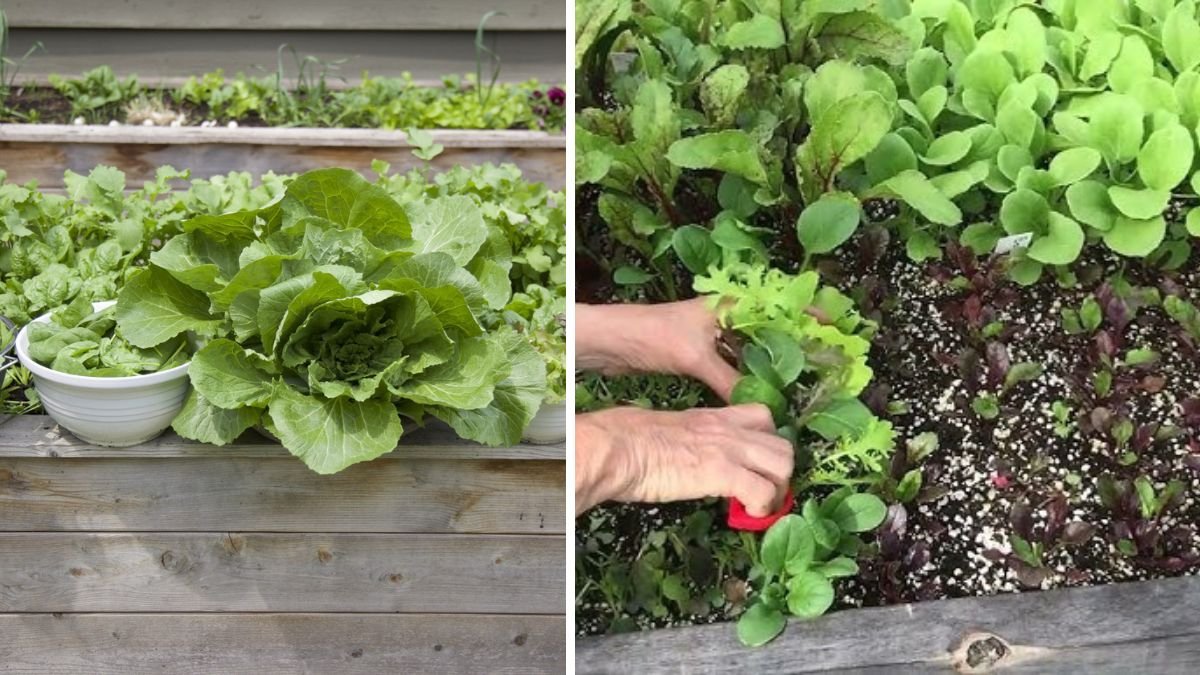
Step 10: Harvesting
Kale baby greens are typically ready for harvest within 2-4 weeks after germination:
- How to Harvest: Use scissors to cut leaves just above the soil level. This encourages further growth. Aim to harvest early in the morning for the best flavor.
Step 11: Enjoying Your Greens
Now that you’ve successfully grown your kale baby greens, it’s time to use them in various dishes:
- Salads: Toss them into salads for an added crunch.
- Smoothies: Blend them into smoothies for an extra nutrient boost.
- Stir-fries: Lightly sauté kale baby greens with garlic and olive oil for a quick side dish.
Frequently Asked Questions (FAQs)
1. How can I keep my kale baby greens from getting bitter?
Kale can become bitter if it’s exposed to too much heat or if it matures too slowly. To prevent bitterness, harvest the leaves before they fully mature and provide them some shade during extremely hot days.
2. Can I grow kale indoors?
Yes, kale can be grown indoors as long as it receives sufficient light and has proper drainage. Use containers with drain holes and place them near a sunny window or under grow lights.
3. What is the best time of year to grow kale?
Kale is a cool-season crop. It can be planted in early spring or late summer for a fall harvest. It can endure light frost, which can actually enhance its flavor.
4. How long does it take for kale to grow?
Kale baby greens can be harvested about 2-4 weeks after germination, while full-sized leaves will take about 50-70 days to reach maturity, depending on the variety.
5. What should I do if my kale is yellowing?
Yellowing leaves can be a sign of nutrient deficiency (often nitrogen) or overwatering. Ensure you’re fertilizing appropriately and that your soil drains well.
6. How do I store harvested kale?
Store harvested kale in a plastic bag or container in the refrigerator. It’s best consumed fresh but can last in the fridge for up to a week.
7. Can I save seeds from my kale plants?
Yes, if you allow one or more plants to flower and go to seed, you can collect and save the seeds for next planting season. Just ensure you label the seeds correctly for future reference.
Conclusion
Growing kale baby greens at home is a rewarding endeavor that enhances your meals with fresh, nutritious greens. By following these simple steps, you can cultivate a bountiful harvest right in your own space. Whether you’re an experienced gardener or a beginner, growing kale is an achievable and enjoyable gardening project. Get started today, and soon you’ll be indulging in the fresh flavors and health benefits of your homegrown kale!