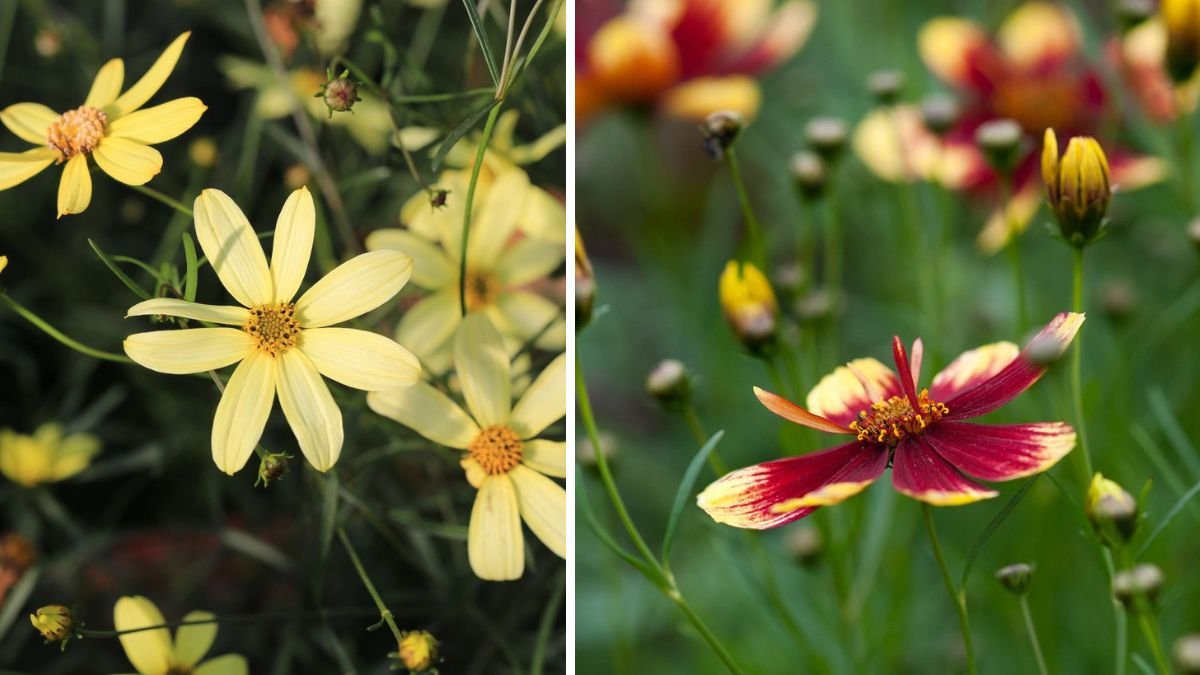
Coreopsis, commonly known as tickseed, is a delightful flowering plant that adds vibrant color and beauty to gardens and landscapes. With its daisy-like blossoms ranging from yellows to reds, coreopsis is not just visually appealing; it’s also a hardy plant that thrives in various conditions. This guide will walk you through the process of growing coreopsis from seed, providing step-by-step instructions and tips for gardeners, along with an FAQs section at the end.
Understanding Coreopsis
Types of Coreopsis
Coreopsis belongs to the aster family and includes about 80 species. The most popular types for home gardens include:
- Coreopsis tinctoria (Plains Coreopsis)
- Coreopsis verticillata (Threadleaf Coreopsis)
- Coreopsis grandiflora (Large-flowered Coreopsis)
Each type has unique characteristics, but all share resilience and beauty.
Benefits of Growing Coreopsis
- Easy to Grow: Coreopsis is relatively low-maintenance and can thrive in poor soils.
- Attracts Pollinators: The bright flowers attract butterflies and bees, making it great for pollinator gardens.
- Long Blooming Period: Coreopsis flowers throughout the summer, providing continuous color.
- Drought-Resistant: Once established, coreopsis can tolerate dry conditions.
Step-by-Step Instructions for Growing Coreopsis From Seed
Step 1: Gather Your Materials
Before you start planting, gather the following materials:
- Coreopsis seeds
- Seed-starting mix or potting soil
- Seed trays or pots
- Watering can or spray bottle
- Labels and markers
- Light source (if starting indoors)
Step 2: Prepare the Seeds
Coreopsis seeds benefit from a process called stratification, which mimics natural conditions that break seed dormancy.
- Cold Stratification: Place the seeds in a damp paper towel, enclose them in a plastic bag, and refrigerate for 1-2 weeks.
- Scarification (Optional): Gently rub seeds with sandpaper to encourage germination. This step is not always necessary but can enhance germination rates.
Step 3: Choose Your Planting Time
Plant your coreopsis seeds indoors 6-8 weeks before the last frost date in your area or directly outdoors after the last frost.
Step 4: Plant the Seeds
Indoor Germination
- Fill seed trays or pots with seed-starting mix.
- Moisten the soil, ensuring it is damp but not soggy.
- Sow the seeds about 1/4 inch deep, following the recommended spacing on your seed packet.
- Cover lightly with soil, then mist the surface to settle the seeds.
- Label the trays with the date and variety.
Outdoor Planting
- Choose a location with full sun (at least 6 hours of sunlight).
- Prepare the soil by removing weeds and rocks, then loosening the soil to a depth of about 12 inches.
- Sow seeds in rows, spacing them according to the seed packet guidelines.
- Lightly cover with soil and water gently.
Step 5: Provide Optimal Conditions for Germination
- Light: Provide bright, indirect light if growing indoors. A south-facing window or grow lights work well.
- Temperature: Ideal germination temperatures are between 65-70°F (18-21°C).
- Watering: Keep the soil consistently moist, but avoid overwatering to prevent rot.
Step 6: Transplanting Seedlings
Once seedlings have developed two sets of true leaves (about 4-6 weeks old), it’s time to transplant them.
- Harden Off: Gradually introduce seedlings to outdoor conditions over a week. Start with a few hours of outdoor exposure, increasing daily.
- Transplanting: Choose a cloudy day or late afternoon to transplant. Space seedlings according to their growth habits—usually 12-18 inches apart to allow for proper airflow.
Step 7: Maintain Your Coreopsis Plants
Watering
Water regularly, especially during dry spells. Coreopsis does not like soggy soil, so let the soil dry slightly between waterings.
Fertilizing
Coreopsis can thrive in poorer soils, but a light application of balanced fertilizer in the spring can encourage more blooms. Avoid over-fertilization, which can lead to more foliage and fewer flowers.
Pruning
To encourage bushier growth and more blooms, pinch back the tips of the stems when seedlings are about 6 inches tall. Deadheading spent flowers throughout the season can prolong blooming and promote a tidy appearance.
Step 8: Watch for Pests and Diseases
Coreopsis is relatively resistant to pests, but keep an eye out for:
- Aphids: Treat with insecticidal soap or water sprays.
- Powdery Mildew: Ensure good airflow around plants; use fungicides if necessary.
Step 9: Enjoy Your Blooms!
With the right care, your coreopsis plants will bloom abundantly through the summer months. Enjoy the vibrant colors and the ecological benefits they provide to gardens.
Tips for Successful Coreopsis Growth
- Companion Planting: Coreopsis pairs well with coneflowers, black-eyed Susans, and other perennial flowers.
- Mulching: Apply a layer of mulch around plants to retain moisture and suppress weeds.
- Soil Testing: Conduct a soil test to determine if soil amendments are necessary for optimal growth.
- Overwintering: In colder climates, cut back the plants in late fall to encourage new growth in the spring.
Frequently Asked Questions (FAQs)
1. How long does it take for coreopsis seeds to germinate?
Coreopsis seeds typically take 7-14 days to germinate under optimal conditions.
2. Can I grow coreopsis in pots?
Yes, coreopsis can be grown in pots as long as they are sufficiently large to accommodate their growth and provide drainage.
3. Do coreopsis plants return each year?
Yes, most coreopsis varieties are perennials, meaning they will return year after year with proper care.
4. Are coreopsis plants deer-resistant?
Coreopsis is known to be deer-resistant due to its aromatic foliage.
5. How often should I water newly planted coreopsis?
Water newly planted coreopsis regularly, ensuring the soil remains moist but not waterlogged, especially during the first few weeks after planting.
6. What to do if my coreopsis plants don’t bloom?
If your coreopsis isn’t blooming, check for over-fertilization, excessive shade, or inadequate watering. Adjust your care routine accordingly.
7. Can I save coreopsis seeds for next season?
Yes! Allow some flowers to go to seed and collect the seeds once they have dried. Store them in a cool, dry place until you’re ready to plant.
By following this comprehensive guide, you’ll be well-equipped to grow coreopsis from seed successfully and enjoy its beautiful blooms all summer long. Happy gardening!