Creating a boundary fence with a beautiful privet hedge can enhance the aesthetic appeal of your garden while providing privacy and protection. A privet hedge is not only a practical choice, but it also offers a lush green backdrop to your property. This article will guide you through the process of growing a healthy, vibrant privet hedge in simple steps, and address frequently asked questions to help you succeed.
Understanding Privet
Privet, especially the common varieties like Ligustrum vulgare and Ligustrum japonicum, is a preferred choice for hedges due to its fast growth rate, dense foliage, and attractive appearance. It thrives in a variety of soil types and is tolerant to various weather conditions. These qualities make it suitable for residential landscaping.
Benefits of a Privet Hedge
- Privacy: Its dense growth provides an effective barrier against prying eyes.
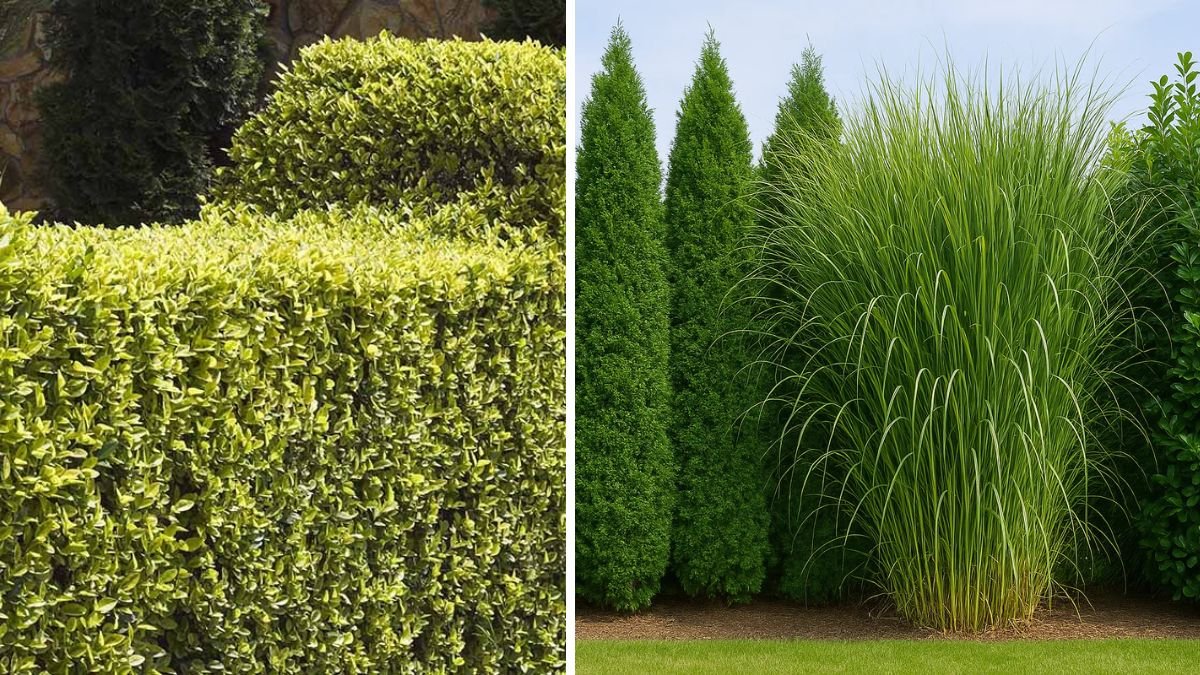
- Aesthetic Appeal: A well-maintained privet hedge can serve as a beautiful green wall that frames your yard.
- Wildlife Habitat: It attracts birds and other wildlife, supporting biodiversity.
- Easy Maintenance: With proper care, privets are relatively easy to maintain and shape.
Step-by-Step Guide to Growing a Privet Hedge
Step 1: Choose the Right Location
Selecting the right spot for your privet hedge is crucial. Look for a location that receives full sun to partial shade. Privets can tolerate a range of soils, but they thrive best in well-draining, fertile soil. Additionally, ensure that the hedge won’t be competing with large tree roots as this may hinder its growth.
Step 2: Prepare the Soil
Preparation of the soil is essential for healthy growth. Follow these steps:
- Clear the Area: Remove any existing vegetation, weeds, or debris from the area where the hedge will be planted.
- Test Soil pH: Privets prefer a soil pH between 6.0 and 7.0. You can purchase a soil test kit to check this.
- Amend the Soil: If necessary, add organic matter such as compost to enrich the soil. Good drainage is important, so ensure you amend heavy clay soils with sand or grit.
Step 3: Decide on Spacing and Planting Method
Once your soil is prepared, determine how far apart you want to plant your privet hedge. For a dense hedge, plant young privet plants about 2 to 3 feet apart. If you prefer a more spaced-out look, you can place them 3 to 4 feet apart.
For planting, you can either use seedlings or established plants. If planting seeds, ensure they are germinated indoors before transplanting them outdoors after the last frost.
Step 4: Planting Privet
Follow these steps when planting:
- Dig Holes: Dig holes that are twice the size of the root ball for each plant. Make sure the holes are deep enough to accommodate the roots without bending them.
- Plant the Privet: Remove the plant from the container and gently place it in the hole. Backfill with soil and water thoroughly to eliminate air pockets.
- Water Immediately: After planting, give your plants a thorough watering base to help establish the roots.
Step 5: Watering and Fertilization
Consistent watering is essential, especially during the first growing season. Aim to keep the soil moist, but not soggy. As the hedge establishes, it will require less frequent watering.
Fertilization
- During the initial growth phase, you can use a balanced fertilizer in spring to promote healthy growth. Follow the manufacturer’s instructions to avoid over-fertilization.
Step 6: Pruning Your Privet Hedge
Regular pruning is necessary for maintaining shape and density. Here’s how to do it:
- The Best Time to Prune: Late spring or early summer, after the flowering season.
- How to Prune: Use sharp shears to trim back the hedge, removing about one-third of the new growth. Aim for a tapered shape to allow sunlight to penetrate the lower parts of the hedge.
Step 7: Check for Pests and Diseases
Privet hedges are relatively resistant to pests and diseases, but they can occasionally be affected by issues like aphids or powdery mildew. Regularly inspect your hedge for any signs of distress, such as yellowing leaves or unusual spots.
- Treatment: If pests appear, treat them with insecticidal soap or neem oil, and ensure good airflow around the hedge.
Step 8: Mulching
Applying mulch around the base of your privet hedge can help retain moisture and reduce weed growth. Use organic material like wood chips or bark, applying a layer about 3 inches thick while keeping it away from the plant’s base.
Step 9: Long-term Care
- Seasonal Check: Conduct seasonal checks to ensure that your hedge stays healthy. Look for dead branches, pests, or signs of disease.
- Annual Fertilization: Renew fertilizer annually in early spring to foster growth.
Step 10: Invasive Species Awareness
Be aware that some privet species can become invasive in certain areas. Always check with local gardening authorities to ensure the variety you choose is appropriate for your region.
Frequently Asked Questions (FAQs)
1. How fast does a privet hedge grow?
Privet hedges generally grow 2 to 3 feet per year, making them one of the quicker options for boundary hedges.
2. How tall can a privet hedge get?
Privet can grow up to 10 feet or more if left unpruned, but regular trimming helps maintain a desired height.
3. Can I grow privet in containers?
While privet can be grown in containers, it is best suited for open ground where the roots have plenty of space to spread.
4. Is privet safe for pets?
Privet berries are mildly toxic to pets if ingested in large quantities. It’s best to limit access to the hedge or choose pet-friendly landscaping options.
5. When is the best time to plant privet?
The best time to plant privet is in early spring or fall when temperatures are mild.
6. How do I overwinter my privet hedge?
During winter, it’s essential to keep watering if conditions are dry. A layer of mulch can help insulate the roots from extreme cold.
Conclusion
Growing a beautiful privet hedge for your boundary fence can be a rewarding project that enhances your landscape while providing privacy and protection. By following the simple steps outlined in this guide, you can achieve a lush and vibrant hedge that stands the test of time. Regular maintenance, including watering, pruning, and pest management, will ensure that your privet hedge remains healthy and attractive for years to come. With a bit of care and dedication, your garden will boast a stunning green boundary that complements your home perfectly.