Amaranth is a versatile and hardy plant that can be an excellent addition to any home garden, especially for beginners who want to grow their own food. With vibrant leaves and graceful flower heads, amaranth not only beautifies your space but also provides nutritious edible greens and seeds. This article will guide you through the easy hacks for growing amaranth in pots, helping novice gardeners cultivate this delightful plant with ease.
Understanding Amaranth
Before diving into the cultivation methods, it’s important to understand what amaranth is. Amaranth belongs to the Amaranthaceae family and comprises around 60 species, many of which are edible. The two main types of amaranth are:
-
Leafy Amaranth: These varieties are grown primarily for their leaves, which can be harvested throughout the growing season.
-
Grain Amaranth: This type is cultivated for its seeds, which are harvested once mature.
Amaranth is rich in protein, dietary fiber, vitamins, and minerals, making it an excellent choice for health-conscious individuals.
Why Grow Amaranth in Pots?
Growing amaranth in pots offers several benefits:
- Space Efficiency: Perfect for urban gardeners or those with limited backyard space.
- Control Over Growth Conditions: Pots allow for easy monitoring and adjustments to soil, water, and light needs.
- Mobility: You can move pots to optimize sunlight exposure or protect plants from harsh weather.
Choosing the Right Pot
Selecting the appropriate pot is the first step in successfully growing amaranth.
Pot Size
- Minimum Size: A pot with at least 12 inches in diameter and depth. Larger pots help retain moisture and provide ample space for root development.
Material
-
Plastic: Lightweight and affordable but may not provide insulation against temperature changes.
-
Clay: Offers excellent aeration and moisture retention but can be heavy. Make sure it has adequate drainage holes.
Drainage
Ensure your pot has drainage holes at the bottom to prevent waterlogging, which can lead to root rot. You can elevate your pots on bricks or trays for better drainage.
Soil Requirements
Amaranth thrives in well-draining, nutrient-rich soil.
Soil Mix Recipe
You can easily create a suitable soil mix:
- 40% Potting Soil: Ensures good drainage and aeration.
- 30% Compost: Provides essential nutrients and enhances soil texture.
- 30% Perlite or Sand: Improves drainage, ensuring the roots do not become waterlogged.
pH Level
Aim for a soil pH between 6.0 and 7.0. You can use a soil test kit to check pH and amend as necessary.
Planting Amaranth Seeds
Once your pot and soil are ready, it’s time to plant the seeds.
Seed Selection
Choose varieties well-suited for pot cultivation, such as:
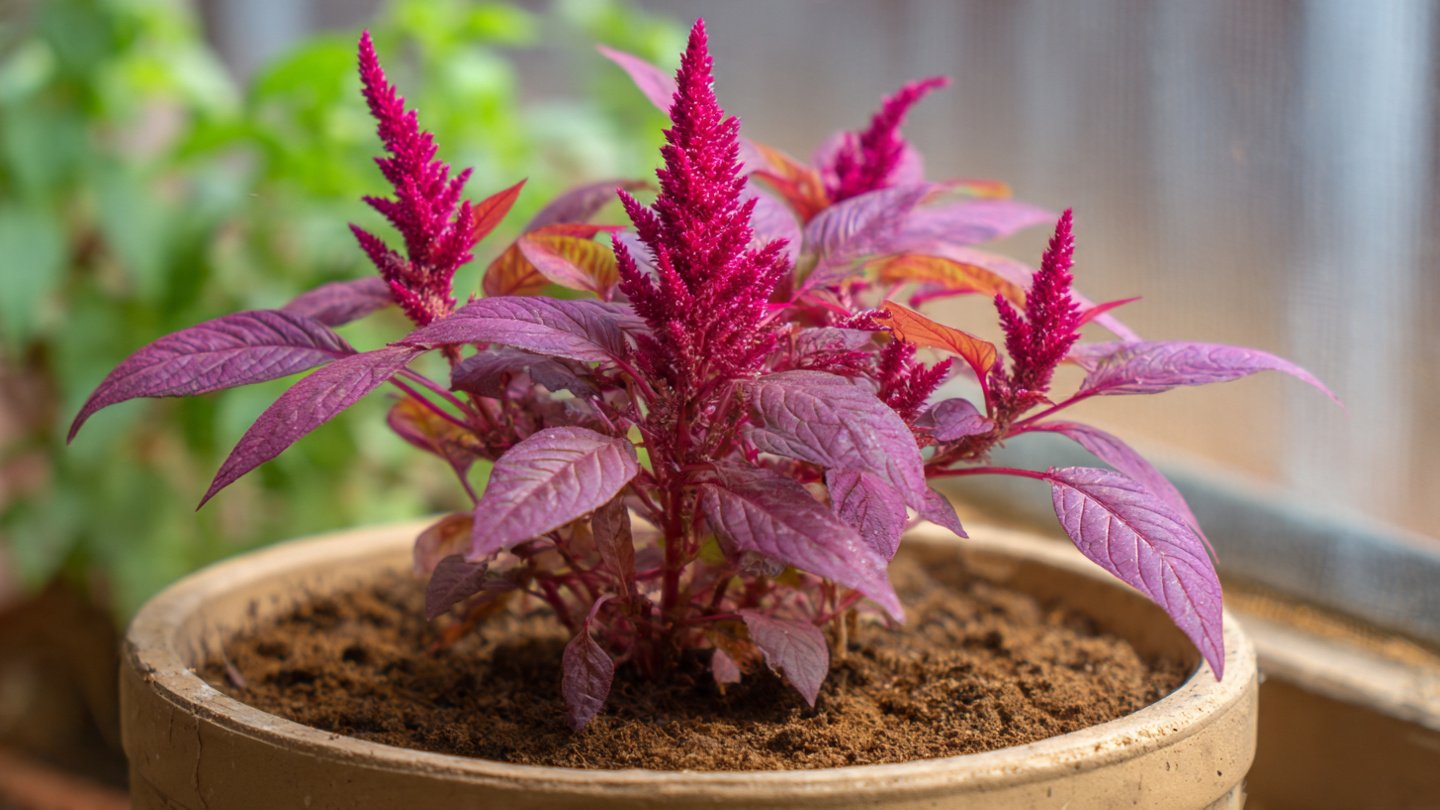
- Red Amaranth: Known for its stunning foliage and is often used in salads.
- Rainbow Amaranth: Features a mix of vibrant colors.
Sowing Seeds
- Sowing Depth: Sow seeds about ¼ to ½ inch deep.
- Spacing: If planting multiple seeds, space them 6 to 12 inches apart to ensure adequate air circulation and growth space.
- Watering: After planting, gently water the soil to keep it moist but not soaking.
Germination
Seeds typically germinate within 7 to 14 days. Keep the soil consistently moist and place the pots in a warm area with indirect sunlight.
Caring for Growing Amaranth
Once the seeds have germinated, regular care is essential for healthy growth.
Watering
Amaranth prefers consistently moist soil.
- Frequency: Water 2-3 times a week, depending on your climate. Ensure the top inch of soil is moist before watering again.
Fertilization
Amaranth benefits from regular feeding:
- Organic Fertilizer: Use a balanced fertilizer (e.g., 10-10-10) every 4-6 weeks during the growing season. Dilute the fertilizer to half strength to prevent root burn.
Light Requirements
Amaranth loves sunlight. Ensure your pots receive 6-8 hours of direct sunlight daily. If natural light is limited, consider using grow lights.
Pest and Disease Management
While amaranth is relatively pest-resistant, keep an eye out for:
- Aphids: Spray with insecticidal soap or a strong stream of water to dislodge them.
- Fungus Gnats: Allow the top inch of soil to dry out between watering.
Harvesting Amaranth
The harvest will depend on whether you’re growing leaf or grain amaranth.
Leaf Amaranth
- Timing: Start harvesting leaves when they are about 4-6 inches tall, usually around 4-6 weeks after planting.
- Method: Cut leaves from the plant, leaving a few inches of stem to encourage further growth.
Grain Amaranth
- Timing: Harvest seeds when the seed heads turn brown and dry.
- Method: Cut the seed heads, place them in a paper bag, and shake to release the seeds.
Easy Hacks for Success
- Intercropping: Grow companion plants like basil or marigolds alongside amaranth to enhance growth and deter pests.
- Mulching: Add a layer of mulch to the pot, which helps retain moisture and suppress weeds.
- Regular Monitoring: Regularly check for pests, diseases, and moisture levels to ensure plants remain healthy.
- Staggering Planting: For continuous harvest, stagger your planting every few weeks.
FAQs
1. Can I grow amaranth indoors?
Yes! Amaranth can be successfully grown indoors as long as they receive sufficient light. Consider using grow lights if natural sunlight is limited.
2. How often should I water amaranth?
Water amaranth 2-3 times a week, allowing the top inch of soil to dry before the next watering. Adjust the frequency based on your climate and indoor humidity.
3. Can I eat the flowers of amaranth?
Yes, the flowers are edible and can add beauty and flavor to salads or dishes. They are often used for their nutritional value and vibrant color.
4. What are the best conditions for growing amaranth?
Amaranth thrives in full sun with well-draining, nutrient-rich soil. Aim for a temperature between 70°F to 85°F (21°C to 29°C) for optimal growth.
5. How do I store harvested amaranth seeds?
Once harvested, allow the seeds to dry completely. Store them in a cool, dry place in airtight containers to maintain their viability.
Conclusion
Growing amaranth in pots is an easy and rewarding endeavor for beginners. With the right pot, soil, and care, you can enjoy a bountiful harvest of nutritious greens and seeds. By following the simple hacks outlined in this guide, you will set yourself up for success, turning your gardening experience into a fruitful journey. So gather your supplies, nurture your plants, and enjoy both the beauty and benefits of amaranth in your home garden!