Growing a backyard elderberry patch can be a rewarding and fruitful endeavor. Elderberries are not only prized for their vibrant flavor and nutritional benefits, but they are also relatively easy to grow in a variety of climates. In this guide, we’ll delve into the steps needed to establish and maintain a thriving elderberry patch, as well as address some frequently asked questions.
1. Understanding Elderberries
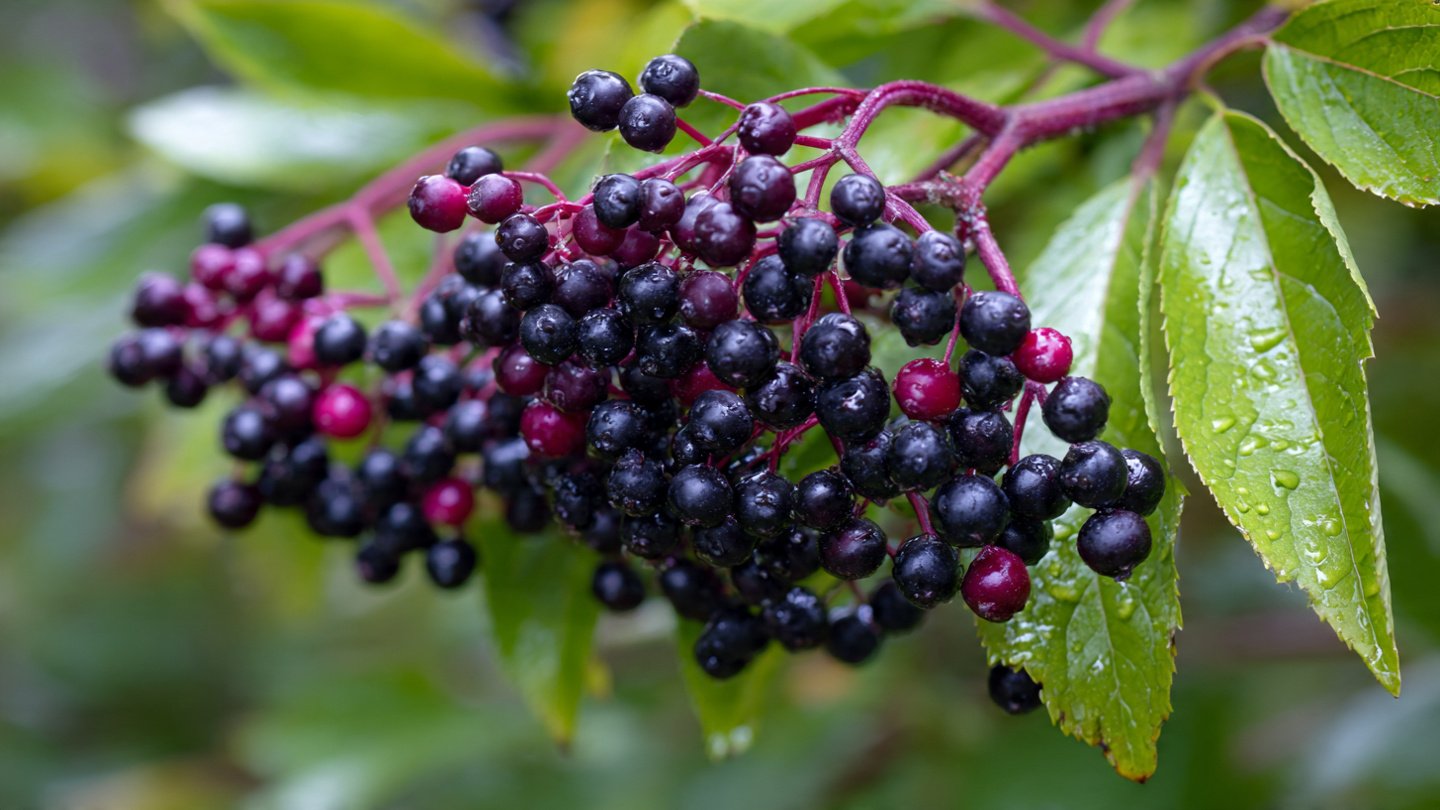
Elderberries (Sambucus nigra) are small, dark berries that grow in clusters and are packed with antioxidants. They are commonly used in jams, jellies, syrups, and wine. The elderberry plant is also valued for its medicinal properties, often touted for its immune-boosting capabilities.
2. Choosing the Right Variety
Before planting, it’s essential to choose the right elderberry variety for your region. The two most popular types are:
- American Elderberry (Sambucus canadensis): This variety is native to North America and is well-suited for colder climates. It typically grows taller and produces larger berries.
- European Elderberry (Sambucus nigra): This variety is favored for its superior flavor and higher yield, thriving in milder climates.
When selecting plants, look for healthy specimens from reputable nurseries, preferably those that do not use herbicides or pesticides.
3. Where to Plant Elderberries
Elderberries thrive in full sun to partial shade, but for optimal fruit production, aim for a location that receives at least six hours of direct sunlight each day. Here are some factors to consider when choosing a planting site:
- Soil Quality: Elderberries prefer loamy, well-drained soil with a pH of 5.5 to 7.0. Conduct a soil test to determine your soil’s pH and nutrient levels.
- Moisture: While elderberries are somewhat drought-tolerant, they perform best in consistently moist soil. An area near a water source, such as a riverbank or a low-lying area, may be ideal.
- Space: Plan for adequate spacing. Elderberry bushes can grow quite large, often reaching 6-12 feet in height. Space them at least 6-10 feet apart for proper air circulation.
4. Preparing the Soil
Preparation is key to establishing a thriving elderberry patch. Follow these steps to prepare the soil:
- Clear the Area: Remove any weeds, grass, or other vegetation from your chosen site.
- Tilling: Loosen the soil to a depth of about 12 inches. This will help the roots establish themselves more easily.
- Amending the Soil: Mix in organic matter, such as compost or well-rotted manure, to improve soil fertility and drainage.
- Testing pH: Aim for a slightly acidic to neutral pH. If your soil is off-balance, you can use amendments to either raise or lower the pH accordingly.
5. Planting Elderberry Bushes
Once your soil is prepared, it’s time to plant:
- Timing: The best time to plant elderberries is in the spring after the last frost or in the fall before the first frost.
- Digging Holes: Dig holes that are twice as wide and as deep as the root ball of the plant.
- Planting: Place the bush in the hole and fill it with soil, ensuring that the root ball is level with the soil surface. Water thoroughly after planting to remove air pockets.
- Mulching: Apply a layer of mulch to help retain moisture and suppress weeds. Organic materials, such as straw or wood chips, work well.
6. Caring for Your Elderberry Patch
After planting, ongoing care is essential for a healthy elderberry patch:
- Watering: Keep the soil consistently moist, especially during the first growing season. Once established, elderberries tolerate dry conditions better but monitor for any signs of wilting.
- Fertilizing: Apply a balanced fertilizer in early spring to promote healthy growth. Organic options include compost or well-rotted manure.
- Pruning: Prune elderberries annually to improve airflow and encourage new growth. Remove dead or damaged branches and thin out overgrown areas during the dormant season.
- Pest and Disease Management: Common pests include aphids and spider mites. Monitor your plants regularly and use organic insecticides if needed. Fungal diseases can also be an issue; ensure good air circulation and avoid overhead watering.
7. Harvesting Elderberries
Elderberries typically ripen in late summer to early fall. Here’s how to harvest:
- When to Pick: Berries turn a deep purple-black when ripe. Harvest them once they’ve fully colored.
- How to Harvest: Use pruning shears to cut the entire cluster. Carefully separate berries from the stems afterwards, as the stems can be toxic if consumed.
- Storage: Fresh berries can be stored in the refrigerator for up to a week. For longer storage, consider freezing them or making jams and syrups.
8. Common Uses for Elderberries
The fruits of the elderberry plant can be used in various culinary and medicinal applications:
- Jams and Jellies: Elderberry jam is a popular way to preserve the flavor of the berries.
- Elderberry Syrup: This syrup is often used as a natural remedy for colds and flu.
- Wine and Liqueurs: Elderberries make a delicious base for homemade wines and liqueurs.
- Tea and Beverages: Dried elderberries can be used to brew herbal tea or infused in water for a refreshing drink.
9. Environmental Benefits
Beyond their culinary uses, elderberries also offer numerous environmental benefits:
- Pollinator Support: The flowers of the elderberry bush attract bees and other pollinators, supporting local biodiversity.
- Wildlife Habitat: The bushes provide shelter for birds and small mammals. Additionally, a range of wildlife feeds on the ripe berries.
- Soil Health Improvement: Elderberries are beneficial for soil health, as their roots can help prevent erosion and improve soil structure.
10. FAQs
Q: Can I grow elderberries in containers?
A: Yes, elderberries can be grown in large containers as long as they have enough soil volume to support their root system. Ensure proper drainage and ample sunlight.
Q: Do I need two elderberry plants for pollination?
A: Yes, for optimal fruit production, it’s best to plant at least two different varieties of elderberries close together for cross-pollination.
Q: Are elderberry flowers edible?
A: Yes, elderberry flowers are edible and can be used to make cordials, teas, and fritters.
Q: How long does it take for elderberries to bear fruit?
A: Typically, elderberry plants will begin to produce fruit in their second or third year after planting.
Q: Can the leaves, stems, and unripe berries be eaten?
A: No, the leaves, stems, and unripe berries contain cyanogenic glycosides, which can be toxic if consumed. Always use only mature elderberries after cooking or processing.
Q: What should I do if my elderberry plant is wilting?
A: Wilting can be caused by a lack of water or pest issues. Check the soil moisture and inspect for pests or diseases. Providing consistent water and ensuring good drainage typically resolves wilting.
Conclusion
Establishing and maintaining a backyard elderberry patch can provide you with an abundance of delicious berries while contributing positively to the environment. With the right knowledge and care, you’ll be well on your way to enjoying the myriad of benefits that elderberries have to offer. So roll up your sleeves, dive into the world of elderberries, and watch your backyard flourish!