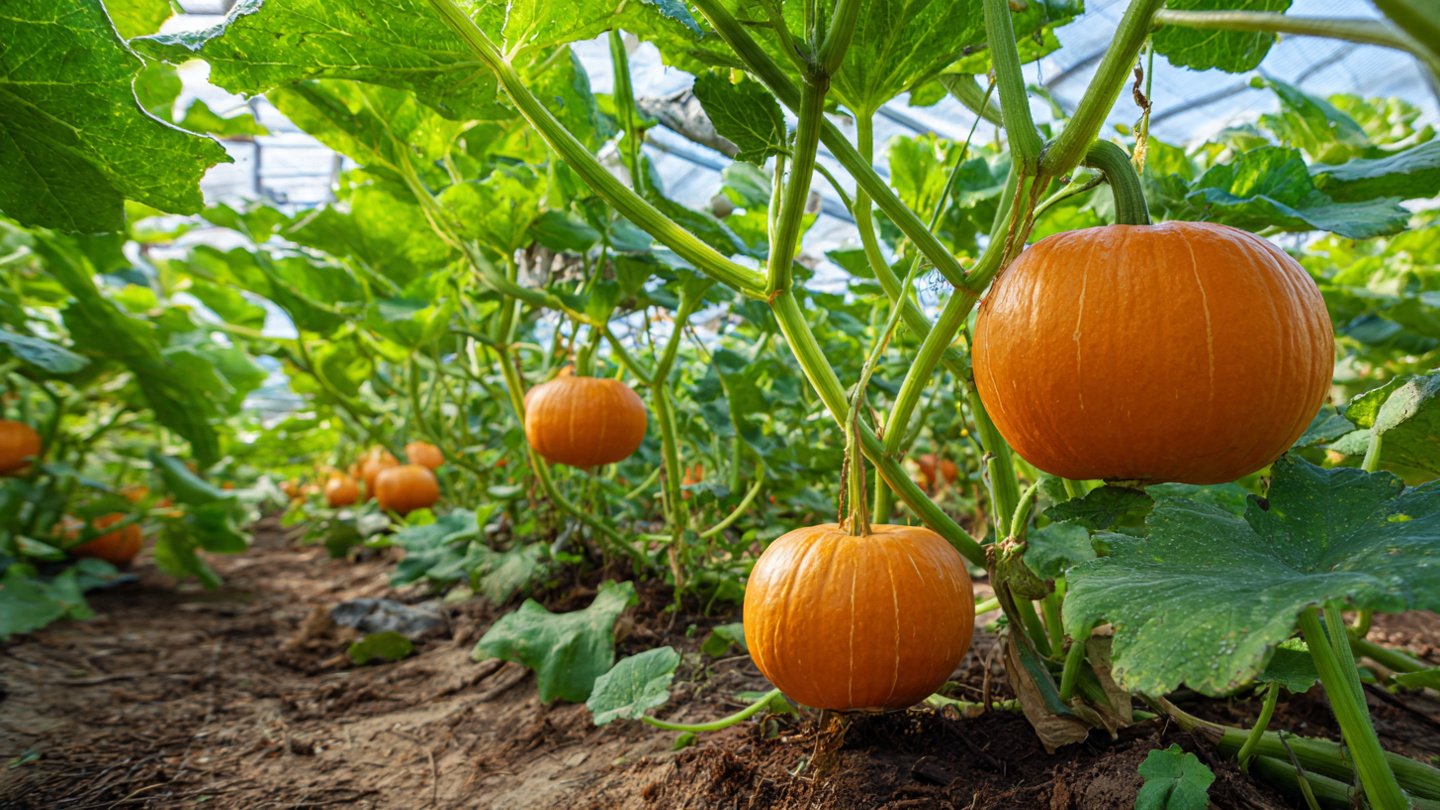
Pumpkins are a staple of autumn, celebrated for their vibrant color and versatility in culinary delights and festive decorations. As gardening enthusiasts continue to explore innovative planting methods, fabric grow bags are gaining popularity for their many benefits. This guide will delve into the ins and outs of growing pumpkins in fabric grow bags, offering tips, techniques, and addressing frequently asked questions.
Why Grow Pumpkins in Fabric Grow Bags?
1. Space Efficiency
Fabric grow bags can be placed on patios, balconies, or even in smaller garden spaces. This flexibility is especially beneficial for urban gardeners or those with limited land.
2. Improved Drainage
Fabric grow bags allow for exceptional drainage. The porous nature of the material ensures that excess water drains away, preventing root rot—a common issue in traditional pots or garden beds.
3. Enhanced Aeration
Roots of plants can suffocate in typical planters. Fabric grow bags foster a natural air pruning process, promoting a healthier root system and robust growth.
4. Temperature Regulation
Fabric grow bags offer insulation, protecting roots from extreme temperatures—keeping them cooler in the summer and warmer in the winter.
5. Easy Mobility
With handles attached to most fabric grow bags, relocating your plants to optimal sunlight or protecting them from harsh weather is a breeze.
Selecting the Right Fabric Grow Bag
1. Size Matters
Pumpkins require ample space for their sprawling vines and large root systems. Ideally, choose fabric grow bags that are at least 10-15 gallons in size. A deeper bag is generally preferable as it allows for better root development.
2. Quality Fabric
Opt for bags made from high-quality, breathable material such as felt or polypropylene. Ensure the fabric is UV resistant to prolong the lifespan of the bags.
3. Drainage Holes
While most fabric grow bags have excellent drainage capabilities, double-check that they have adequate drainage holes. This prevents any waterlogging, preserving root health.
Preparing to Plant
1. Choosing the Right Variety
Pumpkins come in various sizes and types. Some popular varieties include:
- Jack-o’-Lantern: Ideal for carving and fall decorations.
- Sugar Pie: Preferred for making pies due to its sweet flesh.
- Giant Varieties: Perfect for competitions, these pumpkins can grow to enormous sizes.
2. Soil Selection
Pumpkins thrive in nutrient-rich soil. Create a mix of potting soil and compost, ensuring that it’s well-aerated. A pH level of around 6.0 to 6.8 is optimal for growth.
3. Fertilization
Before planting, incorporate a slow-release fertilizer into the soil mix. As pumpkins are heavy feeders, additional organic fertilizers can be applied as needed during growth.
Planting Your Pumpkins
1. Timing
Pumpkins thrive in warm weather. Plant seeds indoors 2-4 weeks before the last frost or directly in the grow bags after the threat of frost has passed. The optimal soil temperature for germination is around 70°F to 95°F.
2. Seed Planting
Plant seeds about one inch deep, with 2-3 seeds per bag. If planting multiple bags, separate them by at least 3 feet to allow enough room for vine growth.
3. Thinning
Once seedlings have established their first true leaves, thin them by leaving the strongest seedling in each bag. This encourages better growth without competition.
Caring for Your Pumpkin Plants
1. Watering
Pumpkins require ample water, especially during their rapid growth phase. Water deeply and consistently, ensuring the soil remains moist but not soggy. A general guideline is to water at least once a week or more frequently during hot spells.
2. Mulching
Applying a layer of organic mulch on top of the soil helps retain moisture and suppress weeds. Materials such as straw, wood chips, or grass clippings work well.
3. Fertilizing
During the growing season, supplement with a balanced fertilizer every 4-6 weeks. Look for fertilizers high in phosphorus and potassium, which are vital for fruit development.
4. Pest and Disease Management
Inspect your plants regularly for signs of pests such as aphids or squash bugs. Use organic insecticidal soap or neem oil for control. Additionally, monitor for diseases like powdery mildew, which can be managed with good air circulation and proper watering techniques.
Harvesting Your Pumpkins
1. Timing
Pumpkins typically take 75-100 days to mature, depending on the variety. Look for signs that indicate readiness such as a deep color, hardened skin, and a stem that dries and changes color.
2. Cutting
Use a sharp knife or garden shears to cut the stem about 2-4 inches above the pumpkin. Avoid yanking or twisting to prevent damaging the fruit.
3. Curing
After harvesting, cure pumpkins in a warm, dry place for 10-14 days to enhance flavor and shelf life.
4. Storage
Store pumpkins in a cool, dry area away from direct sunlight to prolong their freshness. Decorative pumpkins may last for several months, while those intended for cooking should be used within 1-3 months.
Additional Tips for Success
1. Companion Planting
Consider planting companion plants such as marigolds or nasturtiums, which can deter pests and benefit the growth of your pumpkins.
2. Vertical Gardening
For space efficiency, train pumpkins to grow vertically using trellises. This method not only saves space but also helps improve air circulation and reduce disease risk.
Frequently Asked Questions
1. Can I grow pumpkins in smaller fabric grow bags?
While it’s possible, smaller bags may hinder the growth of pumpkins due to limited root space. For optimal results, use bags that are at least 10-15 gallons.
2. How often should I water my pumpkins?
Watering frequency depends on weather conditions and soil moisture. In general, aim to water deeply once a week, ensuring the soil is consistently moist but not waterlogged.
3. What pests should I watch out for?
Common pests include aphids, squash bugs, and cucumber beetles. Inspect your plants regularly and take action promptly if you notice infestations.
4. How do I know when my pumpkins are ready to harvest?
Look for deep color, a hardened rind, and a dried stem. Typically, pumpkins are ready to harvest about 75-100 days after planting.
5. Can I reuse fabric grow bags each year?
Yes, fabric grow bags can be reused, but be sure to clean them thoroughly to prevent disease transmission between plants. Store them in a dry place until the next planting season.
6. What should I do if my pumpkins start to rot?
If you notice any signs of rot, remove the affected pumpkins immediately to prevent the spread of decay. Store healthy pumpkins in a cool, dry place, and monitor them regularly.
Conclusion
Growing pumpkins in fabric grow bags can be a rewarding and efficient way to enjoy this beloved plant. With careful planning, consistent care, and the right techniques, you can cultivate a thriving pumpkin garden, even in limited spaces. Embrace this innovative gardening method next season and relish the fruits (or rather, pumpkins) of your labor! Happy gardening!