
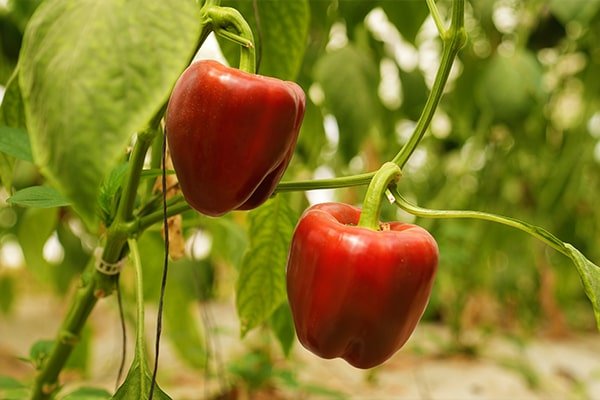
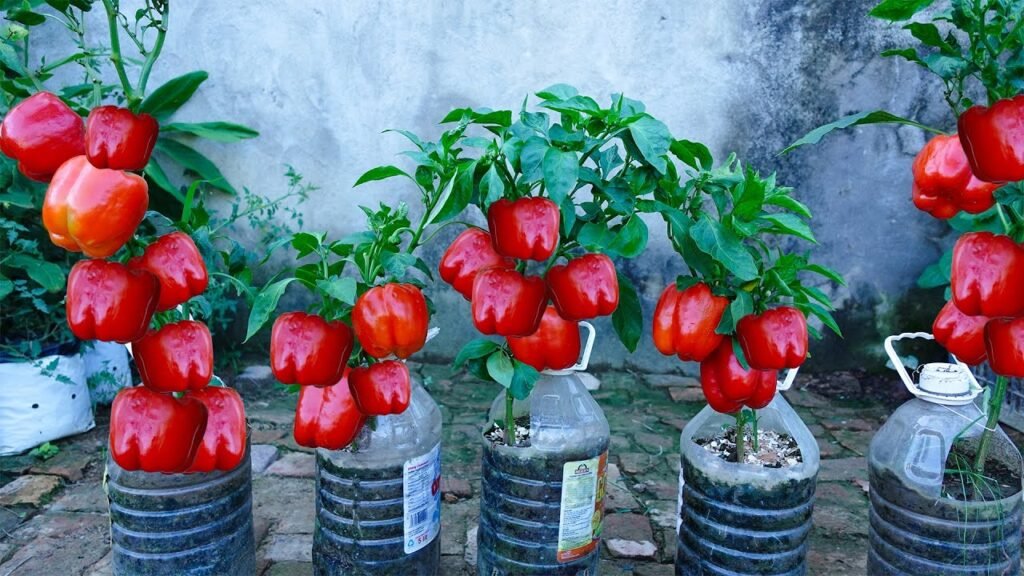
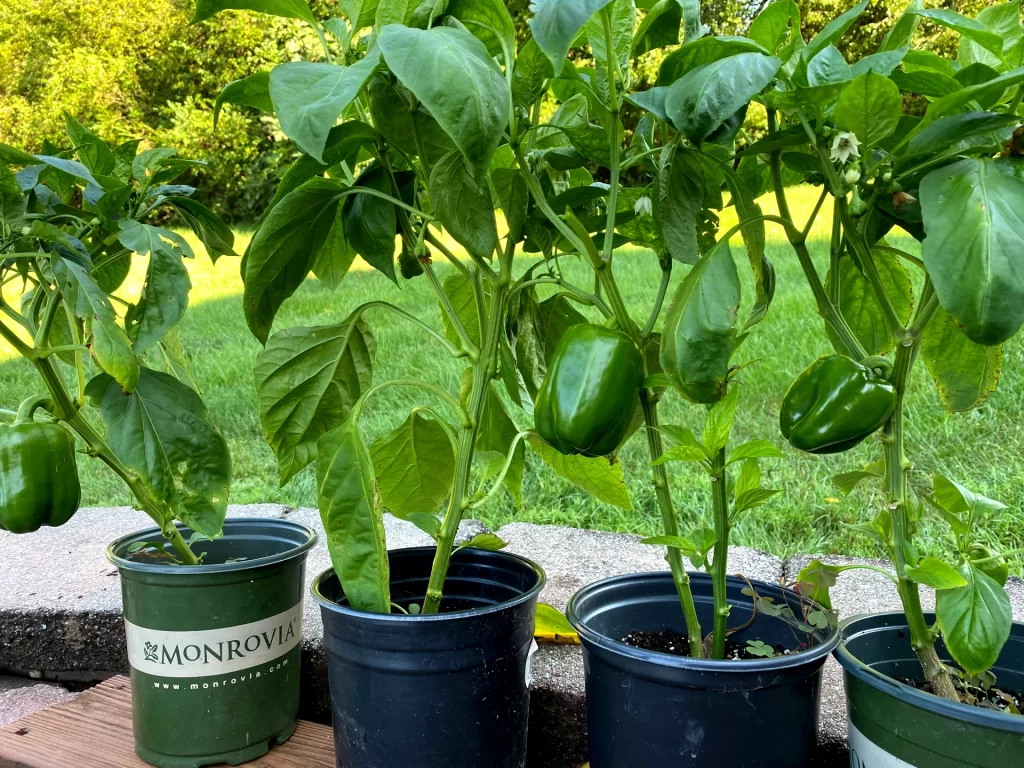
Growing your own capsicum—also known as bell pepper or shimla mirch—is one of the most rewarding gardening experiences. The plant is beautiful, compact, and productive, and the best part is that you don’t need big pots or a large garden. Even if you live in a small apartment, you can easily grow capsicums using simple plastic bags.
The plastic-bag cultivation method has become popular because it is budget-friendly, space-saving, lightweight, and perfect for beginners. In this detailed guide, you’ll learn everything about growing capsicum at home, from choosing seeds to harvesting bright, crunchy peppers.
1. Why Grow Capsicum in Plastic Bags?
Growing capsicum in plastic bags offers several advantages:
✔ Cost-Effective
You don’t need expensive pots—any thick, unused plastic bag works perfectly.
✔ Perfect Root Space
A 5–7 kg bag provides enough depth for the root system to grow strongly.
✔ Portable
You can move the bags anywhere—to adjust to sunlight or protect from heavy rain.
✔ Ideal for Small Spaces
Balconies, terraces, windowsills, and verandas are enough for this method.
✔ Better Moisture Control
Plastic bags hold moisture longer than clay pots, giving the plant steady hydration.
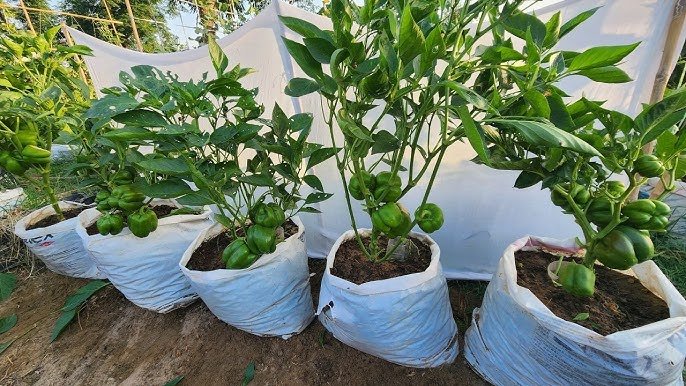
2. Choosing the Best Plastic Bag
To grow healthy capsicum plants, choose bags that are:
- Thick and durable (LDPE grow-bag type preferred)
- At least 12–14 inches deep
- Able to stand upright when filled with soil
You can also reuse rice bags, cement bags, compost bags, or grocery bags—just make sure they are clean and have no harmful chemical residues.
Don’t forget to make drainage holes at the bottom and sides for proper water flow.
3. Preparing the Perfect Soil Mix
Capsicum grows best in light, airy, nutrient-rich soil.
Avoid heavy garden soil because capsicum roots prefer loose, moisture-retentive soil.
Ideal Soil Mix:
- 40% cocopeat (for moisture and softness)
- 30% compost or vermicompost (for nutrients)
- 20% garden soil (for structure)
- 10% sand or perlite (for drainage)
Optional Additives:
- Neem powder – prevents soil insects
- Mustard cake water – boosts plant growth
- Bone meal – supports flowering and fruiting
Mix thoroughly and fill the plastic bag up to 70–80%.
4. Seed Selection and Germination
You can use:
- Store-bought hybrid capsicum seeds
- Seeds from fresh market capsicum (less recommended but works)
How to Germinate:
- Soak seeds in water for 6–8 hours for fast sprouting.
- Prepare a small container with light soil or tissue paper.
- Sow seeds 0.5 cm deep and lightly cover.
- Keep in a warm spot (25–30°C).
- Seeds germinate in 7–10 days.
Once seedlings grow 4–5 true leaves, move them to the plastic bag.
5. Transplanting Seedlings into the Plastic Bag
Make a small hole in the center of the soil-filled bag.
Carefully place the seedling without damaging the root.
Tips for Successful Transplanting:
- Water the soil lightly before transplanting.
- Always transplant in the evening to avoid plant shock.
- Space: 1–2 plants per bag is ideal.
After transplanting, keep the bag in shade for 24 hours, then shift to sunlight.
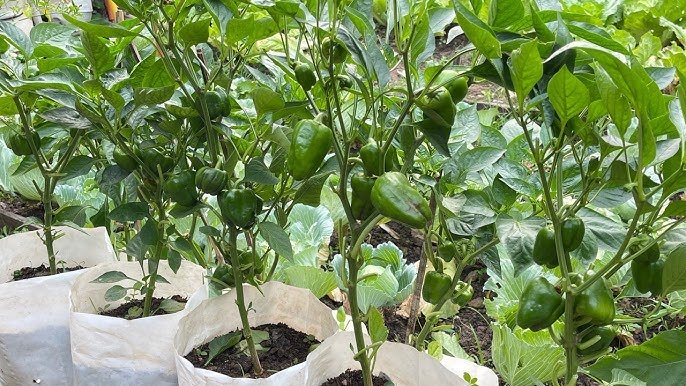
6. Sunlight Requirements
Capsicum plants love sunlight but do not tolerate extreme heat.
They need:
- 5–6 hours of direct sunlight
- Mild morning sunlight + afternoon shade is best
If sunlight is too strong, use a green net (50% shade).
7. Watering Schedule
Capsicums do not like excessive water.
Follow this rule:
✔ Keep soil slightly moist—not dry, not soggy.
Ideal watering frequency:
- Summer: Every 1–2 days
- Winter: Every 2–3 days
- Rainy season: Only when soil dries
Overwatering causes root rot, yellow leaves, and no fruits.
8. Fertilizers for Healthy Growth
Capsicum plants are heavy feeders. Provide organic fertilizers every 15 days.
Best Fertilizers:
1. Vermicompost (2 handfuls)
Increases leaf growth and overall health.
2. Mustard Cake Water
Promotes flowering and fruiting.
3. Banana Peel Fertilizer
Rich in potassium; increases fruit size and shine.
4. Epsom Salt (½ teaspoon in 1 liter water)
Prevents yellow leaves and boosts flowering.
5. Cow dung compost
Improves soil structure and keeps plants green.
9. Supporting Your Capsicum Plant
When capsicum plants start flowering, they may bend due to weight.
Use:
- Bamboo sticks
- Wooden stakes
- Small tomato cages
Tie gently with a soft thread.
10. Common Problems + Solutions
1. Flowers falling off
Cause: overwatering, temperature stress
Fix: add Epsom salt once a month, maintain sunlight.
2. Yellow leaves
Cause: nutrient deficiency
Fix: add vermicompost or liquid fertilizer.
3. Pests – Aphids, mites, whiteflies
Fix:
- Spray neem oil once a week
- Use soapy water spray (½ tsp soap per liter)
4. Small fruits
Cause: lack of potassium
Fix: add banana peel fertilizer or wood ash.
11. When and How to Harvest Capsicum
Capsicums are ready to harvest 60–90 days after planting.
Signs of maturity:
- Firm, glossy skin
- Full size (depends on variety)
- Light green turning darker or colored
Use scissors to harvest—pulling by hand may damage the plant.
The more you harvest, the more the plant produces!
12. Bonus Tips for Higher Yield
✔ Use mulch to keep soil cool.
✔ Shake the plant lightly to improve pollination.
✔ Don’t let the plant dry completely.
✔ Remove small early fruits to encourage stronger growth.
✔ Keep plants away from direct heavy rain.
Conclusion
Growing capsicum at home using plastic bags is one of the easiest and most innovative gardening methods. With limited space, minimal investment, and simple care, you can enjoy a steady supply of fresh, organic capsicums right from your balcony or terrace.
Whether you’re a beginner or an experienced gardener, this method is guaranteed to give you:
🌿 Healthy plants
🌶️ Bigger, brighter capsicums
🏡 A beautiful green corner at home
Try it once—and you’ll never buy capsicum from the market again!