Grapes are among the most rewarding fruit plants to grow at home. Their delicious flavor, versatility in culinary use, and high nutritional value make them a favorite for gardeners worldwide. But growing grapes from seeds or cuttings alone can be slow, unpredictable, and sometimes frustrating. That’s where grapevine grafting comes in—a simple, effective method to grow strong, fruit-bearing vines with uniform quality.
Grafting not only speeds up fruit production but also allows gardeners to combine the best traits of two grape varieties. In this comprehensive guide, we’ll walk you through everything you need to know about grapevine grafting: the science behind it, necessary tools, step-by-step instructions, care tips, and troubleshooting. Even beginners can follow this guide and enjoy homegrown grapes within a few years.
Why Graft Grapes Instead of Using Seeds?
While it is possible to grow grapes from seeds or simple cuttings, grafting offers several advantages:
1. Faster Fruit Production
Grafted grapevines often produce fruit 1–2 years sooner than seed-grown plants.
2. Uniform Fruit Quality
The scion (top part of the graft) retains the exact flavor, color, and texture of the parent variety, ensuring consistency in taste.
3. Stronger Root System
By selecting a hardy rootstock, you can grow grapevines resistant to soil-borne diseases, pests, and environmental stress.
4. Disease Resistance
Certain rootstocks are naturally resistant to nematodes and fungal diseases, which improves the overall health of your grapevine.
5. Greater Survival Rate
Grafted plants are more likely to survive harsh conditions than plants grown from cuttings alone.
Understanding Grapevine Grafting

Grafting is the process of joining two plants:
- Scion: The upper portion of the plant that will produce fruit and retain the desired characteristics.
- Rootstock: The lower portion that provides roots, stability, and resilience to the vine.
When done correctly, the scion and rootstock fuse together through cambium layer alignment, allowing nutrients and water to flow from the roots to the upper vine. Over time, the grafted vine grows as a single, strong plant.
Materials Needed for Grapevine Grafting
Before you begin, gather the following materials:
- Healthy grapevine scions (1-year-old cuttings with 2–3 buds)
- Strong, disease-free rootstock
- Sharp pruning knife or grafting knife
- Grafting tape or parafilm
- Rooting hormone (optional for faster growth)
- Plastic bag or humidity chamber
- Clean container with water to keep scions fresh
Step-by-Step Guide: Grapevine Grafting Made Easy
Step 1: Select Healthy Scion and Rootstock
- Choose a productive grape variety as your scion.
- Select a robust and disease-resistant rootstock suited to your soil and climate.
- Ensure both are free of pests, diseases, or damage.
Step 2: Prepare the Scion
- Cut the scion just below a bud.
- Remove any lateral shoots or leaves in the grafting area.
- Keep the scion submerged in water until grafting to maintain freshness.
Step 3: Prepare the Rootstock
- Trim the rootstock stem to match the scion’s diameter.
- Remove any leaves or side shoots from the grafting area.
- Make a clean, diagonal cut to prepare for grafting.
Step 4: Choose the Grafting Method

There are several grafting techniques, but the most common for grapevines are:
Whip-and-Tongue Grafting
- Make a diagonal cut (~2–3 inches) at the base of the scion.
- Make a matching diagonal cut on the rootstock.
- Create a small “tongue” cut in both pieces to interlock them.
- Join the scion and rootstock, ensuring cambium layers align perfectly.
Cleft Grafting
- Make a vertical slit in the rootstock.
- Shape the scion into a wedge.
- Insert the wedge into the slit so it fits snugly, ensuring cambium alignment.
Both methods work effectively if done carefully and cleanly.
Step 5: Secure the Graft
- Wrap the graft with grafting tape or parafilm tightly to hold it in place.
- Seal the top lightly to prevent moisture loss.
- Ensure no gaps allow air or pathogens to enter.
Step 6: Provide Humidity and Care

- Place the grafted vine in a shaded, humid environment.
- Mist the graft area daily to maintain moisture.
- Keep soil around the rootstock consistently moist but avoid waterlogging.
- Avoid direct sunlight and strong winds until the graft takes.
Step 7: Monitor Growth
- New shoots typically appear within 2–4 weeks.
- Gradually remove tape after a few weeks as the graft strengthens.
- Observe for signs of infection, drying, or graft failure.
Step 8: Planting and Long-Term Care
Once the graft has successfully taken:
- Plant the grapevine in well-drained soil with full sunlight exposure.
- Fertilize with organic compost or liquid fertilizer regularly.
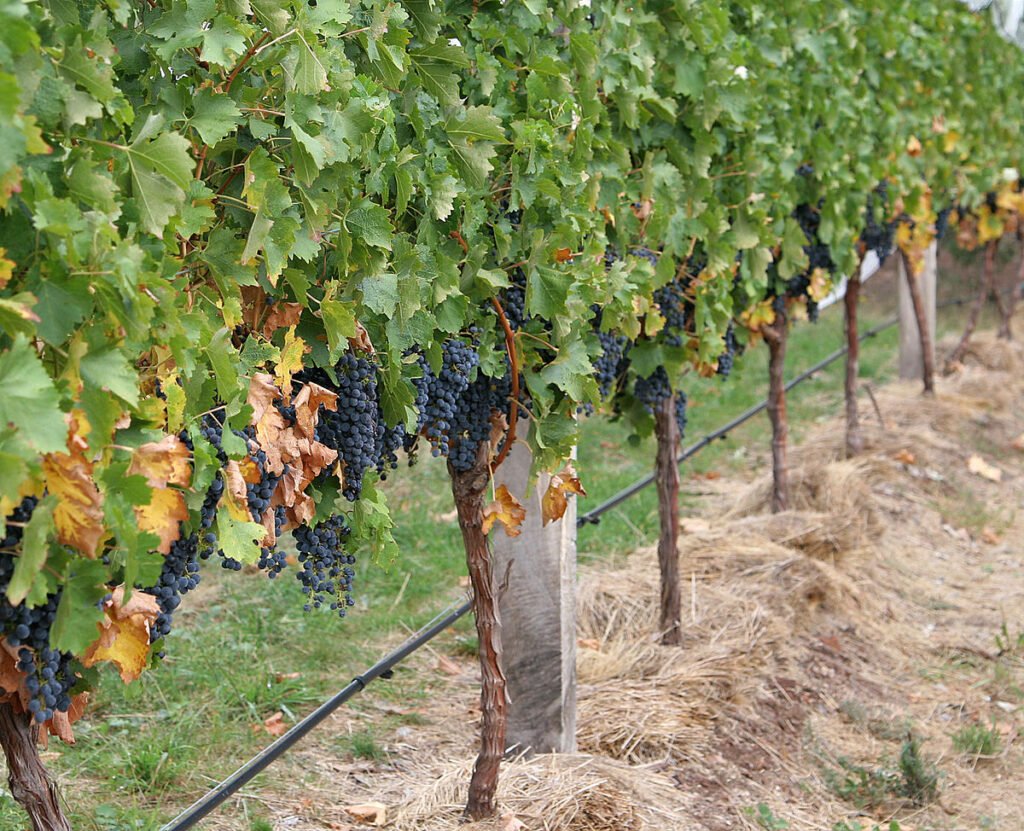
- Train the vine on a trellis, pergola, or wire system for better growth and airflow.
- Prune annually to encourage healthy branches and maximize fruiting.
Tips for Successful Grapevine Grafting
- Timing is Key: The best time is late winter or early spring, before new growth begins.
- Use Sharp Tools: Clean, sharp cuts increase graft success.
- Align Cambium Layers: Proper contact ensures the scion fuses with the rootstock.
- Maintain Humidity: Prevent drying during the first few weeks.
- Pest Protection: Use fine mesh or neem sprays to protect young grafts.
Common Problems and Solutions
- Graft Failure: Misaligned cambium or drying. Solution: Re-graft carefully.
- Weak Growth: Poor rootstock or low fertilization. Solution: Use healthy rootstock and feed regularly.
- Pest Damage: Aphids or caterpillars. Solution: Apply organic pesticides like neem extract.
- Drying Scion: Lack of humidity. Solution: Mist regularly and keep shaded.
Benefits of Grapevine Grafting
- Faster Fruiting: Produce grapes in 1–2 years.
- Consistent Quality: Retains parent variety traits.
- Stronger Plants: Resistant to diseases and adverse soil conditions.
- Flexible: Allows experimentation with different rootstock and scion combinations.
Why Home Gardeners Should Try Grapevine Grafting
Grapevine grafting is a practical and rewarding method that:
- Multiplies favorite grape varieties at home
- Saves money on buying new vines
- Allows control over fruit quality and plant health
- Provides a faster route to harvesting delicious grapes
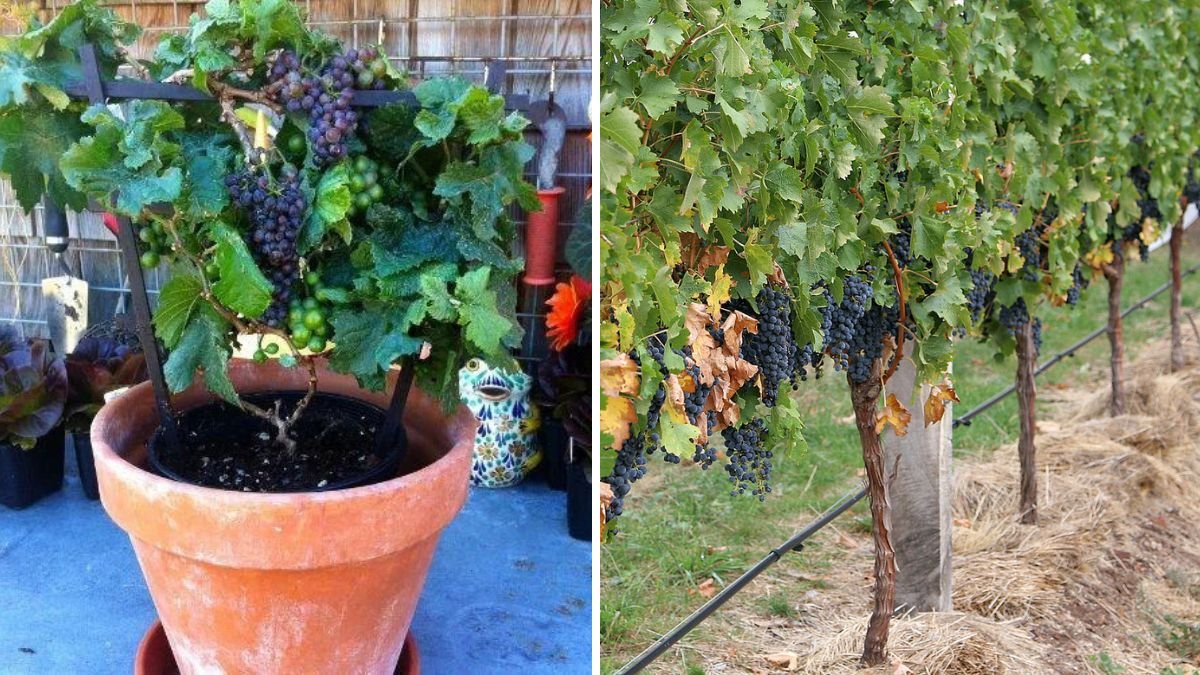
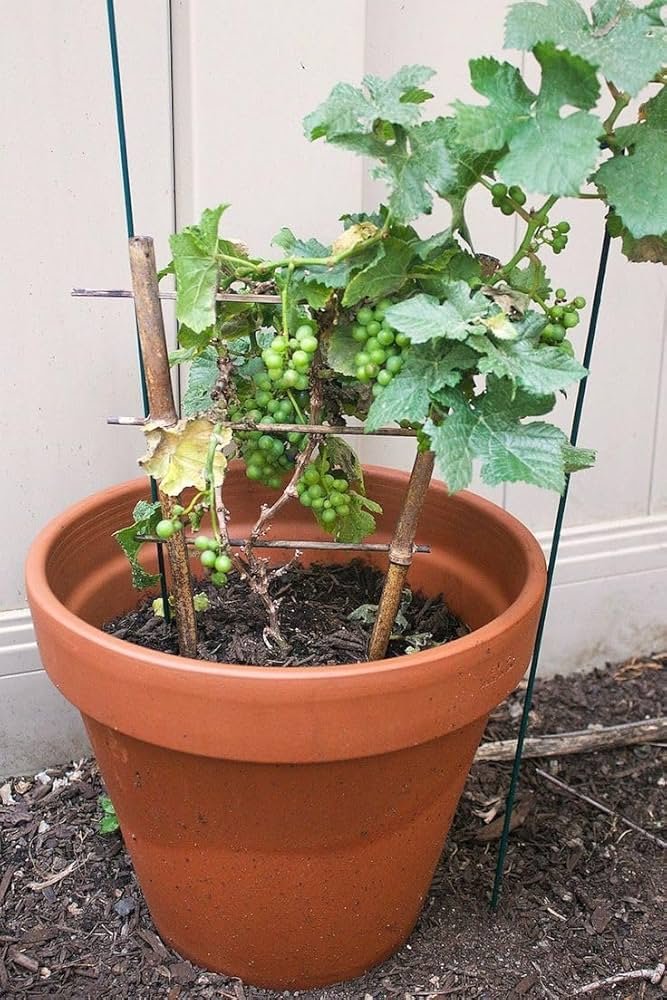
Even if space is limited, grafted grapevines on a balcony, trellis, or backyard can produce sweet, juicy grapes for personal consumption.
Final Thoughts
Grapevine grafting is a simple, highly effective technique to grow strong, fruit-bearing grapevines. By selecting healthy scions and rootstocks, using proper grafting methods, and maintaining humidity and care, even beginners can enjoy homegrown grapes within a few years.
Whether you are a hobby gardener or planning a small backyard vineyard, grafting ensures faster growth, higher yields, and superior fruit quality. With patience and attention to detail, you can transform your garden into a thriving grape paradise, enjoying the taste and nutrition of fresh grapes straight from your own plants.
Start grafting today and experience the joy of cultivating your own vineyard at home! 🍇🌿