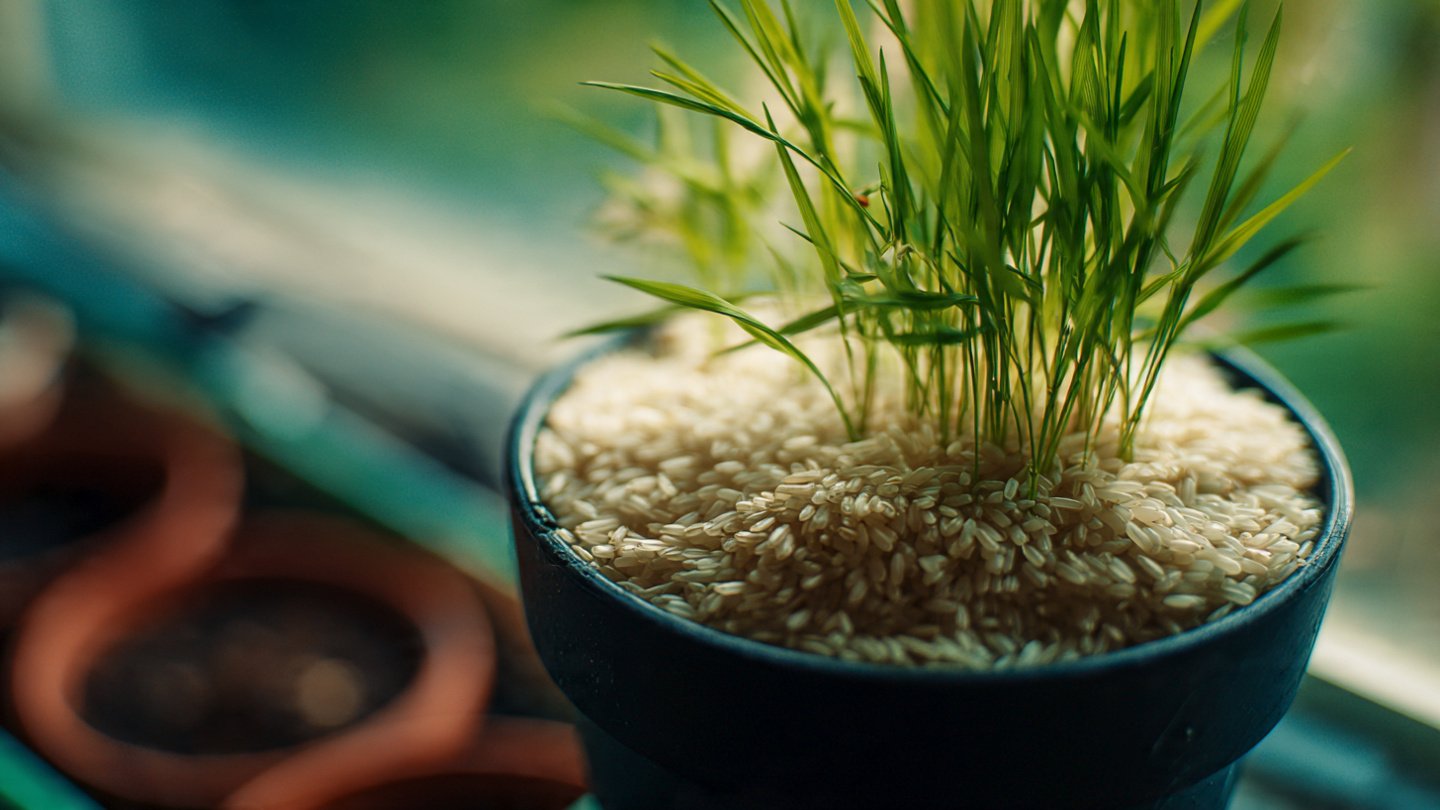
Growing rice can be a rewarding experience, but many people believe it requires vast fields and specialized equipment. However, it’s entirely possible to grow rice in a small bucket, making this staple food more accessible to urban gardeners and those with limited space. This comprehensive guide will walk you through the steps needed to successfully grow rice in a small bucket, the materials you’ll need, and tips for ensuring a successful harvest.
Understanding Rice Cultivation
Rice (Oryza sativa) is a semi-aquatic plant that thrives in paddies submerged in water. This feature means it can be a bit challenging to grow in traditional pots or containers without simulating those conditions. However, with the right approach and care, you can cultivate rice in modified environments. Before diving into the details, let’s take a look at the essential elements of rice cultivation.
1. Climate Requirements
Rice prefers warm tropical or subtropical climates. It’s a heat-loving plant that requires an average temperature of 70°F to 100°F (21°C to 38°C) during the growing season. If you live in a temperate zone, you may need to grow your rice indoors or in a greenhouse where you can control the temperature.
2. Planting Season
The best time to plant rice is in the spring when the risk of frost is over, and the soil temperature has warmed up sufficiently. In warmer climates, rice can be planted from late spring through summer.
Materials Needed
Before planting your rice, gather the following materials:
- Small bucket (at least 5 gallons)
- Quality rice seeds (short-grain varieties work best)
- Potting soil
- Fertilizer (organic options recommended)
- Water source (a hose or watering can)
- Plastic wrap or a clear lid (for humidity)
Step-by-Step Guide to Growing Rice in a Bucket
Step 1: Preparing the Bucket
Start by selecting a bucket that is 5 gallons or larger for better growth potential. Drill holes in the bottom of the bucket to facilitate drainage. Fill the bucket about two-thirds full with potting soil.
Step 2: Soaking the Rice Seeds
Before planting, soak your rice seeds in water for 24 hours. This helps initiate germination. After soaking, drain and rinse the seeds.
Step 3: Planting the Seeds
Once the seeds are prepped, evenly distribute them over the surface of the potting soil. Lightly press them into the soil but avoid covering them completely, as they require light to germinate.
Step 4: Watering
Immediately after planting, water the bucket thoroughly. Ensure the soil is damp but not waterlogged. Rice needs consistent moisture, so keep the soil wet throughout the growing season.
Step 5: Creating a Humidity Dome
To create a humid environment, cover the bucket with plastic wrap or a clear lid. This will help retain moisture while keeping the seeds warm. Remove the cover once you notice seedling growth, usually within 10-14 days.
Step 6: Care During Growth
As your rice plants grow, ensure they receive enough sunlight (6-8 hours of direct light daily). Water them consistently to maintain moisture, especially during dry spells. If using fertilizer, apply it once every month, following the recommended dosage on the package.
Step 7: Tending to Your Plants
Monitor the plants for pests and diseases. Common rice pests include rice weevils and aphids. Insecticidal soap or neem oil can be effective against these pests if used as directed. Regularly remove any weeds to reduce competition for nutrients.
Step 8: Harvesting
After about 90 to 120 days, your rice will start to turn golden brown, indicating it’s time to harvest. Cut the rice stalks when they are dry, using scissors or a sharp knife. Hang them in a cool, dry place to allow the grains to fully dry. Once dry, you can thresh the rice to separate the grains from the husk.
Tips for Success
- Rotate your crops: If you grow rice yearly, consider rotating with other crops to minimize pest and disease buildup.
- Monitor water levels: Rice plants love water, but too much can drown them. Ensure that the water is just above the soil level without oversaturation.
- Experiment with varieties: Different rice varieties may produce different yields, so don’t hesitate to try various seeds.
Conclusion
Growing rice in a small bucket is not only feasible but also an enjoyable endeavor that allows you to cultivate your own food even in limited spaces. By following the steps outlined in this guide and paying close attention to the needs of your plants, you can successfully produce your own rice. This project also serves as an excellent educational opportunity for families and can spark an interest in sustainable living.
FAQs
1. Can I grow rice indoors?
Yes, as long as you can provide sufficient light and maintain the right temperature and humidity, growing rice indoors is feasible.
2. How often should I water the rice plants?
Water them consistently, keeping the soil damp but not soggy. Typically, once or twice a week should suffice, depending on your climate.
3. What type of rice seed should I use?
Short-grain varieties are generally easier to grow in a container. Look for seeds that are specifically labeled for home gardening.
4. Can I use regular garden soil instead of potting soil?
While garden soil can work, potting soil tends to drain better and can be enriched with nutrients beneficial for plant growth.
5. How do I know when to harvest my rice?
Harvest when the grains turn golden brown and are dry to the touch. The optimal time is usually between 90 to 120 days after planting.