A beautifully landscaped garden requires precise edges. Not only does this create visual appeal, but it also helps keep different areas of your garden distinct. One of the most effective tools for achieving perfect borders is a garden edger. In this guide, we’ll explore how you can use a garden edger to achieve immaculate garden borders, ensuring your landscaping looks professional and well-maintained.
What is a Garden Edger?
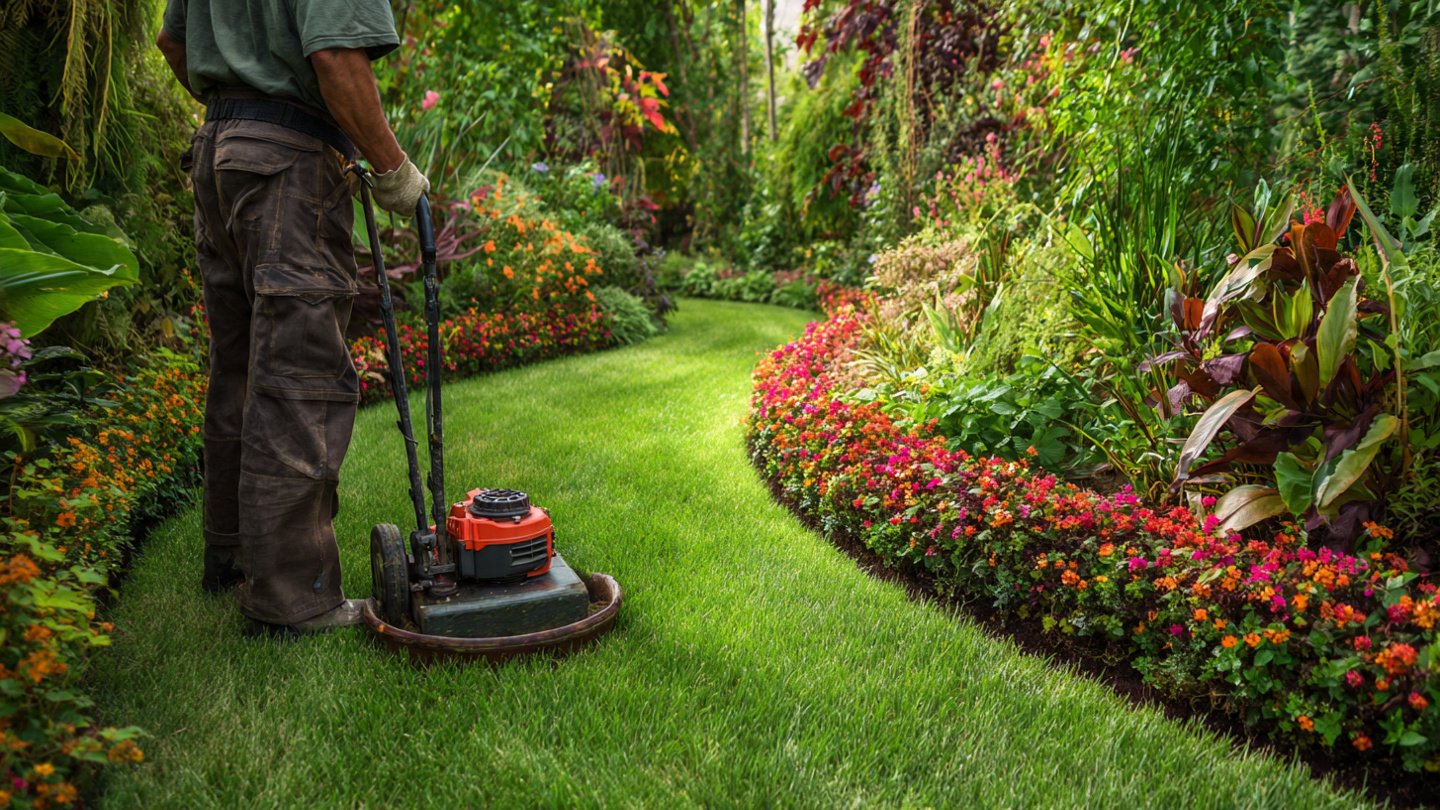
A garden edger is a landscaping tool designed to create clean lines around borders in gardens, flower beds, driveways, and walkways. It helps define the edges of different sections of your garden by cutting through grass and soil. There are various types of garden edgers, including manual, gas-powered, and electric models. Each type has its advantages, depending on the size of your garden and your specific needs.
Types of Garden Edgers
- Manual Edgers: These are typically foot-operated tools that require no power and are ideal for small gardens or precise edging tasks. They are less expensive and require more physical effort, but they allow for greater control.
- Electric Edgers: Easy to use and lightweight, electric edgers are perfect for homeowners with medium-sized gardens. They are quieter and environmentally friendly compared to gas models but require an electrical outlet or a charged battery.
- Gas-Powered Edgers: These are powerful machines designed for larger gardens or professional landscaping. They can handle tougher tasks, making them suitable for heavy-duty work, but are generally more expensive and require maintenance.
Preparing Your Garden Edger
Before you start, it’s essential to prepare your garden edger and the area you plan to work on.
Checklist for Preparation:
- Ensure your edger is clean and in good working condition. Check the blades for sharpness and replace them if necessary.
- Clear the edges of any debris, such as leaves, stones, or existing grass clumps that may obstruct your work.
- Mark the area you wish to edge using stakes or spray paint to create a guide for your cutting line.
Steps to Achieve Perfect Borders
Let’s delve into the step-by-step process of using a garden edger effectively.
Step 1: Define the Edge
Use your marking tools to outline the area to be edged clearly. This defined line will serve as a guide as you work, ensuring consistency throughout.
Step 2: Position the Edger
If you’re using a manual edger, position it at the start of your marked line. For electric or gas models, ensure you’re comfortable and have access to adequate power or fuel.
Step 3: Start the Edging Process
For manual edgers, step on the foot pedal and push the blade into the soil or turf. For powered edgers, activate the machine while maintaining a steady control and guide it along the marked line. Use a slow, deliberate pace to ensure an even cut.
Step 4: Maintain Consistency
Consistent pressure and speed are crucial. Avoid rushing through the process; take your time to ensure the edge is clean and well-defined. For powered models, be especially cautious around curves and corners.
Step 5: Clean Up the Edges
Once you’ve completed the edging, you may notice some loose soil or grass cuttings. Use a broom or rake to sweep these away, revealing the clean border you’ve just created.
Step 6: Add Finishing Touches
After edging, consider adding mulch, gravel, or decorative stones along the border. This not only enhances appearance but also helps to suppress weeds and retain moisture in the soil.
Maintenance of Your Garden Edger
To ensure your garden edger remains effective for years to come, regular maintenance is essential.
- Clean the Edger: After each use, remove any grass or soil stuck to the blades to maintain sharpness.
- Inspect for Wear: Check for any damage on the edger, such as dull blades or loose screws, and address them immediately.
- Storage: When not in use, store your edger in a dry place. If using gas or electric models, remember to drain fuel before storage.
Common Mistakes to Avoid
While edging seems straightforward, beginners often make common mistakes that can affect the results.
- Pacing: Rushing through edging leads to uneven borders. Take your time for the best results.
- Ignoring Tool Maintenance: A dull blade will not cut properly and can cause damage to your garden. Always maintain your tools.
- Not Marking Lines Clearly: Edging without clear lines can result in crooked or uneven borders. Always define your edges before starting.
Conclusion
Using a garden edger is one of the best ways to create perfect borders in your garden. It not only enhances the overall appearance but also promotes healthy growth by preventing grass and weeds from encroaching into flower beds and other designated areas. By following the steps outlined in this guide, along with proper maintenance of your edger, you can achieve professional-looking results in your landscaping. Remember, patience and practice are key to mastering the art of garden edging.
FAQs
1. How often should I edge my garden?
It depends on your garden’s growth rate and the type of plants. Generally, edging every 4-6 weeks during the growing season is advisable.
2. Can I use a garden edger on hard surfaces?
While garden edgers are primarily designed for soil and grass, some models come with attachments suitable for hard surfaces. Always check the manufacturer’s instructions.
3. What is the best time of year to edge my garden?
The best time is during the growing season when grass is actively growing, typically in spring and early summer. However, edging can be done whenever necessary to maintain clean borders.
4. How do I sharpen the blades of a manual edger?
You can sharpen the blades using a hand file or a sharpening stone. Ensure you follow the blade’s angle during sharpening for precision.
5. Is it necessary to use mulch after edging?
While it’s not mandatory, using mulch can help suppress weed growth, retain moisture, and enhance the garden’s appearance.