Geraniums are beloved for their vibrant blooms and lush foliage, making them popular choices for gardens and indoor spaces. However, achieving successful rooting while avoiding fungal problems can be a challenge for many gardeners. This article aims to guide you through effective techniques for rooting geraniums while minimizing the risk of fungal infections.
Understanding Geranium Rooting
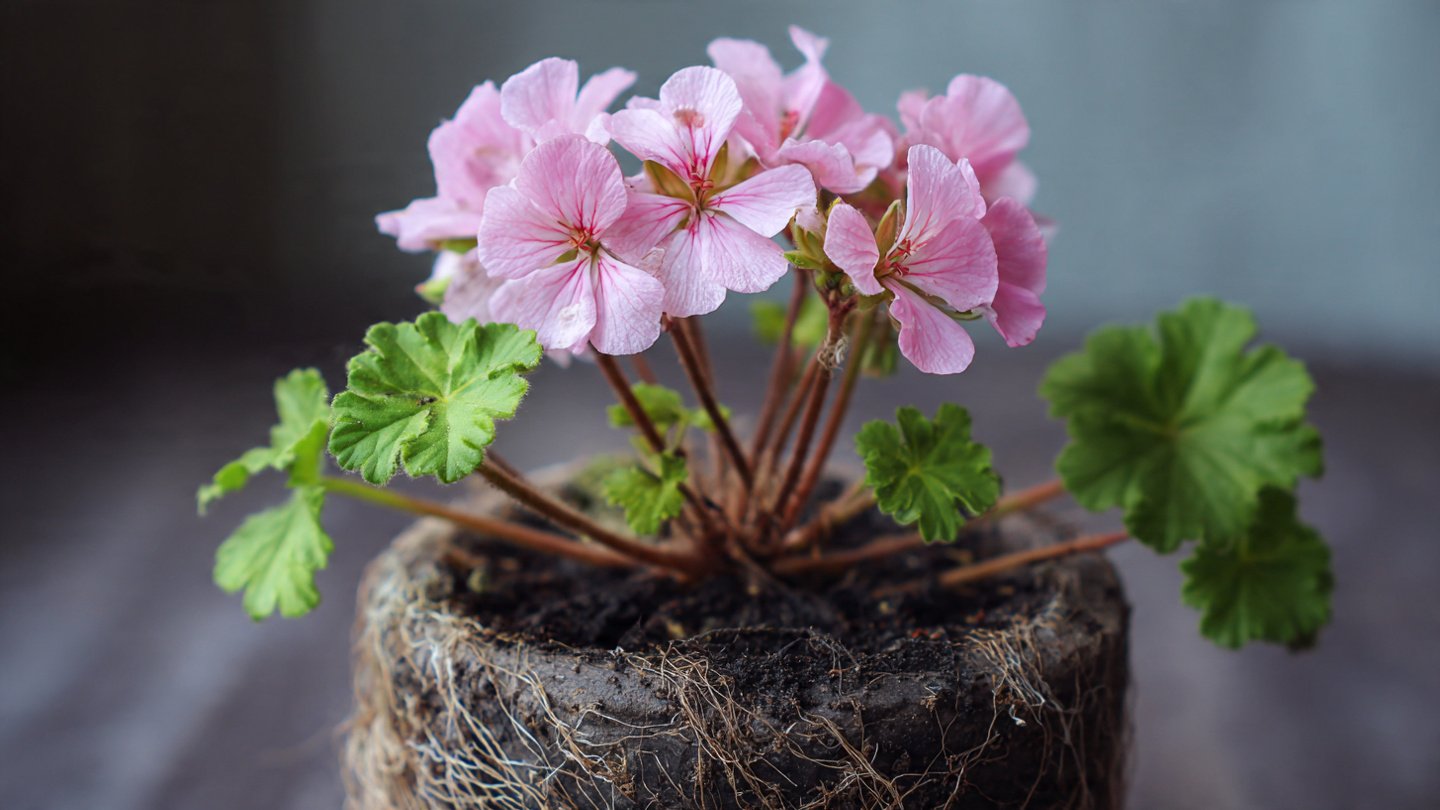
Rooting geraniums, especially the common varieties such as Pelargoniums, can be done through various means, including stem cuttings, seeds, or grafting. However, stem cuttings are the most popular method due to their simplicity and reliability. Nevertheless, factors such as humidity, moisture levels, nutrient availability, and lighting conditions significantly influence rooting success.
Factors Influencing Rooting
- Environmental Conditions: The temperature and humidity of the rooting environment play crucial roles. Ideal rooting temperatures range from 70°F to 75°F (21°C to 24°C). High humidity levels, around 60% to 80%, are favorable but need to be managed to prevent fungal issues.
- Light Conditions: Geranium cuttings need bright, indirect light. Direct sunlight can induce stress, slowing down the rooting process. A well-lit, shaded area is ideal.
- Soil and Medium: The medium used for rooting must provide good drainage and aeration. A mix of peat, perlite, and vermiculite can offer the right balance.
Techniques for Successful Geranium Rooting
1. Choosing Healthy Cuttings
Selecting the right cuttings is critical. Look for:
- Top Healthy Growth: Choose vigorous stems from healthy plants, ideally those that are actively growing and free from pests.
- Non-flowering Stems: Cuttings taken from non-flowering stems generally root better as the plant redirects energy toward root development rather than flower production.
2. Preparing the Cuttings
- Cut the Stem: Using a sharp, sterilized knife or scissors, take 4-6 inch cuttings from the healthy stem. Make the cut just below a leaf node to encourage root formation.
- Remove Lower Leaves: Trim off the lower leaves to prevent them from rotting in the soil, which could foster fungal growth.
3. Using Rooting Hormones
While not essential, rooting hormones can improve the chances of successful rooting by promoting faster root development.
- Application: Dip the cut end of the stem into a rooting hormone powder or gel. Tap off any excess before placing the cutting into the rooting medium.
4. Selecting the Right Medium
To prevent fungal problems, it is crucial to choose the right medium.
- Soil Mix: A mixture of 60% peat and 40% perlite or coarse sand provides good drainage while retaining some moisture.
- Sterilization: Ensure that the soil mix is sterilized to eliminate any fungal spores. This can be done by baking the moist soil in the oven at 180°F (82°C) for about 30 minutes.
5. Watering Techniques
Proper watering is vital to prevent both under-watering and over-watering.
- Initial Watering: After planting the cuttings, water lightly to settle the soil around the cuttings.
- Ongoing Care: Allow the top inch of the medium to dry out before watering again. Use a spray bottle to mist the cuttings if humidity is low.
6. Creating a Humid Environment
To encourage rooting, a humid environment is beneficial but must be carefully managed to avoid fungal infections.
- Plastic Covers: Covering the cuttings with a plastic dome or bag can help maintain humidity. However, ensure to ventilate regularly to prevent mold growth.
- Humidity Trays: Placing the pots on trays filled with water and pebbles can also boost humidity levels around the cuttings without excessive saturation of the soil.
7. Monitoring Temperature
A stable temperature is essential for successful rooting.
- Heating Mats: If the environment is too cool, heating mats can provide bottom heat to encourage root development. Ensure the mats don’t exceed 75°F (24°C) to avoid stressing the cuttings.
8. Avoiding Overcrowding
When rooting multiple cuttings, it’s crucial to avoid overcrowding, which can lead to poor air circulation and increased humidity levels that promote fungal growth.
- Spacing: Space the cuttings appropriately in the trays or pots to allow for air circulation.
9. Pests and Diseases Management
Vigilance against pests and diseases is crucial during the rooting phase.
- Organic Fungicides: Consider using organic fungicides like neem oil to prevent fungal infections. Apply according to the manufacturer’s instructions.
- Inspection: Regularly check the cuttings for signs of rot or pest infestations, and remove affected cuttings immediately.
10. Transplanting Tips
Once the cuttings develop a robust root system (usually after 4 to 6 weeks), it’s time to transplant.
- Choosing Pots: Use pots that provide adequate drainage to prevent water accumulation.
- Soil Mix: Use a well-balanced potting mix suitable for geraniums to provide the necessary nutrients for their growth.
Common Fungal Problems and Solutions
Despite taking precautions, fungal issues can arise. Here are common problems and their solutions:
- Root Rot: Caused by overwatering or poorly drained soil.
- Solution: Allow the medium to dry out entirely before watering again. If rot is severe, replant healthy cuttings in fresh, sterile medium.
- Powdery Mildew: Appears as a white, powdery substance on leaves.
- Solution: Increase airflow around the plants and use fungicides to treat the mildew.
- Botrytis Blight: Often a result of high humidity and poor air circulation.
- Solution: Improve ventilation and reduce moisture. Trim away affected areas promptly.
FAQs
Q1: How long does it take for geranium cuttings to root?
A1: Typically, geranium cuttings take about 4 to 6 weeks to develop adequate root systems.
Q2: Can I propagate geraniums in water?
A2: While geraniums can technically be propagated in water, it is less ideal due to potential waterlogging and fungal risks. It’s better to root them in a well-draining medium.
Q3: What temperature is best for rooting geraniums?
A3: Ideal temperatures for rooting geraniums range between 70°F to 75°F (21°C to 24°C).
Q4: Should I fertilize my cuttings while rooting?
A4: It’s best to wait until the cuttings establish roots before applying any fertilizers, as this can stress the plant and attract pests.
Q5: How can I increase humidity around my cuttings?
A5: You can increase humidity by covering the cuttings with a plastic dome or bag, or by using humidity trays filled with water and pebbles.
Q6: What should I do if my cuttings develop mold?
A6: Ensure adequate air circulation and lower humidity levels. Remove affected cuttings and treat the remaining ones with a fungicide if needed.
Q7: Can I reuse the soil for rooting geraniums?
A7: It’s not advisable to reuse soil without sterilization, as it may contain fungal spores or pathogens that can affect new cuttings.
Conclusion
Successfully rooting geraniums while avoiding fungal issues is achievable with the right techniques and conditions. By understanding the needs of your cuttings, providing the correct environment, and managing moisture levels, you can enjoy healthy, vibrant geraniums flourishing in your garden or home. Happy gardening!