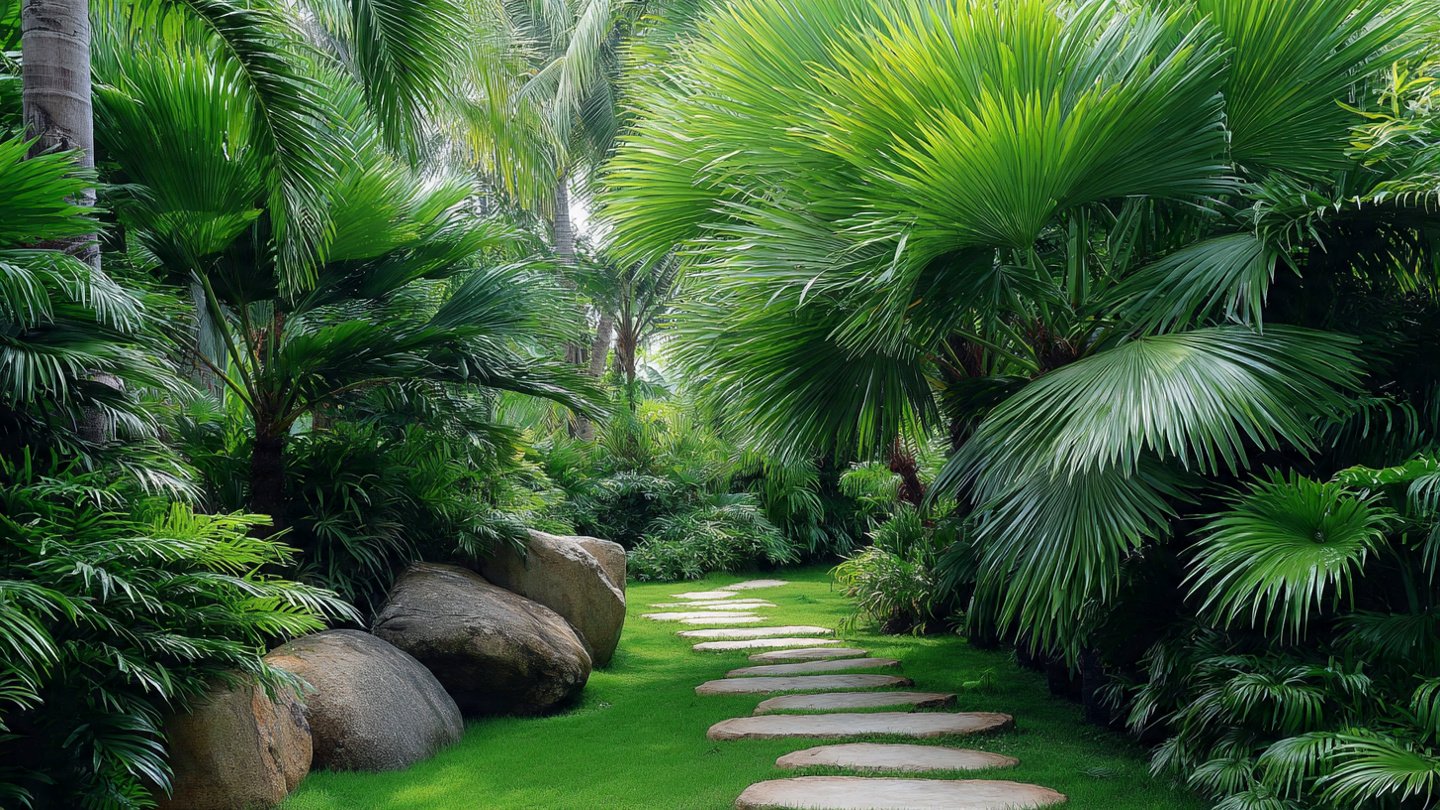
Bottle palms (Hyophorbe lagenicaulis) are renowned for their unique, bottle-shaped trunks and graceful, arching fronds. These palms, native to the Mascarene Islands in the Indian Ocean, can transform any outdoor space into a tropical paradise. If you’ve been dreaming of a lush garden retreat, growing a bottle palm could be the perfect solution. This article will guide you through the steps of cultivating bottle palms in your home lawn, ensuring you create a stunning and serene environment.
Why Choose Bottle Palms?
Before we delve into the steps of growing bottle palms, let’s discuss why they are an excellent choice for your garden:
- Aesthetic Appeal: Their unique shape and vibrant leaves make them a striking centerpiece in any garden.
- Low Maintenance: Bottle palms are relatively low-maintenance compared to many other tropical plants. They are resilient and can adapt to various conditions.
- Space Efficiency: They grow upwards rather than outwards, making them suitable for smaller spaces.
- Tropical Vibe: These palms offer an instant tropical feel, perfect for enhancing your outdoor aesthetics.
Step 1: Choose the Right Location
Bottle palms thrive in warm, tropical climates. Ideally, select a location that offers:
- Full Sunlight: These palms prefer areas that receive at least 6-8 hours of direct sunlight per day.
- Good Drainage: Look for well-drained soil, as bottle palms are susceptible to root rot in overly saturated conditions.
- Protection from Wind: If your area experiences strong winds, consider planting your bottle palm near a structure or other plants that can act as a windbreak.
Step 2: Preparing the Soil
Soil preparation is critical for the healthy growth of your bottle palm. Follow these steps:
- Soil Type: Bottle palms prefer sandy, well-draining soil. If your soil is heavy clay, consider amending it with sand, perlite, or compost.
- pH Level: Aim for a slightly acidic to neutral pH (5.5 – 7.5) for optimal growth. You can test your soil pH with a simple home testing kit.
- Nutrient Addition: Enrich the soil with organic matter. Adding compost before planting can support healthy growth, supplying necessary nutrients.
Step 3: Planting Your Bottle Palm
Once your soil is prepared, it’s time to plant your bottle palm:
-
Choose the Right Sapling: Purchase a healthy bottle palm sapling from a nursery or garden center. Look for ones with vibrant green leaves and firm trunks.
-
Digging the Hole: Dig a hole that is twice as wide and as deep as the root ball of the sapling. This gives the roots enough space to expand and establish themselves.
-
Setting the Plant: Place your bottle palm in the center of the hole. Make sure the top of the root ball is level with the surface of the soil to prevent water accumulation around the base.
-
Backfilling: Fill the hole with the soil you removed, gently pressing it down to eliminate air pockets. Water the plant thoroughly after backfilling.
Step 4: Watering
Proper watering is crucial in the early stages after planting:
- Initial Watering: Water your bottle palm deeply right after planting to help settle the soil around the roots.
- Regular Watering: For the first year, water the palm weekly, allowing the top inch of soil to dry out between waterings. Once established, bottle palms are relatively drought-tolerant and require less frequent watering.
- Signs of Underwatering/Overwatering: Yellowing leaves may indicate overwatering, while wilting leaves suggest underwatering.
Step 5: Fertilization
Applying the right fertilizer during the growing season can enhance growth:
- Type of Fertilizer: Use a slow-release, balanced fertilizer specifically designed for palms that has an NPK ratio of 8-2-12.
- Application Frequency: Fertilize in the spring and mid-summer according to the package instructions. This will provide essential nutrients as the plant grows.
Step 6: Pruning and Maintenance
To keep your bottle palm healthy and aesthetically pleasing, regular maintenance is essential:
- Removing Dead Fronds: Trim away any dead or brown fronds, but be cautious not to remove healthy green leaves too often, as they are crucial for photosynthesis.
- Avoiding Damage: When pruning, use clean, sharp tools to prevent damaging the palm or introducing pathogens.
Step 7: Pests and Diseases Management
Bottle palms can be susceptible to pests such as aphids, spider mites, and scale insects; however, proactive pest management can keep them healthy:
- Regular Inspections: Check your bottle palm regularly for signs of pests or disease.
- Natural Remedies: If you notice any infestations, neem oil or insecticidal soap can be effective organic treatments.
- Proper Air Circulation: Ensure your palm has adequate space around it for air circulation, which can help prevent fungal diseases.
Step 8: Seasonal Care
As seasons change, so too do the care requirements of your bottle palm:
- Winter Care: In cooler climates, protect your bottle palm from frost. You can wrap the trunk with burlap or cover the base with mulch to insulate the roots.
- Summer Care: During the hot summer months, ensure your palm receives enough water, particularly if it’s in a pot or container.
FAQs
Q1: How tall does a bottle palm grow?
A: Bottle palms typically reach a height of 10 to 15 feet (3 to 4.5 meters) and remain narrow, making them a great choice for smaller spaces.
Q2: Can bottle palms tolerate cold temperatures?
A: Bottle palms prefer warm, tropical climates and should ideally be protected from temperatures below 30°F (-1°C). They may survive short exposures to cold, but prolonged exposure can be detrimental.
Q3: How often should I water my bottle palm?
A: Watering frequency will depend on your climate and soil condition. Generally, water once a week during the first year. Once established, it can tolerate longer periods between waterings.
Q4: Do bottle palms produce fruit?
A: Yes, bottle palms can produce small, edible fruits, but they are not typically cultivated for their fruit. The fruit is a small, round drupe that appears when the palm matures.
Q5: Can bottle palms be grown indoors?
A: While bottle palms can be grown indoors, they require bright, indirect light and sufficient humidity. They may not grow as large indoors, but they can still thrive in a well-lit environment with proper care.
Q6: What should I do if my bottle palm has yellow leaves?
A: Yellowing leaves can indicate overwatering, nutrient deficiency, or pests. Assess your watering schedule, consider fertilization, and check for any signs of pest infestation.
Conclusion
Growing a bottle palm in your home lawn is a fulfilling endeavor that adds beauty and tranquility to your outdoor space. With the right location, soil preparation, and care, you can enjoy the unique charm of these tropical palms for years to come. The lush environment they create will be a perfect retreat for relaxation and enjoyment, transforming your home into a personal tropical escape.