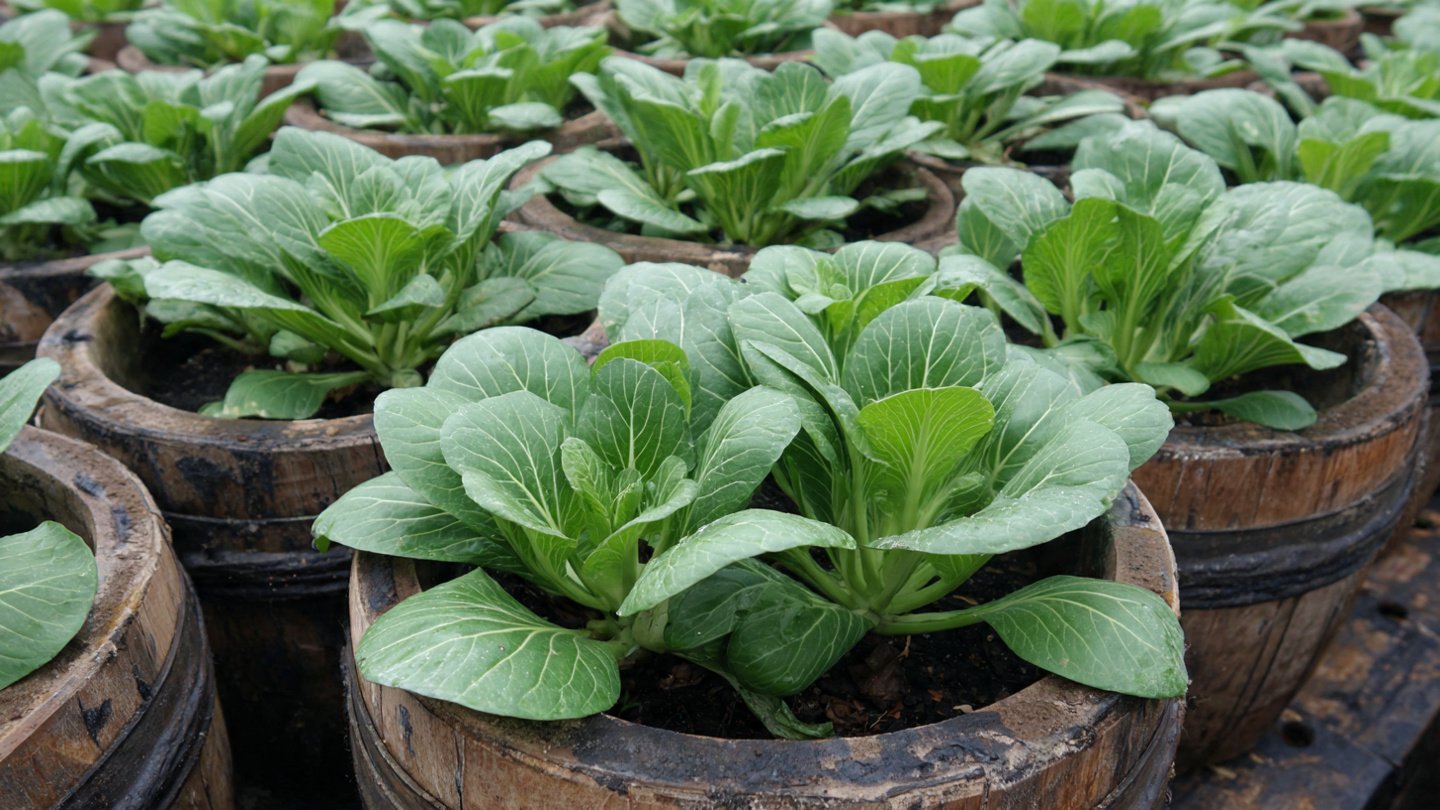
Pak choi, also known as bok choy or Chinese cabbage, is a nutritious leafy green vegetable that’s prized for its crisp texture and mild flavor. It’s a versatile ingredient often used in Asian cuisine but also great in salads, stir-fries, and soups. Growing pak choi in containers is an excellent way to enjoy fresh, homegrown greens even if you don’t have a garden space. This step-by-step guide will walk you through everything you need to know about cultivating healthy pak choi plants in containers, from choosing the right container and planting seeds to caring for your crop and harvesting.
Why Grow Pak Choi in Containers?
Container gardening offers many benefits:
- Space efficiency: Perfect for small balconies, patios, or any urban environment.
- Mobility: Containers can be moved to capture optimal sunlight or shielded from strong winds.
- Soil control: Easier to provide the ideal soil conditions and avoid soil-borne pests.
- Accessibility: Convenient for those with limited mobility.
Pak choi is particularly well-suited for container cultivation because it grows relatively quickly and doesn’t require a deep root system. With proper care, you can enjoy multiple harvests throughout the growing season.
Step 1: Choose the Right Container
Selecting the appropriate container is key for healthy growth.
- Size: Pak choi needs about 8-12 inches in depth. A container that is at least 12 inches wide and deep will comfortably accommodate a single plant. If you want to grow multiple plants, choose a wider container or several pots spaced apart.
- Material: Containers made from plastic, ceramic, or terracotta all work well. Make sure the container has drainage holes to prevent waterlogging.
- Shape: Round or square containers both work fine, but wider containers allow you to plant multiple pak choi in one container.
Step 2: Select Quality Soil
Good soil is vital for thriving pak choi.
- Use a high-quality potting mix designed for vegetables. These mixes are well-draining and rich in organic matter.
- Pak choi prefers slightly acidic to neutral soil pH, around 6.0 to 7.5.
- You can amend the potting soil with compost or well-rotted manure to boost fertility.
Step 3: Choose the Right Variety
Pak choi comes in various varieties with differences in leaf size, color, and growth speed.
- Baby pak choi: Smaller leaves, quick-growing, perfect for salads.
- Shanghai pak choi: Larger, broader leaves, mild taste.
- Joi Choi: Compact variety suitable for containers.
Choose according to your taste preference and container space.
Step 4: Planting Pak Choi Seeds
You have two options: direct sowing or transplanting seedlings.
Direct Sowing in Containers:
- Fill your container with potting mix, leaving about one inch from the rim.
- Moisten the soil gently without making it soggy.
- Sow seeds about ¼ inch deep, spacing them 4-6 inches apart if planting multiple seeds per container.
- Cover lightly with soil and water gently.
- Keep the soil consistently moist.
Transplanting Seedlings:
- Start seeds indoors 3-4 weeks before transplanting if you want to get a head start.
- Use seed trays or small pots with seed-starting mix.
- Once seedlings develop 3-4 true leaves and are about 3-4 inches tall, they can be transplanted to the container.
- Space seedlings about 6-8 inches apart to allow room for growth.
Step 5: Provide the Right Environment
Light:
- Pak choi thrives in full sun but can tolerate partial shade.
- Aim for at least 4-6 hours of direct sunlight daily.
- If growing indoors, place containers near a bright south or west-facing window or supplement with grow lights.
Temperature:
- Ideal growing temperature is between 55°F and 75°F.
- Pak choi is a cool-season crop, so it does best in spring and fall.
- Avoid hot summer temperatures, which can cause bolting (premature flowering).
Step 6: Watering and Fertilizing
Watering:
- Keep the soil consistently moist but not waterlogged.
- Water whenever the top inch of soil feels dry.
- Containers dry out faster than garden beds, so frequent watering may be needed, especially in warm weather.
Fertilizing:
- Apply a balanced liquid fertilizer every 2-3 weeks.
- Alternatively, use slow-release organic fertilizers mixed into the soil at planting.
- Avoid over-fertilizing, which can promote leafy growth at the expense of flavor.
Step 7: Managing Pests and Diseases
Pak choi in containers is less prone to soil pests but still vulnerable to common garden pests.
- Aphids: Tiny, soft-bodied insects that suck plant sap. Spray with insecticidal soap or a strong water jet to dislodge.
- Flea beetles: Small jumping beetles that create tiny holes in leaves. Use row covers or neem oil as a deterrent.
- Slugs and snails: Can be a problem in damp conditions. Use barriers, handpick, or apply organic slug pellets.
Maintaining good air circulation and avoiding overhead watering can help prevent fungal diseases like downy mildew and powdery mildew.
Step 8: Harvesting Pak Choi
- Pak choi is ready to harvest about 45-60 days after planting.
- Harvest baby pak choi leaves when they reach 6-8 inches tall.
- Mature plants can be harvested once the heads are full-sized.
- Cut stems at the base using a sharp knife.
- You can also harvest outer leaves progressively, allowing the inner leaves to continue growing.
Tips for Success
- Rotate crops or clean containers between plantings to prevent disease buildup.
- Use mulch on top of soil to retain moisture and regulate temperature.
- Succession planting every two weeks ensures a continuous supply of fresh greens.
- If you notice bolting (flower stalks forming), it means the plant is stressed or the weather is too warm; remove flower stalks quickly or start a new batch.
Conclusion
Growing pak choi in containers is a rewarding way to enjoy fresh, healthy greens at home. With the right container, quality soil, proper watering and fertilizing, and pest management, you can cultivate vibrant pak choi plants year-round in suitable climates or during cooler seasons. Follow this step-by-step guide to master container gardening of pak choi and bring delicious, nutritious greens straight to your table from your own little urban garden.
Happy gardening!