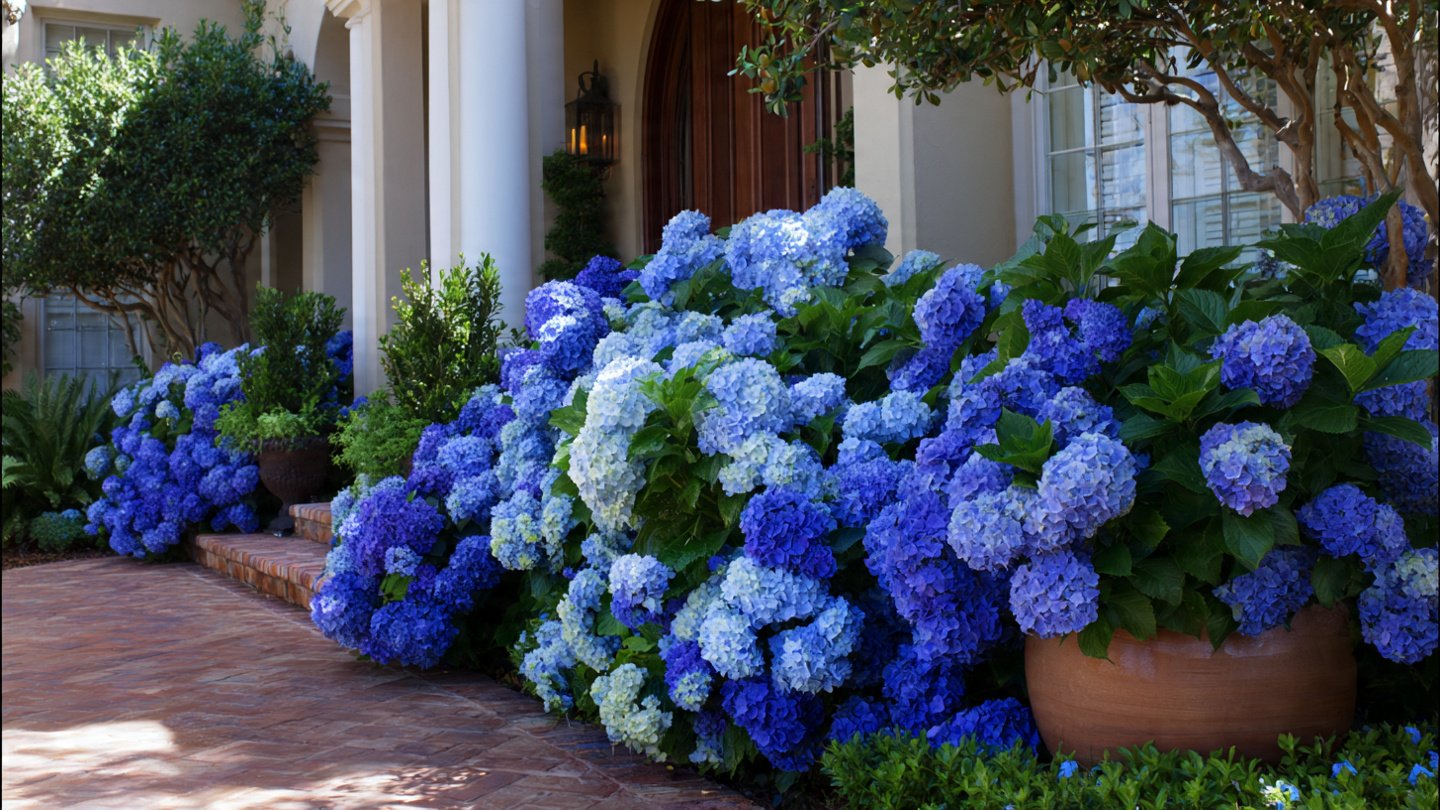
Blue hydrangeas are a favorite among gardeners due to their strikingly vibrant colors and lush foliage. These perennial plants not only bring a stunning visual appeal to any garden but are also relatively easy to grow. This article will explore the essential steps and best practices for cultivating blue hydrangeas in outdoor beds, ensuring a breathtaking display that will transform your garden.
Understanding Blue Hydrangeas
Before diving into the cultivation process, it’s important to understand what blue hydrangeas are and what makes them unique. The color of hydrangea flowers is influenced by the pH level of the soil. In acidic soils (pH below 6.0), hydrangeas produce blue blooms, while alkaline soils (pH above 7.0) tend to yield pink flowers. This fascinating characteristic makes blue hydrangeas an excellent choice for gardeners looking to add a splash of color to their outdoor spaces.
Common Blue Hydrangea Varieties
- Hydrangea macrophylla: Known as bigleaf hydrangea, this variety often produces large, round flower clusters that can range from pale lavender to deep blue.
- Hydrangea serrata: Sometimes referred to as mountain hydrangea, these are smaller and more compact, making them suitable for smaller garden beds.
- Hydrangea paniculata: While typically known for white blooms that can turn pink as they age, some varieties can be manipulated to produce blue hues.
Choosing the Right Location
The first step in successfully growing blue hydrangeas is selecting an appropriate location for planting. Here’s what to consider:
- Sunlight: Hydrangeas thrive in partial shade. Ideally, they should receive morning sun and afternoon shade, which protects them from the harshest sun and helps retain soil moisture.
- Soil: Opt for well-draining, loamy soil rich in organic matter. A pH level below 6.0 is crucial for achieving those vibrant blue blooms.
- Protection from Wind: If your garden experiences high winds, consider planting hydrangeas near a wall or fence to protect them.
Preparing the Soil
The next step is to prepare the soil properly to ensure your hydrangeas have the nutrients they need to thrive.
Testing Soil pH
Start by testing the pH level of your soil. Home testing kits are available at garden centers. If your soil is too alkaline, you can lower the pH by adding:
- Sulfur: This is one of the most effective amendments. Mix 1-2 pounds of granulated sulfur into the soil for every 100 square feet.
- Peat Moss: Incorporating sphagnum peat moss into your soil can also help to acidify it, while improving the soil’s texture.
Improving Soil Drainage
Hydrangeas prefer well-draining soil. If your garden bed retains water, consider amending the soil with:
- Sand: Adding coarse sand can enhance drainage.
- Organic Matter: Incorporate compost or well-rotted manure to improve soil structure and nutrient content.
Planting Blue Hydrangeas
Once your soil is prepared, it’s time to plant your blue hydrangeas. Follow these steps for optimal results:
Selecting the Right Time
The best time to plant hydrangeas is in the spring or fall. During these seasons, the weather is typically mild, allowing plants to establish roots before hot summer temperatures or freezing winter conditions arrive.
Digging the Hole
- Choose a planting site.
- Dig a hole that is at least twice the width of the root ball and just deep enough to accommodate the roots without crowding.
- Loosen the soil at the bottom of the hole to promote root growth.
Planting the Hydrangea
- Remove the hydrangea from its container, gently loosening any bound roots.
- Place the plant in the center of the hole, ensuring that the top of the root ball is level with the soil surface.
- Backfill the hole with soil and water thoroughly to eliminate air pockets.
Watering and Maintenance
Proper watering and maintenance are crucial to ensuring that your blue hydrangeas thrive.
Watering Schedule
- Newly Planted Hydrangeas: Water them deeply once a week for the first month after planting. If the weather is particularly hot or dry, increase watering frequency.
- Established Plants: Once established, hydrangeas generally require watering once every 5-7 days. Monitor the moisture levels and adjust accordingly.
Mulching
Applying a layer of organic mulch (such as wood chips or shredded bark) around the base of hydrangeas helps to retain soil moisture, suppress weeds, and regulate soil temperature. Aim for a 2-4 inch layer, keeping the mulch a few inches away from the plant’s stem to prevent rot.
Pruning
Regular pruning is essential for maintaining the health and appearance of your hydrangeas. Here’s how to do it:
- Timing: Prune spring-blooming varieties immediately after they finish flowering. For summer-blooming varieties, prune in late winter or early spring.
- Technique: Remove dead or damaged wood and cut back stems to encourage new growth. Aim for a healthy, open shape that promotes sunlight and airflow.
Fertilizing for Blue Blooms
To achieve those spectacular blue blooms, appropriate fertilization is key. Here’s how to do it effectively:
Choosing the Right Fertilizer
- Acidic Fertilizers: Look for fertilizers low in phosphorus (the middle number in N-P-K ratios), as high phosphorus levels encourage pink blooms. Fertilizers formulated for azaleas or rhododendrons are good choices.
- Organic Options: Consider using organic options like fish emulsion or compost to provide necessary nutrients without altering soil pH drastically.
Application
- Fertilize in the early spring, following the package directions for application rates.
- Avoid over-fertilizing, as this can lead to excessive leaf growth at the expense of blooms.
Dealing with Pests and Diseases
While blue hydrangeas are generally resilient, they can be susceptible to certain pests and diseases:
Common Pests
- Aphids: These small sap-sucking insects can be managed with insecticidal soap or neem oil.
- Spider Mites: Look for fine webbing; increase humidity and apply insecticidal soap if needed.
Diseases
- Powdery Mildew: This fungal infection can be reduced by ensuring good airflow around the plants and avoiding overhead watering.
- Root Rot: Caused by poor drainage, root rot can be avoided by ensuring the planting site is well-draining.
Encouraging Blue Blooms
To maximize the chances of getting those coveted blue blooms, consider the following strategies:
Soil Amendments
Regularly amend your soil with sulfur or aluminum sulfate, adhering to the recommended application rates based on your pH test results.
Monitor pH Levels
Re-test your soil pH annually to ensure it remains within the desired range for blue blooms.
Conclusion
Growing blue hydrangeas in your outdoor beds can create a stunning, vibrant display that enlivens your garden. By following best practices in soil preparation, planting, watering, and maintenance, you can ensure that your hydrangeas thrive and produce the alluring blue blooms you desire. With a little care and attention, you’ll find that these spectacular plants not only enhance your garden’s beauty but also bring joy and satisfaction to your gardening experience. Remember that patience is key—nature often takes its time, and the rewards are well worth the wait. Happy gardening!