Amaranth, a vibrant annual plant known for its nutritious leaves and seeds, has been cultivated for centuries for both ornamental and edible purposes. Whether you’re interested in growing amaranth for its beautiful foliage or its rich nutritional profile, you’ll be pleased to know that you can successfully grow this versatile plant indoors, year-round.
Why Grow Amaranth?
Nutritional Benefits
Amaranth is a powerhouse of nutrition. Packed with protein, fiber, vitamins, and minerals, it serves as a valuable addition to your diet. Unlike many traditional grains, amaranth is gluten-free, making it an excellent option for people with gluten intolerances. It’s high in lysine, an amino acid often limited in grains, and contains significant amounts of iron, magnesium, and calcium.
Ornamental Appeal
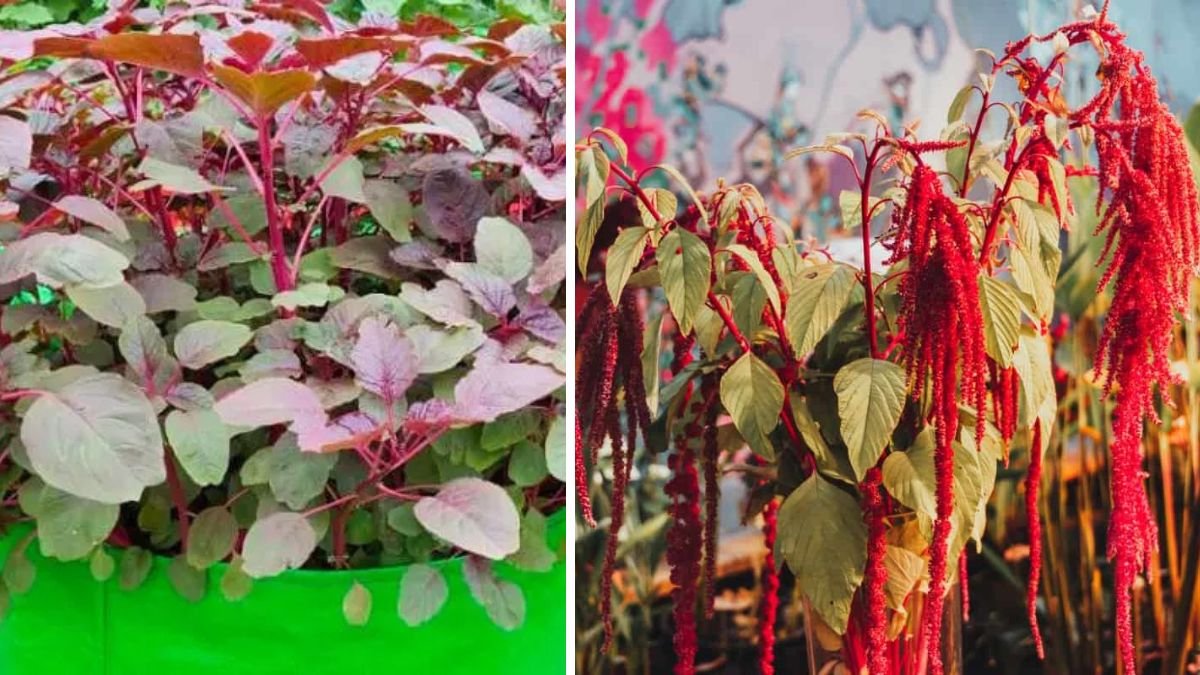
In addition to its culinary benefits, amaranth features stunning foliage and vibrant blooms. Varieties like ‘Love-Lies-Bleeding’ and ‘Golden Amaranth’ produce beautiful cascading flowers that can serve as striking indoor decorations.
Eco-Friendly
Growing amaranth indoors also helps reduce carbon footprints. By cultivating your own plants, you minimize the need for transportation and packaging associated with store-bought produce, contributing to a more sustainable lifestyle.
Step-by-Step Guide to Growing Amaranth Indoors
1. Select the Right Variety
Choose a variety of amaranth suitable for indoor growth. Dwarf varieties like ‘Red garnet’ or ‘Hopi Red Dye’ are great choices for limited space. These varieties produce high-quality leaves and seeds while staying compact.
2. Gather Your Supplies
Before planting, gather the necessary supplies:
- Amaranth seeds
- Containers (at least 6-12 inches deep)
- Potting soil
- Fertilizer (organic, if preferred)
- Watering can
- Grow lights (if natural light is insufficient)
3. Prepare the Containers
Select containers with good drainage holes to prevent waterlogging. Fill the containers with high-quality potting soil, leaving about an inch of space at the top.
4. Plant the Seeds
Plant the seeds approximately 1/4 to 1/2 inch deep, spacing them around 2-3 inches apart. Cover the seeds gently with soil and water lightly. Amaranth seeds germinate best in warm soil, so maintaining a temperature between 70-80°F (21-27°C) will aid in faster sprouting.
5. Light Conditions
Amaranth plants thrive on sunlight but can also grow under fluorescent grow lights. Ideally, provide them with at least six hours of direct sunlight daily. If using grow lights, place them 6-12 inches above the plants and leave them on for 12-16 hours a day.
6. Watering and Humidity
Keep the soil consistently moist but not soggy. Water the plants when the top inch of soil feels dry to the touch. Amaranth prefers humidity levels between 40-60%. If your indoor environment is dry, consider using a humidifier or placing a tray of water nearby to increase humidity.
7. Nutrient Requirements
During the growing phase, you may wish to fertilize your amaranth. Use a diluted fertilizer every 4-6 weeks to provide essential nutrients. Organic options like compost tea or fish emulsion can work well.
8. Pruning and Maintenance
As the plants grow, you may want to prune them back to encourage bushier growth. Regularly check for pests and diseases. Common pests include aphids and spider mites; using insecticidal soap can effectively manage outbreaks.
9. Harvesting
Depending on the variety, amaranth can be harvested for both leaves and seeds. For leaves, you can start harvesting once they are about 6-8 inches tall. Cut leaves gently from the outer layers to allow inner leaves to continue growing. For seeds, allow the flower heads to dry out completely before harvesting.
Tips for Successful Indoor Growth
- Rotate Plants: If your indoor space allows, rotate your pots occasionally to ensure even light exposure.
- Temperature Control: Keep an eye on temperature fluctuations. Avoid placing plants near heating vents or cold windows.
- Companion Planting: Consider planting amaranth with other fast-growing herbs like basil or parsley, which can also thrive indoors.
Common Challenges and Solutions
-
Leggy Growth: If your amaranth is growing tall and spindly, it’s likely not receiving enough light. Adjust to provide more direct light.
-
Pests: Regularly inspect your plants. In case of infestation, act quickly with neem oil or insecticidal soap.
-
Insufficient Germination: If seeds aren’t germinating, check the temperature and moisture levels. Seeds may need warmth and consistent moisture to sprout effectively.
-
Yellowing Leaves: This can be a sign of nutrient deficiency or overwatering. Use a balanced fertilizer and adjust your watering schedule accordingly.
FAQs
1. How fast does amaranth grow?
Amaranth is a fast-growing plant. Depending on the variety, you can expect to see germination within 7-14 days. Leaf harvesting can begin as early as 30-45 days after planting.
2. Can I grow amaranth from kitchen scraps?
While amaranth seeds are not typically grown from kitchen scraps, you can use its leaves in cooking. However, saved seeds must be from an organic source to ensure they yield quality plants.
3. Is amaranth hard to grow indoors?
Not at all! With the right conditions—adequate light, proper watering, and temperature control—growing amaranth indoors can be quite easy and rewarding.
4. How do I store harvested amaranth seeds?
Allow seeds to dry completely before storing them in a cool, dark place in a sealed container. Properly stored seeds can last for several years.
5. Can I grow amaranth in a hydroponic system?
Yes! Amaranth can thrive in a hydroponic system, though care must be taken to provide sufficient nutrients and light. Hydroponic setups often yield faster growth and healthier plants.
Conclusion
Growing amaranth indoors year-round is not only feasible but also rewarding. With its incredible nutritional value, beautiful foliage, and sustainable benefits, amaranth makes a perfect addition to your indoor garden. Follow the steps outlined in this guide, and you will enjoy a continuous supply of healthy amaranth leaves and seeds right from your home. Happy gardening!