Coreopsis, commonly known as tickseed, is a popular perennial flower that brings vibrant color to gardens, especially the compact varieties that are well-suited for smaller spaces. These resilient plants are celebrated for their cheerful yellow blooms and ability to thrive with minimal care. In this article, we’ll explore the essential steps and tips for successfully growing the Coreopsis compact variety in your garden.
1. Understanding Coreopsis Compact Variety
1.1. What is Coreopsis?
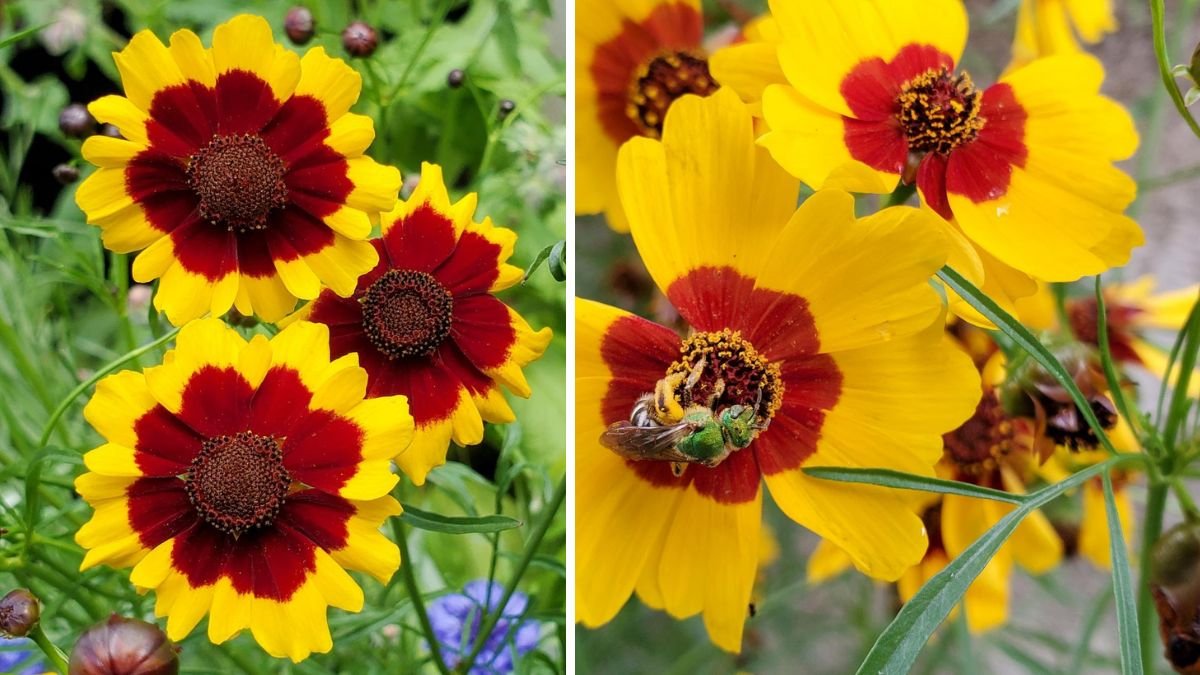
Coreopsis belongs to the Asteraceae family and consists of over 80 species. The compact variety is particularly favored for its smaller stature, making it ideal for borders, containers, and front gardens. Coreopsis is native to North America and features daisy-like flowers that attract pollinators, such as bees and butterflies.
1.2. Why Choose Compact Coreopsis?
The compact varieties are perfect for gardeners with limited space or those who prefer a tidier look. With a height ranging from 12 to 18 inches, they bloom from late spring to early fall, providing long-lasting color and a low-maintenance option for busy gardeners.
2. Choosing the Right Location
2.1. Sunlight Requirements
Coreopsis plants thrive in full sun, requiring at least six hours of direct sunlight per day. A sunny spot will result in healthier plants with more abundant blooms.
2.2. Soil Conditions
Well-drained soil is crucial for the successful growth of compact Coreopsis. They prefer sandy or loamy soil with neutral to slightly acidic pH levels (6.0 to 7.0). If your soil is too clay-heavy, consider amending it with compost or sand to enhance drainage.
2.3. Space Considerations
Ensure adequate spacing between plants. Planting them about 12 to 18 inches apart allows for air circulation, reducing the likelihood of disease and ensuring that each plant has room to grow.
3. Planting Steps
3.1. When to Plant
The best time to plant Coreopsis is in the spring after the last frost. This timing allows the plants to establish their roots before the heat of summer sets in.
3.2. How to Plant
-
Prepare the Soil: Remove any weeds or debris from the planting area. Loosen the soil to a depth of at least 12 inches and improve it by mixing in compost.
-
Dig the Holes: Create holes that are twice the width and the same depth as the root ball of the plant.
-
Planting: Place the plant in the hole, ensuring the top of the root ball is level with the soil surface. Fill in the hole with soil and gently pat down to remove air pockets.
-
Watering: Water thoroughly after planting to settle the soil around the roots.
4. Watering and Fertilizing
4.1. Watering Regimen
While Coreopsis is drought-tolerant, regular watering during its initial growth phase is crucial. Water them once a week, especially during dry spells. Once established, they can usually survive on rainfall alone.
4.2. Fertilization
Coreopsis plants do not require heavy fertilization. A light application of a balanced, slow-release fertilizer in the spring will support healthy growth. Avoid over-fertilizing, as this can lead to lush foliage at the expense of blooms.
5. Pruning and Deadheading
5.1. Importance of Deadheading
Deadheading—removing spent flowers—encourages the plant to produce more blooms. Use your fingers or scissors to clip off the faded flowers just above the leaves.
5.2. Pruning for Shape
In late fall or early spring, prune back the plants to about one-third of their height to promote new growth and maintain a tidy appearance.
6. Pest and Disease Management
6.1. Common Pests
While generally resistant to pests, keep an eye out for aphids and spider mites. If you notice these pests, use a gentle insecticidal soap to treat the affected areas.
6.2. Diseases to Watch For
Coreopsis can sometimes suffer from root rot or powdery mildew, especially in overly damp conditions. Avoid overwatering and ensure proper air circulation to minimize these risks.
7. Winter Care
7.1. Preparing for Winter
In colder climates, apply a layer of mulch around the base of the plants in late fall. This insulation protects the roots from freezing temperatures and helps retain moisture.
7.2. Spring Cleanup
Once the danger of frost has passed, remove any remaining mulch and cut back dead stems to promote healthy new growth.
FAQs
Q1: How long does it take for Coreopsis compact variety to bloom?
A1: Coreopsis typically begins to bloom in late spring, usually around late May to early June, depending on the climate and planting time.
Q2: Can Coreopsis be grown in containers?
A2: Yes, compact Coreopsis varieties are ideal for container gardening. Ensure the container has good drainage, and use high-quality potting soil.
Q3: How often should I water Coreopsis?
A3: Water them once a week, especially during the first growing season. Once established, they can tolerate drought and will require less frequent watering.
Q4: Are Coreopsis compact varieties deer-resistant?
A4: Yes, Coreopsis is generally considered deer-resistant, making it a good choice for gardens that are prone to deer browsing.
Q5: How do I propagate Coreopsis?
A5: Coreopsis can be propagated through division or seeds. Division is best done in spring or fall, while seeds can be started indoors or sown directly in the garden in spring.
Q6: What are the best companions for Coreopsis in the garden?
A6: Coreopsis pairs well with other perennials like echinacea, rudbeckia, and salvia, as they have similar moisture and sunlight needs.
Conclusion
Growing the Coreopsis compact variety in your garden is both rewarding and simple. By selecting the right location, following proper planting and care techniques, and staying vigilant against pests and diseases, you can enjoy a stunning display of flowers throughout the growing season. Whether you’re a seasoned gardener or just starting, Coreopsis provides an excellent opportunity to enhance your outdoor space with beautiful blooms and vibrant life. With minimal care, these cheerful plants can be a delightful addition to your gardening repertoire. Happy Gardening!