Introduction: Why Grow Avocado from Seed
Avocado plants are not only visually appealing but also provide healthy, nutrient-rich fruits. Growing an avocado from seed at home is rewarding and educational. It allows gardeners to witness the full life cycle of the plant. Container or indoor cultivation is ideal for urban settings. Avocado seeds germinate easily with proper care. Homegrown plants add greenery to kitchens, balconies, or patios. They require minimal investment and produce a unique ornamental feature. Starting from seed develops patience and gardening skills. Container-grown plants allow control over soil and water. It’s a fun project for beginners and experienced gardeners alike.
Understanding Avocado Seed Characteristics
Avocado seeds are large, smooth, and oblong. They contain the embryo necessary for germination. Seeds come from ripe fruits, ideally Hass or Fuerte varieties. The seed has a hard shell protecting the embryo. Moisture and warmth trigger sprouting. Seeds are viable for several weeks after extraction. Observing seed anatomy ensures correct planting orientation. The pointed end grows upward while the flat end develops roots. Knowledge of seed structure improves germination success. Healthy seeds lead to strong seedlings.
Step 1: Extracting and Preparing the Seed
Carefully remove the seed from a ripe avocado. Wash off any fruit residue gently. Avoid cutting or damaging the seed. Leave the brown skin intact for protection. Optionally, soak the seed in water for twenty-four hours. This softens the outer layer and encourages faster sprouting. Select seeds free from cracks or mold. Proper extraction is critical for healthy germination. Preparing seeds correctly ensures better growth. Handle seeds delicately to prevent damage.
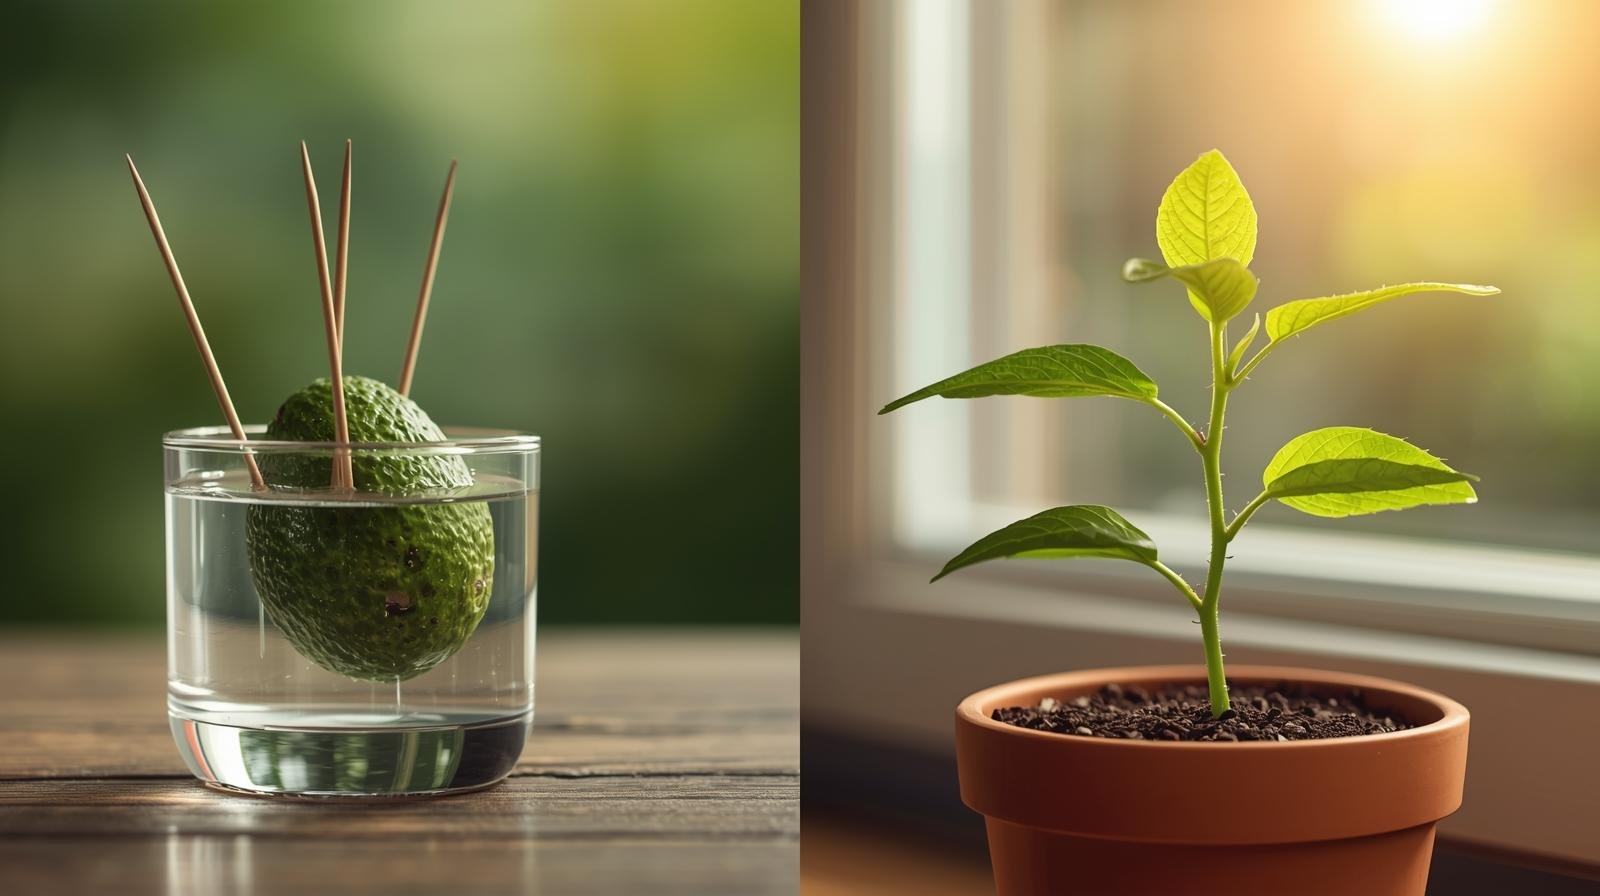
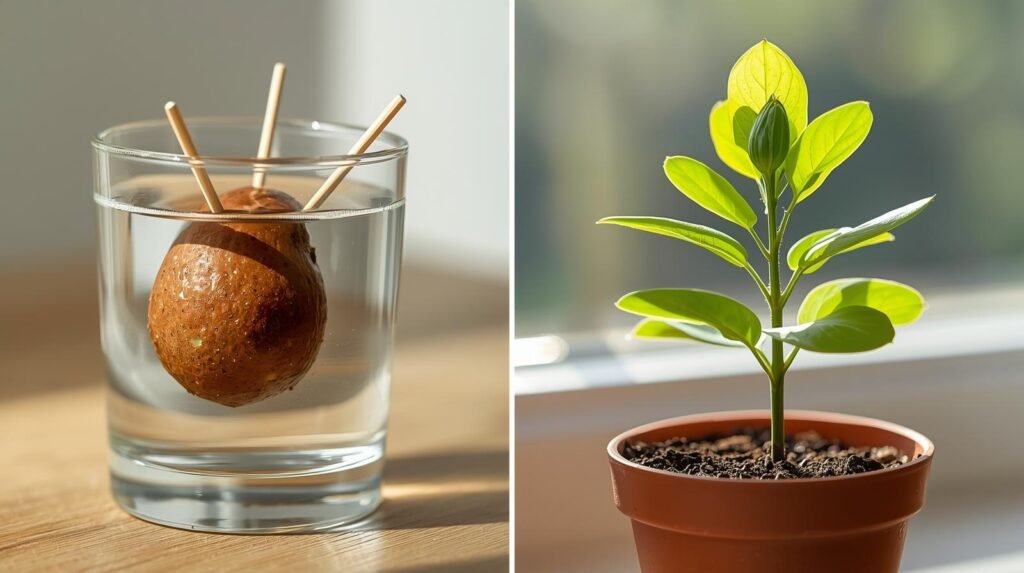
Step 2: Toothpick Method for Germination
Insert three or four toothpicks around the seed’s middle. Balance the seed over a glass of water, flat end down. Water should cover the bottom half of the seed. Keep in a warm, bright area away from direct sunlight. Roots and shoots appear in two to six weeks. Change water every few days to prevent bacteria. Toothpick method allows easy monitoring. Adjust seed position if it tilts. Patience is essential during early sprouting. Regular observation ensures healthy development.
Step 3: Alternative Soil Germination
Seeds can be planted directly into soil instead of water. Use a deep pot with well-draining soil mix. Plant flat end down, leaving the top exposed. Water lightly to keep soil moist, not soggy. Place pot in bright, indirect sunlight. Soil germination takes slightly longer but reduces transplant shock. Monitor for mold or fungal growth. Avoid overwatering to prevent rot. Soil method is practical for home gardeners. Both methods yield strong seedlings.
Step 4: Maintaining Proper Temperature and Light
Avocado seeds require warmth for sprouting. Ideal temperature ranges from seventy to eighty degrees Fahrenheit. Keep seeds away from drafts or cold windows. Bright, indirect sunlight supports growth. Adjust light exposure as the seedling develops. Rotate containers to encourage even growth. Avoid harsh midday sun to prevent scorching. Temperature and light control directly affect root and shoot development. Balanced environmental conditions improve germination success. Monitor daily for changes.
Step 5: Root and Shoot Development
Roots grow from the bottom and shoots from the top of the seed. Observe root length before transplanting. Roots should be white, healthy, and slightly firm. Shoots should reach four to six inches for potting. Trim damaged or moldy roots if necessary. Root and shoot balance ensures a strong plant. Avoid disturbing roots excessively. Healthy seedlings develop robust stems and leaves. Proper early care ensures future fruiting potential. Root development is critical for long-term success.
Step 6: Transplanting to a Pot
Choose a pot at least six inches deep with drainage holes. Use a mixture of potting soil, compost, and sand. Make a hole large enough to accommodate the roots gently. Place the seedling with roots downward. Cover roots and lightly press soil. Water thoroughly but avoid waterlogging. Keep in bright, indirect light for acclimatization. Monitor daily for stress signs. Transplanting carefully prevents shock. Container selection affects growth speed.
Step 7: Watering Schedule
Keep soil consistently moist but not saturated. Water when top inch feels dry. Overwatering causes root rot, while under-watering slows growth. Use room-temperature water to avoid shock. Mist leaves occasionally to increase humidity. Container plants require more frequent watering than garden-planted ones. Mulch soil surface to reduce evaporation. Adjust watering frequency based on weather conditions. Proper watering promotes strong roots and healthy leaves. Observe plant daily.
Step 8: Fertilizing Young Seedlings
Young seedlings require gentle nutrition. Use balanced, water-soluble fertilizer monthly. Avoid high nitrogen content, which promotes leaf growth over roots. Organic compost or diluted fish emulsion works well. Fertilizer encourages strong stem and leaf development. Container plants deplete nutrients faster. Monitor plant response and adjust feeding. Fertilizing early supports future fruiting. Avoid over-fertilization to prevent leaf burn. Proper nutrition builds healthy foundations.
Step 9: Pruning and Shaping
Prune seedlings after they reach six inches tall. Remove damaged or weak shoots. Pinch top leaves to encourage branching. Maintain a compact shape for container growth. Pruning enhances airflow and prevents disease. Monitor growth and adjust shape gradually. Proper pruning improves ornamental appeal. Seedlings develop stronger stems and branches. Regular pruning ensures a well-structured plant. Avoid aggressive cuts that stress the plant.
Step 10: Pest and Disease Management
Watch for common pests like aphids and spider mites. Use organic solutions such as neem oil. Maintain proper drainage to prevent fungal infections. Inspect leaves regularly for signs of pests or discoloration. Avoid overcrowding plants to improve airflow. Container plants are easier to monitor. Remove affected leaves promptly. Preventive care reduces long-term issues. Healthy seedlings are more resistant. Early detection ensures plant survival.
Step 11: Light Adjustment for Growth
As seedlings grow, gradually increase sunlight exposure. Move pots outdoors for a few hours daily. Avoid direct intense sunlight initially. Gradual acclimatization prevents leaf burn. Monitor leaf color for stress signs. Adjust pot placement seasonally. Outdoor exposure enhances photosynthesis. Sunlight directly affects growth rate. Balanced light encourages healthy stems and foliage. Adjust regularly for optimal development.
Step 12: Container Selection for Mature Plants
Upgrade to a larger container as the plant grows. Minimum depth should be twelve inches. Ensure adequate drainage to prevent root issues. Use heavy pots to prevent tipping as height increases. Larger pots allow root expansion. Container material influences soil temperature and moisture. Proper selection supports long-term growth. Monitor plant stability in windy conditions. Container upgrades are essential for mature seedlings. Healthy root systems enhance future fruiting.
Step 13: Long-Term Fertilizing
Apply slow-release fertilizers quarterly. Include micronutrients like magnesium and calcium. Fertilization supports foliage, flowering, and fruit development. Container-grown plants rely on regular feeding. Organic compost enhances soil structure. Avoid excessive chemical fertilizers. Observe leaf color and growth rate. Balanced nutrition promotes strong, productive plants. Fertilizing is a long-term commitment. Healthy plants reward patience.
Step 14: Flowering and Fruiting
Avocado plants grown from seed may take years to flower. Monitor growth for signs of flower buds. Pollination requires at least one male and one female flower stage. Container plants may need hand pollination. Flowering is critical for fruit development. Maintain proper sunlight, water, and nutrients. Avoid stress during flowering. Healthy plants produce more blossoms. Fruit quality depends on overall care. Patience is key for homegrown avocados.
Step 15: Repotting and Soil Refresh
Repot plants every one to two years. Refresh soil to maintain fertility and drainage. Remove old or compacted soil carefully. Trim excess roots if necessary. Use organic compost to replenish nutrients. Repotting promotes continuous growth. Monitor plant health post-repotting. Avoid transplant shock by maintaining root orientation. Regular soil maintenance ensures long-term vigor. Healthy soil sustains leaf and fruit production.
Step 16: Humidity and Climate Control
Avocado thrives in moderate humidity. Indoor plants may require misting or humidity trays. Maintain temperature between sixty-five and eighty degrees Fahrenheit. Avoid cold drafts or excessive heat. Container plants are sensitive to indoor climate changes. Adjust environment seasonally. Proper humidity enhances leaf development. Monitor plant for signs of stress. Controlled climate encourages robust growth. Indoor care ensures healthy seedlings year-round.
Step 17: Supporting Tall Seedlings
Use stakes or supports for taller seedlings. Prevents bending or toppling. Adjust ties as plant grows. Supports reduce breakage risk. Container plants are more susceptible to tipping. Ensure support is stable and safe. Regularly monitor plant stability. Proper staking promotes upright growth. Supports protect long-term development. Well-supported plants thrive in containers.
Step 18: Monitoring Leaf Health
Watch for yellowing, curling, or spots. These indicate nutrient or watering issues. Adjust fertilizer, water, or light accordingly. Remove damaged leaves promptly. Healthy foliage is vital for photosynthesis. Leaf monitoring helps early pest detection. Regular checks prevent major issues. Maintain clean leaves for optimal growth. Container plants benefit from attentive observation. Leaf health reflects overall care.
Step 19: Preparing for Outdoor Growth
Gradually acclimate indoor plants to outdoor conditions. Increase outdoor exposure slowly. Avoid harsh sunlight initially. Protect from wind and extreme weather. Container plants respond well to gradual transition. Outdoor exposure strengthens stems and roots. Monitor for pests and diseases during transition. Gradual acclimatization improves survival. Outdoor growth enhances fruiting potential. Transition ensures robust development.
Step 20: Patience and Long-Term Care
Growing an avocado from seed requires patience. Expect initial growth to be slow. Consistent care over months and years yields results. Maintain water, light, and fertilization schedules. Regular pruning and monitoring improve plant health. Container-grown plants provide flexibility and control. Enjoy the ornamental beauty while waiting for fruit. Successful cultivation rewards dedication. Long-term care ensures strong, productive plants. Patience is the gardener’s key.
Avocado Seedling Care Table
Aspect
Recommended Practice
Container Depth
Six to twelve inches, upgrade as plant grows
Soil Type
Well-draining mix with compost
Sunlight
Bright, indirect light gradually increasing
Watering
Moist, avoid waterlogging
Fertilizer
Balanced, slow-release, or organic monthly
Pruning
Pinch and remove weak shoots