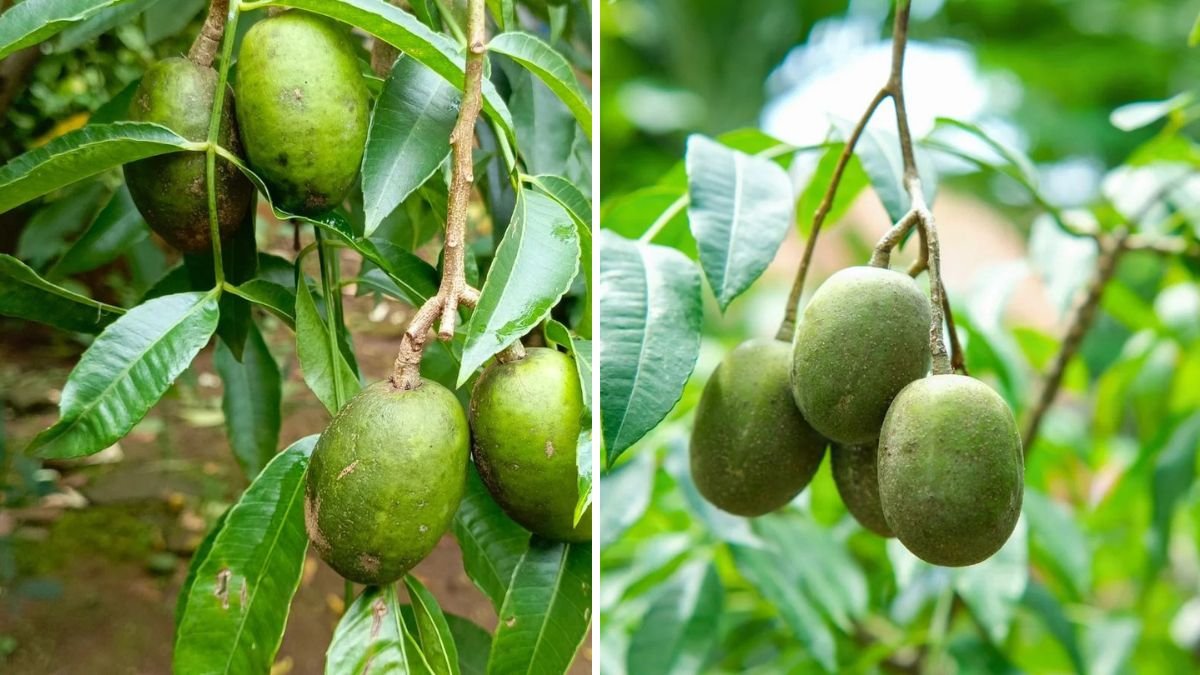
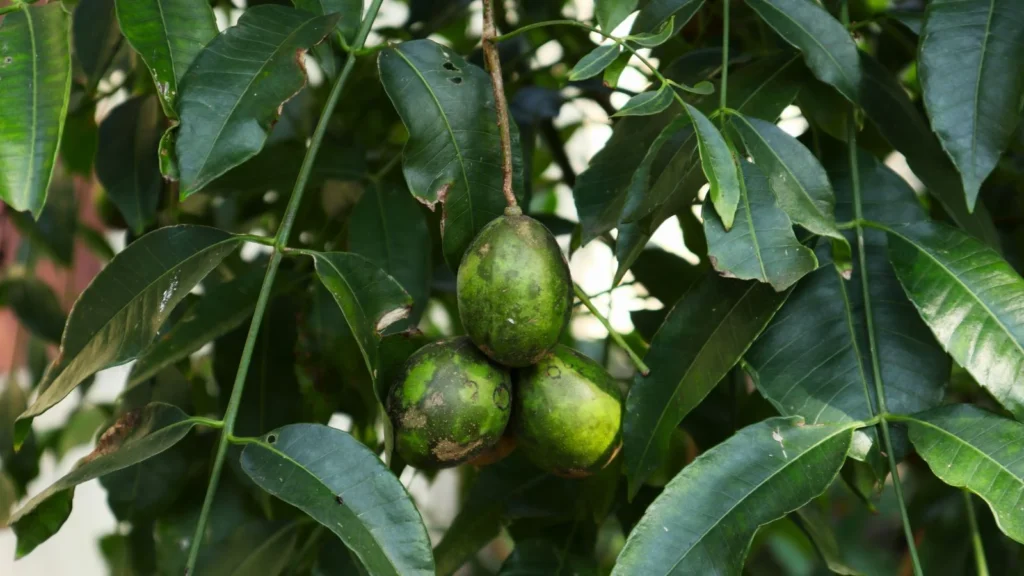
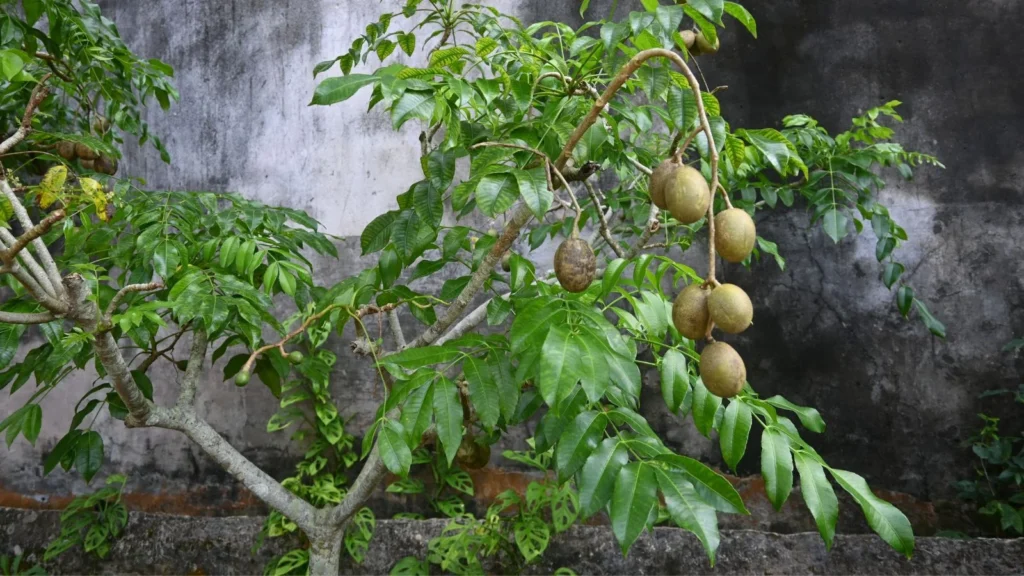
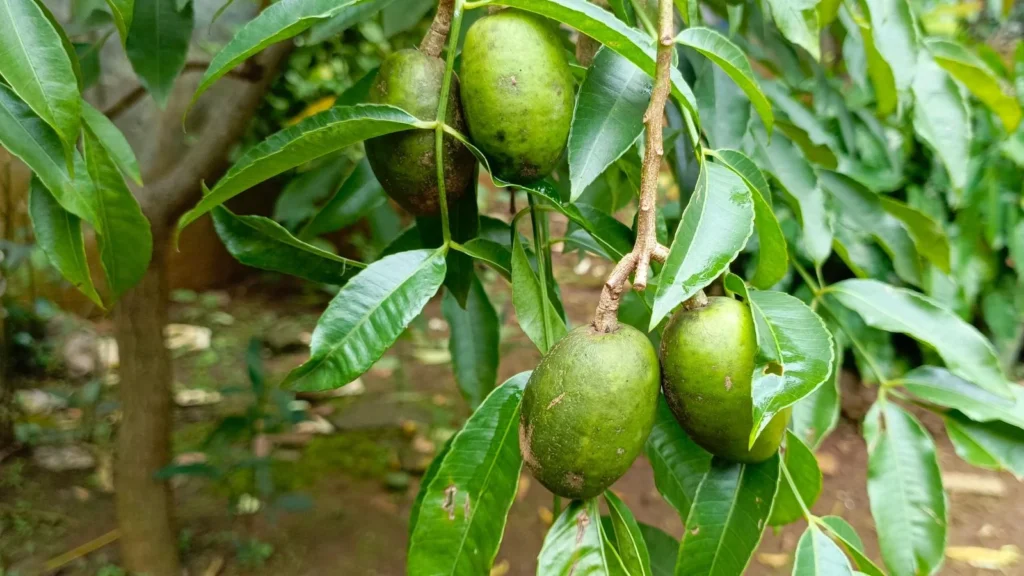
The June plum — also known as Ambarella, Golden Apple, or Spondias dulcis — is one of the most desirable tropical fruit trees for home gardeners. It grows fast, thrives in warm climates, and produces delicious, crunchy, vitamin-rich fruits that can be enjoyed ripe or unripe. But the real challenge is propagation. Many gardeners struggle to grow June plum from seed because seed-grown plants take longer to bear fruit and often produce unpredictable results.
Luckily, there are simple, highly effective methods to propagate June plum trees that help you get a stronger plant, quicker fruiting, and long-term productivity. Whether you’re a beginner or an experienced gardener, this guide will walk you through the easiest ways to propagate a June plum tree — and how to care for it so you can enjoy heavy harvests year after year.
🌱 Why Propagate a June Plum Tree?
Before we begin, it helps to understand why propagation is so beneficial:
✔ Faster fruiting
A June plum tree grown from vegetative propagation (cuttings, air layering, or grafting) can produce fruit in 2–3 years, compared to 4–6 years from seeds.
✔ Higher fruit quality
Cuttings and layerings create clones of the mother plant, ensuring you get the same sweet, juicy, high-yield fruit.
✔ Stronger and more uniform growth
Propagated plants are typically more disease-resistant and develop stronger root systems.
✔ Low-cost and beginner friendly
You don’t need expensive tools or advanced skills — just a healthy branch and a little patience.
🌿 Best Methods to Propagate June Plum (Ambarella)
There are multiple ways to propagate a June plum tree, but the most successful ones are:
- Stem cuttings
- Air layering
- Seed propagation (less effective but still possible)
Below, we explore each method step-by-step.
🌱 Method 1: Propagating June Plum Using Stem Cuttings (Most Popular)
Propagating June plum through cuttings is one of the easiest methods, especially if you want a fast-growing and productive tree.
What You Need
- Sharp pruning knife or cutter
- A healthy June plum branch
- Rooting hormone (optional but helpful)
- A pot with well-draining soil
- Plastic bag or humidity dome
- Water
Step-by-Step Guide
Step 1: Select the perfect branch
Choose a semi-hardwood branch from a productive mother tree. The branch should be:
- About the thickness of a pencil
- 20–30 cm long
- Pest-free and disease-free
Semi-hardwood is ideal because it strikes a balance between flexibility and maturity.
Step 2: Make a clean cut
Cut the selected branch at a 45-degree angle. This increases the surface area for rooting.
Remove any leaves from the bottom half of the cutting but keep 2–3 leaves at the top. If the leaves are large, cut them in half to reduce water loss.
Step 3: Use rooting hormone
Dip the cut end in rooting hormone (optional). This significantly increases success by preventing rot and encouraging faster root development.
Step 4: Prepare the pot
Use a soil mix that drains well:
- 50% cocopeat
- 30% compost
- 20% river sand
Moisten the soil lightly before inserting the cutting.
Step 5: Plant the cutting
Push the cutting 4–5 cm deep into the potting mix. Firm the soil around it to stabilize the stem.
Step 6: Create a humid environment
Cover the pot with a transparent plastic bag or humidity dome. This traps moisture and prevents the cutting from drying out.
Place it in bright, indirect sunlight.
Step 7: Watering and care
- Keep the soil moist — not soggy
- Avoid direct hot sunlight
- Check for fungal growth
Rooting timeline
- Week 2–3: Callus formation
- Week 4–6: New root development
- Week 6–8: First new leaves appear
If new leaves grow, the propagation is successful.
🌳 Method 2: Air Layering (Fastest and Most Reliable)
Air layering is the best method to propagate June plum if you want quick and guaranteed root formation.
What You Need
- A healthy branch
- Sharp knife
- Sphagnum moss or cocopeat
- Plastic wrap
- Rope or tape
How to Do It
Step 1: Select the branch
Choose a branch about 1–1.5 cm thick.
Step 2: Remove the bark
Make a 2–3 cm ring cut around the branch and gently remove the bark.
Exposing the inner wood prevents nutrients from flowing back to the plant, encouraging root growth at that point.
Step 3: Apply rooting hormone
(Optional but helpful) Apply rooting hormone to the exposed area.
Step 4: Wrap with moist material
Take moist sphagnum moss or cocopeat and pack it around the exposed wood.
Step 5: Seal tightly
Wrap the moss with plastic and tie both ends securely to keep the moisture inside.
Step 6: Monitor
Keep the moss slightly moist.
Roots begin forming in 4–8 weeks.
Once roots become visible through the plastic, the new plant can be cut off and potted.
🌱 Method 3: Seed Propagation (Least Reliable but Possible)
June plum seeds can germinate easily, but the plants:
- May not resemble the mother tree
- Take longer to fruit
- Are less reliable in quality
Still, it is a fun method.
Steps
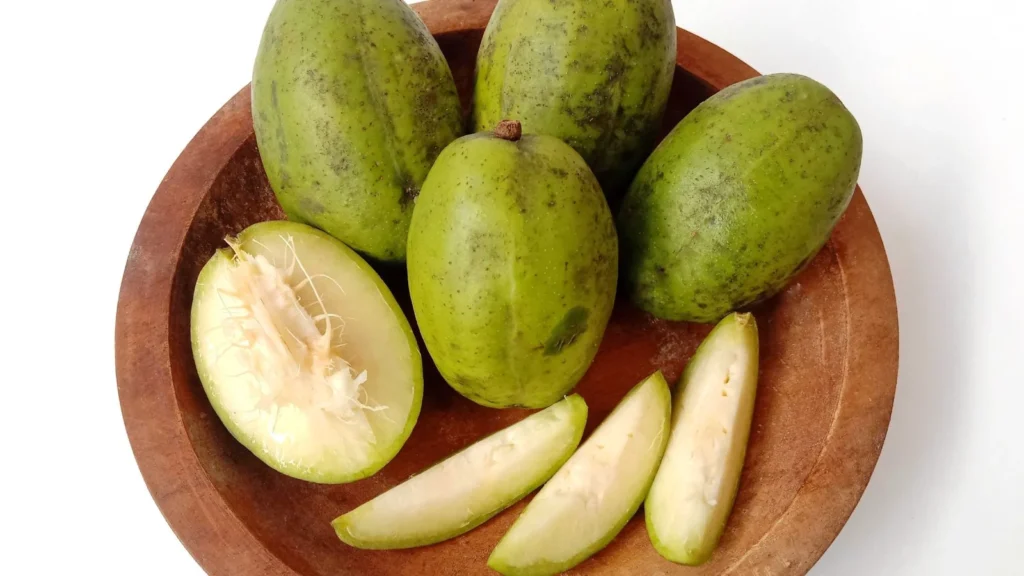
- Use fresh seeds from ripe June plums
- Clean the seed and remove fruit pulp
- Sow 2–3 cm deep in fertile, moist soil
- Keep in partial sunlight
- Germination begins in 2–4 weeks
🌳 How to Boost Fruit Production After Propagation
Once your June plum plant is established, follow these steps for maximum fruiting.
1. Choose the right planting location
June plum loves:
- Full sunlight (6–8 hours daily)
- Warm weather
- Well-draining soil
2. Watering schedule
Water:
- 2–3 times per week in dry seasons
- Less frequently during monsoon
Avoid waterlogging, which can damage the roots.
3. Fertilizing routine
Feed your tree every 45–60 days with:
- Compost
- Cow manure
- Banana peel fertilizer
- Fish amino acid
- Bone meal (for flowering)
4. Prune regularly
Prune the lower branches and maintain a rounded canopy.
This improves:
- Air flow
- Light penetration
- Flowering and fruiting
5. Mulching
Apply dry leaves or coconut husk around the base to retain moisture and enrich soil.
6. Pest and disease control
Common issues:
- Mealybugs
- Aphids
- Leaf spot
Use neem oil spray once every 15 days for prevention.
🍈 When Will Your Propagated June Plum Tree Produce Fruit?
Depending on the method:
🌿 From Cuttings: 2–3 years
🌿 From Air Layering: 1.5–2 years
🌿 From Seeds: 4–6 years
Air layering produces the fastest fruiting and is preferred by gardeners worldwide.
🌟 Final Thoughts
Propagating a June plum tree is not only easy — it’s one of the most rewarding gardening projects you can take on. Whether you choose stem cuttings, air layering, or seed propagation, each technique has its own charm and benefits. With the right care and patience, your propagated plant can grow into a strong, healthy, fruit-loaded June plum tree that will reward you for many years.