Grapevines are among the most rewarding fruit plants you can grow, but grafting them can take your vineyard—big or small—to an entirely new level. Whether you’re a home gardener wanting sweeter grapes, a farmer aiming for disease-resistant plants, or simply curious about boosting your vine’s productivity, grafting grapevines is the key to unlocking stronger growth and bigger harvests.
This step-by-step guide will walk you through everything you need to know about grapevine grafting, from choosing the right rootstock to ensuring a successful union. Even if you have never grafted a plant before, with the right techniques, you can graft grapevines easily and confidently.
🍇Why Graft Grapevines? The Power Behind the Technique

Grafting is more than just joining two plants—it’s a method that gives you control over your vineyard’s future. Here’s why grape growers around the world rely on grafting:
1. Disease Resistance
Modern rootstocks are developed to resist soil-borne diseases like:
- Phylloxera
- Nematodes
- Root rot
Grafting scions onto resistant rootstock protects your vines for decades.
2. Stronger, Faster Growth
Rootstocks are chosen for:
- Vigorous growth
- Deep root systems
- Efficient nutrient uptake
This means your grafted vine matures faster and bears fruit earlier.
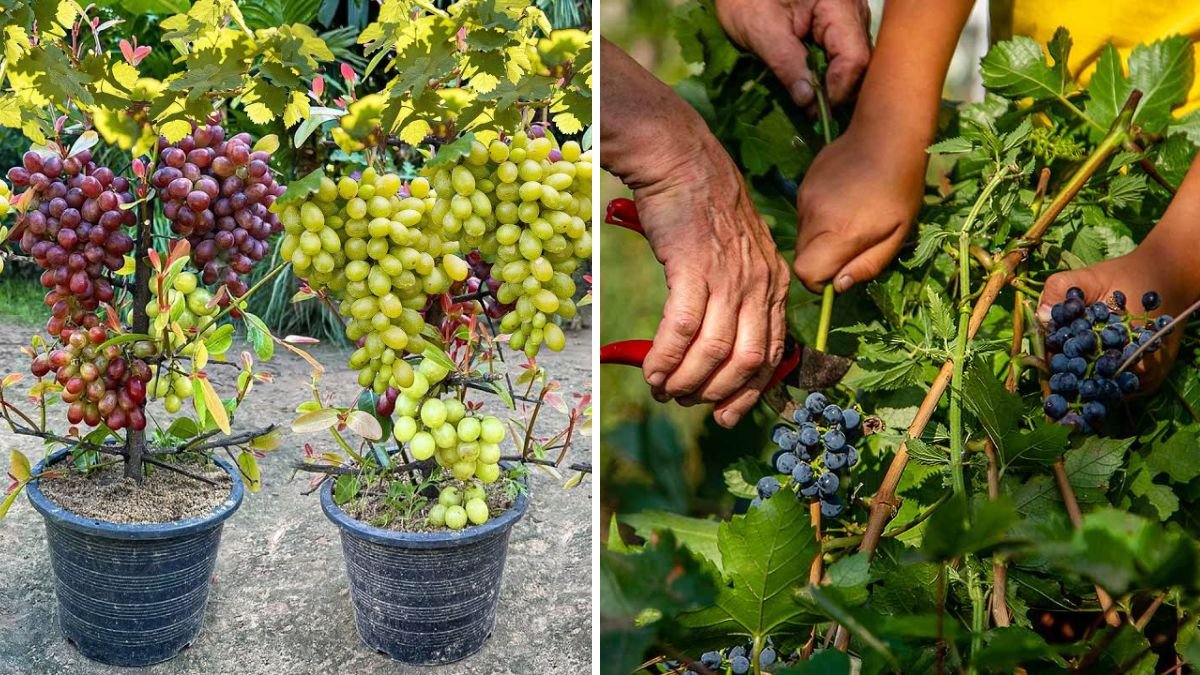
3. Better Yield and Fruit Quality
Grafted grapevines often produce:
- Larger bunches
- Juicier berries
- Better flavor and sugar balance
Perfect for wine grapes, table grapes, or juices.
4. Adaptation to Different Soils
Poor soil? High salinity? Dry climate?
The right rootstock compensates for these challenges and allows your preferred grape variety to thrive.
5. Rejuvenating Old or Weak Vines
If your grapevine is aging or producing poorly, grafting can restore its life without needing to replant.
🌿Best Time for Grafting Grapevines

Timing matters.
The ideal grafting period is:
✔ Late winter to early spring
When sap flow begins, and the plant prepares for new growth.
✔ Temperature Range: 18°C–25°C**
Helps the graft heal quickly.
Avoid grafting during:
- Frost
- Heavy rains
- Extreme dryness
🌱Tools and Materials You Need
- Sharp grafting knife or pruning shears
- Clean cloth & rubbing alcohol (for sterilization)
- Grafting tape or budding rubber
- Rootstock vine (healthy and disease-free)
- Scion wood (one-year-old healthy branch)
- Label tags
Clean tools prevent infections. Sterilize before every cut.
🍃Choosing Rootstock and Scion

Rootstock Selection
Pick a rootstock that matches:
- Your soil type
- Climate
- Disease resistance needs
Popular varieties include:
- 110R – excellent for drought areas
- SO4 – great for moist soils
- 3309C – cold-tolerant
- Schwarzmann – balanced vigor
Scion Wood Selection
Choose a scion that is:
- One year old
- Pencil-thick
- Full of dormant buds
- Taken from a vigorous, high-quality grapevine
Cut scion wood during winter dormancy and store it chilled until grafting.
✂️Step-by-Step Guide: How to Graft Grapevines the Easy Way
We will cover the Cleft Graft, the simplest and most successful method for beginners.
Step 1: Prepare the Rootstock
Use a rootstock that is well-established and strong.
- Cut the top of the rootstock vine straight across at about 30–40 cm above the ground.
- Use a disinfected knife to make a clean, vertical split (2–3 cm deep).
- Keep the cut smooth to avoid damaging the plant.
Step 2: Prepare the Scion
- Choose a scion with 2–3 healthy buds.
- Cut the bottom into a wedge shape—a long, thin V-shaped cut.
- The wedge should be smooth for perfect contact.
Step 3: Insert the Scion into the Rootstock
- Gently open the split in the rootstock.
- Insert the scion wedge snugly so the cambium layers (inner green layers) touch perfectly.
- Align at least one side of the cambium—this is enough for a successful graft.
Step 4: Secure the Graft
Use grafting tape or budding rubber to wrap the joint tightly.
- No gaps
- No air exposure
- Firm but not overly tight
The graft must stay moist and protected.
Step 5: Seal the Exposed Area
Cover the top of the rootstock and the graft union with:
- Grafting wax
- Tree sealant
- Clay (traditional method)
This prevents drying out and infection.
Step 6: Label Your Grafted Plant
Include:
- Variety name
- Rootstock type
- Date of grafting
Helps with tracking growth and future management.
🌿Aftercare: Ensuring a Successful Graft Union
1. Keep Moisture Consistent
Water regularly, but do not waterlog the plant.
Moist soil helps the tissues bond.
2. Protect From Strong Sun
Young grafts are sensitive.
Provide partial shade for 2–3 weeks.
3. Remove Shoots from the Rootstock
Any new shoots below the graft union must be removed.
They steal energy from the scion.
4. Watch for Bud Swelling
Within 2–4 weeks, buds on the scion should swell and push new leaves—this means success!
5. Remove Tape After 4–6 Weeks
Once the graft is firmly attached, carefully remove or loosen the tape.
🍇Top Mistakes to Avoid When Grafting Grapevines
❌ Using Dry or Old Scion Wood
Scions must be fresh and hydrated.
❌ Poor Cambium Alignment
Even slight misalignment prevents union.
❌ Not Sterilizing Tools
Leads to infections that destroy grafts.
❌ Grafting Too Early or Too Late
Timing affects sap flow and healing.
❌ Letting the Graft Dry Out
Moisture retention is the key to success.
🌞Alternative Grafting Methods for Grapevines
1. Whip and Tongue Graft
Best for same-size scion and rootstock.
2. Bud Grafting (T-budding)
Perfect for late spring and summer grafting.
3. Omega Grafting
Machine-assisted, common in nurseries.
4. Green Grafting
Uses softwood scions during active growth.
Choose the method based on your skill and the season.
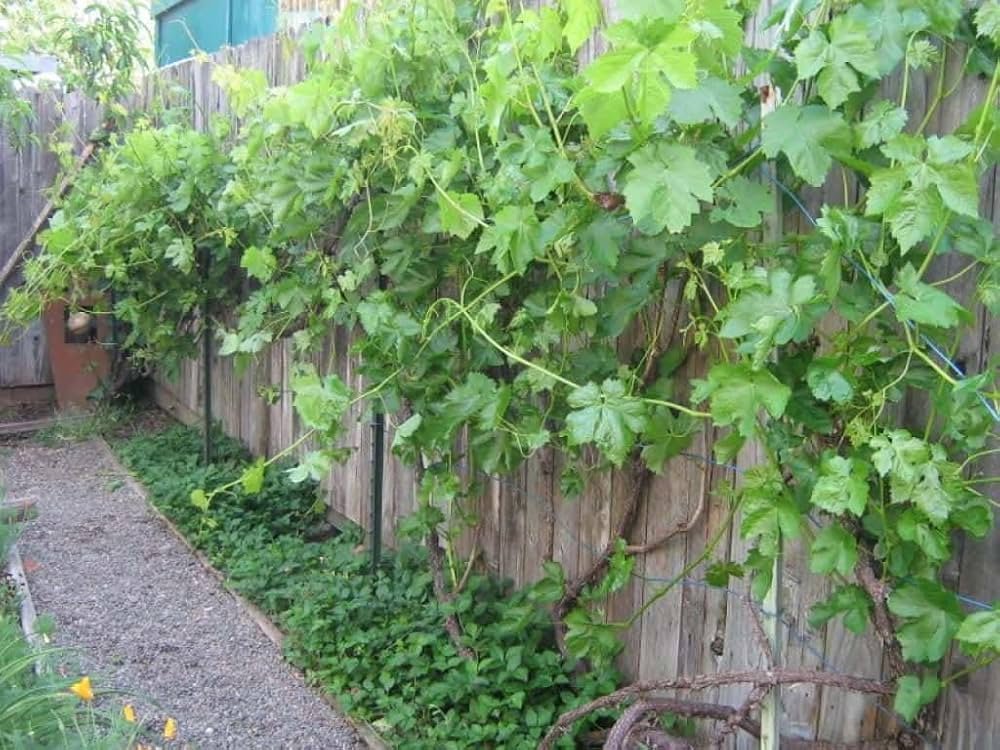
🍶Caring for Grafted Grapevines in the First Year
- Provide a support trellis early
- Maintain regular watering
- Add mulch to retain moisture
- Train new shoots gently
- Avoid heavy fruiting in the first year
- Fertilize lightly with compost or organic feed
Your vine’s foundation is built in the first year—keep it stress-free and well-nourished.
🍇Harvesting the Rewards: How Grafting Improves Your Vineyard
Once successfully grafted and grown, your grapevine will reward you with:
✔ Stronger disease resistance
✔ Faster growth and maturity
✔ Higher fruit production
✔ Better flavor and larger berries
✔ Long-term health and resilience
A well-grafted grapevine can produce for 20–30 years or more.
🌟Final Thoughts: Grafting Grapevines Is Easier Than You Think
Grafting may sound like a complicated horticultural skill, but with the right guidance, anyone—even a beginner—can master it. By grafting grapevines, you unlock a world of benefits: superior growth, healthier plants, rich harvests, and the ability to cultivate your favorite grape varieties even in challenging conditions.
If you’re dreaming of a vineyard bursting with sweet, juicy grapes, grafting is your gateway to success.