Few things are as rewarding as harvesting lemons from your own garden. Their bright flavor, refreshing aroma, and endless culinary uses make lemons a favorite for home gardeners. While growing lemon trees from seeds is common, a faster and more reliable method is propagating from cuttings. This ensures your new plant is true to the parent tree, produces fruit faster, and can thrive in your garden, balcony, or even indoors.
In this detailed guide, we’ll take you through the entire process of growing a lemon tree from cuttings, from selecting the right branch to nurturing it into a healthy, fruit-bearing tree.
🌱 Why Propagate Lemon Trees from Cuttings?
Growing lemon trees from cuttings has several advantages:
1. True-to-Type Plants
Cuttings produce clones of the parent tree, preserving its fruit quality, size, and flavor.
2. Faster Fruiting
Compared to seed-grown lemon trees, cuttings mature and bear fruit much sooner.
3. Cost-Effective
No need to purchase expensive young trees. You can propagate new plants from your existing lemon tree.
4. Simple and Reliable
With basic materials and proper care, even beginners can successfully grow lemon trees from cuttings.
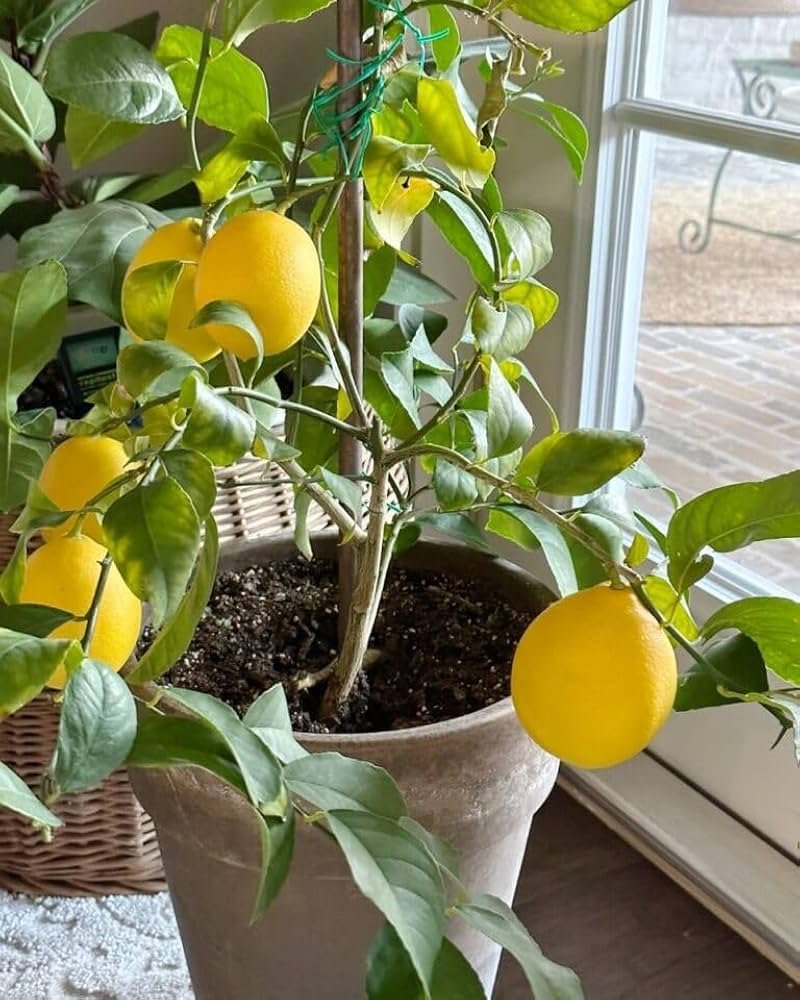
5. Perfect for Limited Space
Cuttings can be grown in pots or small garden plots, making them ideal for home gardeners.
🌿 Step 1: Selecting the Right Cutting

Choosing a healthy branch is the first step toward success:
- Select a healthy, disease-free branch from a mature lemon tree.
- The branch should be semi-hardwood, meaning it is neither too young nor too old.
- Choose a branch that is 6–12 inches long, with several leaves and at least 2–3 nodes (points where leaves attach).
- Avoid branches with signs of pests, disease, or damage.
Proper selection ensures strong rooting and a higher chance of survival.
🌱 Step 2: Preparing the Cutting
Preparation is key to successful rooting:
- Trim Leaves: Remove the lower leaves, leaving only 2–3 leaves at the top to reduce water loss.
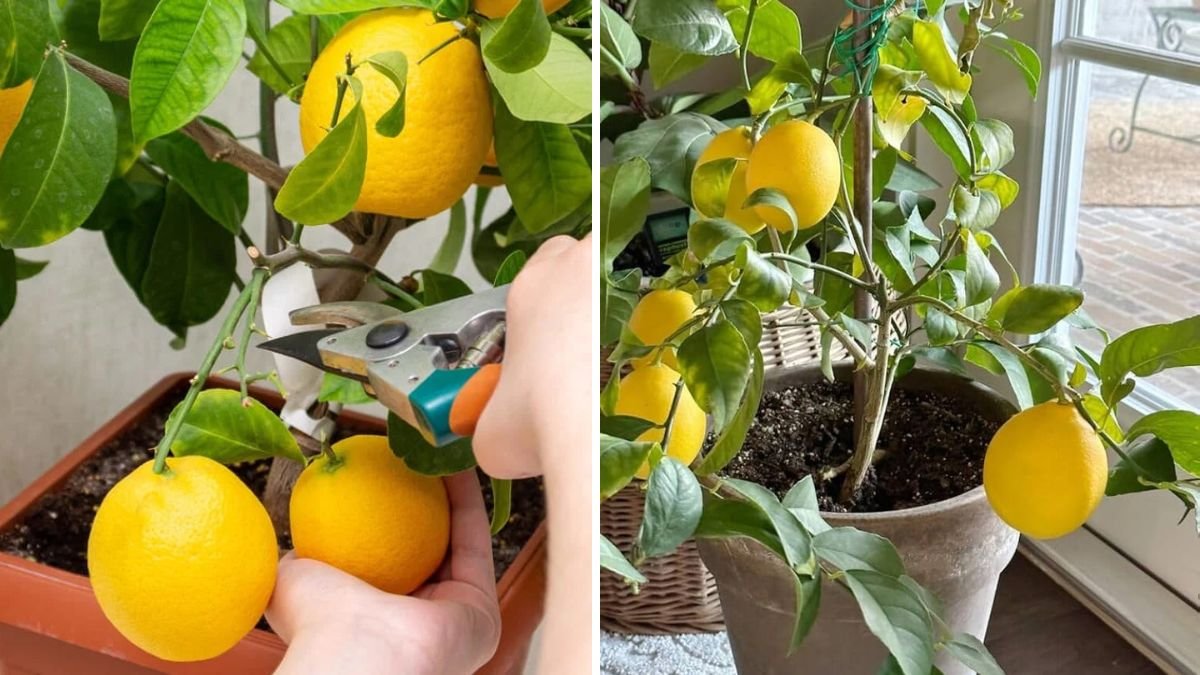
- Make a Clean Cut: Using a sharp, sterilized knife or pruning shears, cut the branch just below a node at a 45-degree angle.
- Optional – Apply Rooting Hormone: Dip the cut end in rooting hormone powder or gel to accelerate root formation.
Prepared cuttings are more likely to develop strong roots quickly.
🌿 Step 3: Choosing the Right Medium

Lemon cuttings need well-draining soil to prevent rot:
- A mix of 50% perlite and 50% peat moss or coco peat works best.
- You can also use a mix of sand, vermiculite, and compost for added nutrients.
- Ensure the medium is moist but not soggy, as excess water can lead to fungal infections.
🌱 Step 4: Planting the Cutting
Once your cutting and medium are ready:
- Make a hole in the soil deep enough to cover 2–3 nodes of the cutting.
- Insert the cutting gently and firm the soil around it to eliminate air pockets.
- Water lightly to settle the soil.
- Optional: Cover the cutting with a plastic bag or transparent dome to create a humid environment.
A proper planting technique increases the chances of successful root development.
🌿 Step 5: Providing Light and Environment
Lemon cuttings need the right conditions to thrive:
- Indirect sunlight: Place the cutting in a bright spot with indirect sunlight.
- Temperature: Maintain a warm environment between 20–25°C (68–77°F).
- Humidity: High humidity encourages rooting. Covering the cutting or misting daily helps maintain moisture.
- Air circulation: Ensure gentle airflow to prevent mold growth.
Balancing light, temperature, and humidity is crucial for strong root formation.
🌱 Step 6: Watering and Care
Watering correctly is key for root development:
- Keep the soil consistently moist but not waterlogged.
- Water the cutting gently to avoid disturbing the soil.
- Avoid letting the cutting sit in standing water, as this may cause rot.
Additionally, monitor the cutting for wilting, yellowing, or fungal growth and adjust care as needed.
🌿 Step 7: Root Development
Roots typically form within 3–6 weeks, depending on the environment and variety:
- Gently tug the cutting after a few weeks to check for resistance, indicating root formation.
- Healthy roots are white or light-colored and firm.
- Continue to care for the cutting with proper watering, light, and humidity until roots are well-established.
🌱 Step 8: Transplanting the New Lemon Tree
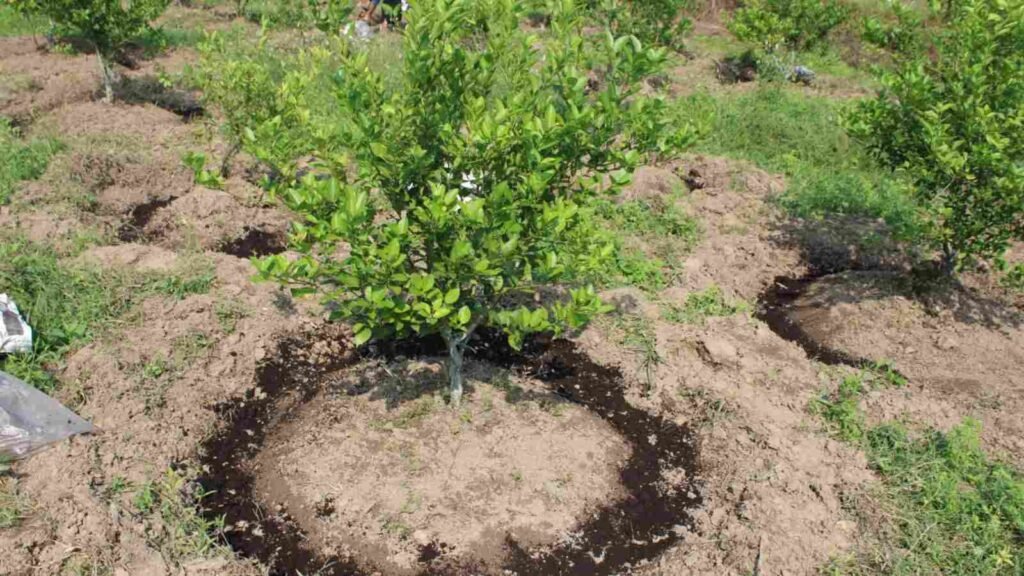
Once roots are established, it’s time to move your new tree into a pot or garden:
- Choose a well-draining pot or garden spot with plenty of sunlight (6–8 hours/day).
- Gently remove the cutting from the propagation medium, keeping roots intact.
- Plant in rich, fertile soil mixed with compost or well-rotted manure.
- Water thoroughly and add mulch to retain moisture.
- Continue care with proper watering, fertilization, and pruning.
Proper transplanting ensures the new lemon tree establishes quickly and grows vigorously.
🌿 Step 9: Fertilizing the Lemon Tree
Young lemon trees benefit from regular feeding:
- Use a balanced citrus fertilizer every 4–6 weeks during the growing season.
- Provide nitrogen for leafy growth, phosphorus for roots, and potassium for flowering and fruiting.
- Organic options like compost, neem cake, or vermicompost work well for slow, steady nutrition.
Fertilizing promotes healthy growth and faster fruiting.
🌱 Step 10: Pruning and Maintenance
Proper pruning ensures a strong, healthy tree:
- Remove dead or damaged leaves and branches regularly.
- Thin out crowded branches to improve air circulation and sunlight penetration.
- Train the tree to grow a strong structure for better fruit production.
Regular maintenance helps prevent pests, diseases, and encourages more fruit.
🌿 Step 11: Pests and Disease Management
Lemon trees grown from cuttings can be prone to pests and diseases:
- Common pests: Aphids, spider mites, mealybugs, and scale insects
- Prevention: Use neem oil, insecticidal soap, or introduce beneficial insects like ladybugs
- Diseases: Root rot, leaf spot, and powdery mildew
- Solution: Avoid overwatering, provide good air circulation, and remove infected leaves promptly
Preventive care ensures your lemon tree stays healthy and productive.
🌱 Step 12: Harvesting Lemons
Depending on the variety, lemon trees grown from cuttings may start fruiting in 2–4 years:
- Fruit is ready when it turns fully yellow and has a slightly soft texture.
- Harvest carefully to avoid damaging branches.
- Regular harvesting encourages more flower and fruit production.
Homegrown lemons are more flavorful and aromatic than store-bought varieties.
🌿 Tips for Maximum Success
- Use fresh, semi-hardwood cuttings for better rooting.
- Maintain consistent moisture, light, and temperature.
- Apply rooting hormone to accelerate growth.
- Be patient—rooting and fruiting take time, but the results are rewarding.
- Grow in containers if space is limited, and choose dwarf varieties for indoor gardening.
🌱 Final Thoughts
Growing a lemon tree from cuttings is a practical, cost-effective, and rewarding way to cultivate your own citrus at home. It allows gardeners to propagate true-to-type plants, enjoy faster fruiting, and nurture a tree that can thrive in small spaces or large gardens alike.
By following careful selection, proper cutting preparation, well-draining soil, and attentive care, even beginners can successfully grow lemon trees from cuttings. Over time, you’ll enjoy lush green foliage, fragrant flowers, and juicy, homegrown lemons—all cultivated with your own hands.
Start today, and experience the joy of growing your own citrus paradise at home.