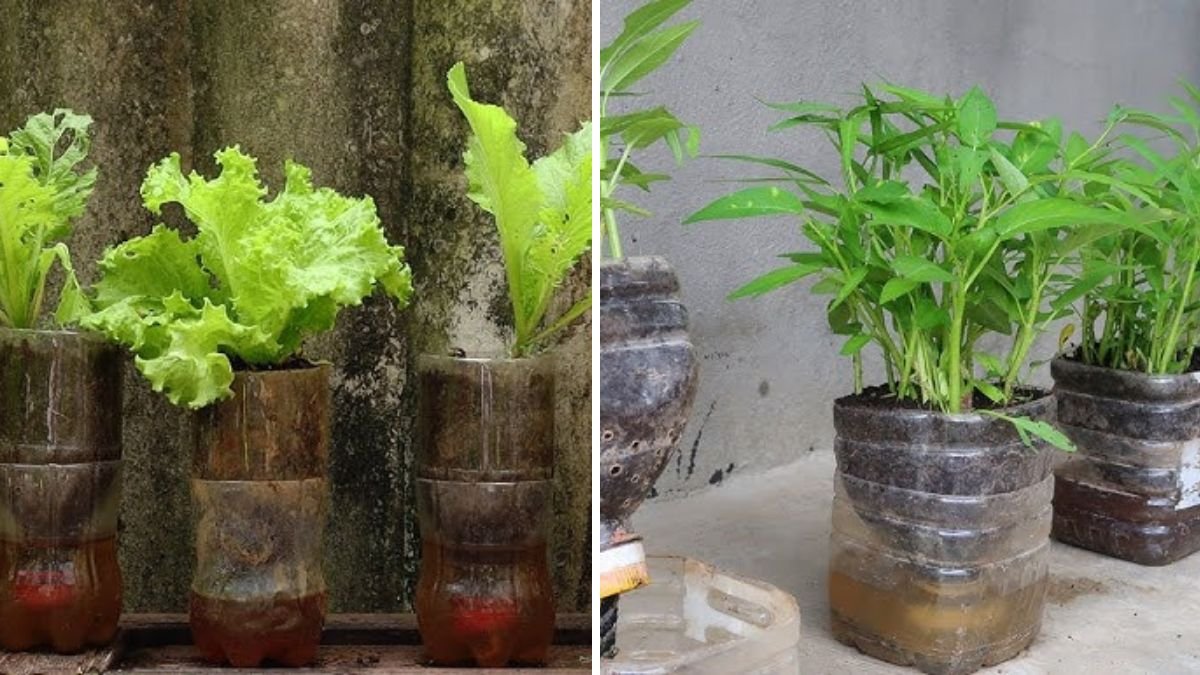
Urban gardening, limited space, and environmental consciousness have inspired gardeners worldwide to think creatively. One of the most innovative methods to grow fresh vegetables at home is by using plastic bottles. This technique is not only eco-friendly but also allows anyone to cultivate a variety of vegetables, even in apartments, balconies, or tiny backyards.
Growing vegetables in plastic bottles combines recycling, space efficiency, and easy gardening, making it perfect for beginners, urban gardeners, and sustainability enthusiasts. In this detailed guide, we will explore the step-by-step process, tips, and secrets to growing vegetables in plastic bottles effectively.
🌱 Why Grow Vegetables in Plastic Bottles?
Plastic bottle gardening is gaining popularity for several reasons:
1. Space-Saving Gardening
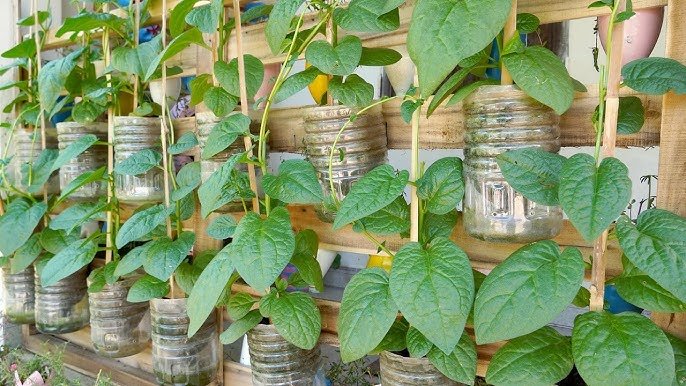
Vertical or horizontal setups using bottles allow you to grow vegetables without needing a traditional garden. Ideal for balconies, terraces, windowsills, or even indoors.
2. Eco-Friendly Solution
Recycling plastic bottles reduces waste while transforming them into productive growing containers.
3. Cost-Effective
No need for expensive pots or planters. Plastic bottles are widely available and free if repurposed from used bottles.
4. Portable and Flexible
Bottles are lightweight and easy to move, ensuring your vegetables receive optimal sunlight.
5. Efficient Water Management
Plastic bottles can hold soil moisture well, reducing water loss and maintaining a consistent environment for roots.
🌿 Step 1: Selecting the Right Plastic Bottles
Not all bottles are ideal for growing vegetables. Here’s what to look for:
- Size Matters: Use bottles of 1.5–5 liters for most vegetables. Larger bottles support bigger root systems.
- Transparency: Clear bottles let light in, but roots prefer darkness. Wrap them in black or opaque paper to prevent root damage.
- Clean and Safe: Wash bottles thoroughly to remove residues. Avoid bottles with harmful chemicals.
🌱 Step 2: Preparing the Bottles for Planting
Proper preparation ensures good drainage and healthy root growth.
Steps to Prepare:
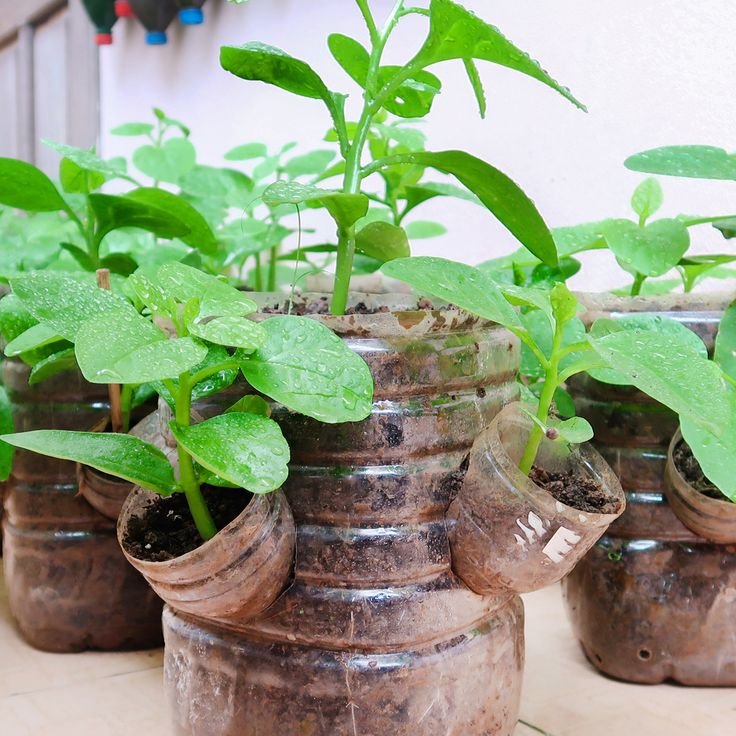
- Cut the Bottle: Depending on vertical or horizontal growth, cut the bottle as follows:
- Vertical: Cut the top 1/3 off to create a funnel-like opening.
- Horizontal: Cut a large side opening for soil and plant insertion.
- Create Drainage Holes: Poke 3–5 small holes at the bottom or along the side for water drainage.
- Optional Hanging Setup: Punch holes on the top for strings if you want to hang the bottles.
🌿 Step 3: Preparing the Soil Mix
Vegetables thrive in nutrient-rich, well-draining soil.
Soil Recipe for Plastic Bottle Gardening:
- 40% garden soil
- 30% compost or vermicompost
- 20% coco peat or coco coir
- 10% sand
This mix ensures good drainage, aeration, and nutrient availability. Small spaces in bottles require soil that retains moisture without waterlogging.
🌱 Step 4: Choosing Vegetables for Bottle Gardening
Not all vegetables grow well in bottles, but many compact and fast-growing varieties thrive.
Best Vegetables for Plastic Bottles:
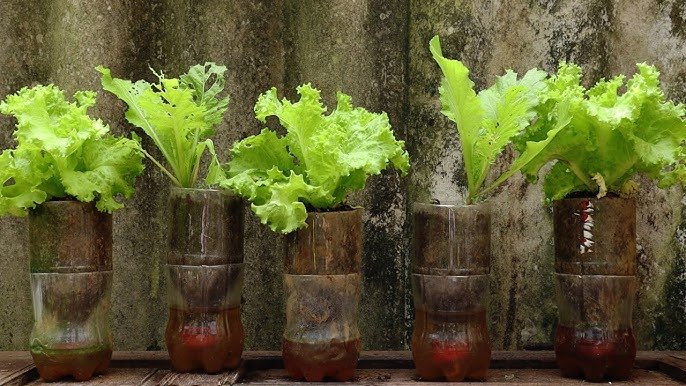
- Leafy Greens: Spinach, lettuce, kale
- Herbs: Coriander, mint, basil, fenugreek
- Small Fruit Vegetables: Tomatoes, chili, peppers
- Root Vegetables: Radish, carrot, beetroot
- Microgreens: Fenugreek, mustard, wheatgrass
Tips for Beginners:
Start with leafy greens or herbs—they germinate quickly and are low-maintenance.
🌿 Step 5: Sowing Seeds and Planting Seedlings

For Seeds:
- Fill bottles with prepared soil mix, leaving 2–3 cm at the top.
- Sprinkle seeds evenly on the soil surface.
- Cover lightly with a thin layer of soil.
- Water gently using a spray bottle to avoid washing seeds away.
For Seedlings:
- Make a hole in the soil big enough for the root ball.
- Place the seedling carefully in the hole.
- Press soil gently around roots.
- Water to help the seedling settle.
Spacing:
Even in bottles, avoid overcrowding—one or two seedlings per bottle is ideal for optimal growth.
💧 Step 6: Watering Your Bottle Garden
Plastic bottles retain moisture, but consistent watering is essential:
- Water when the top 1–2 cm of soil feels dry.
- Avoid overwatering; excess water can cause root rot.
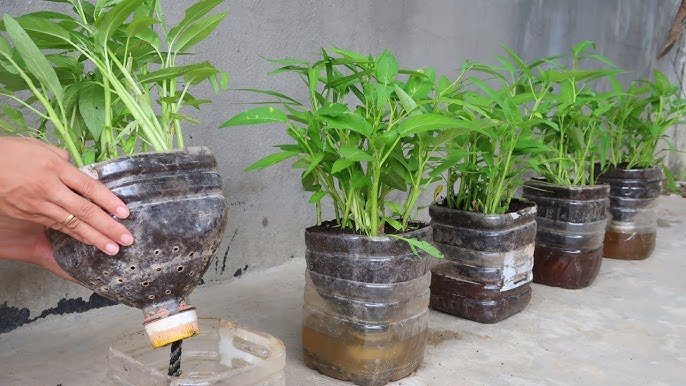
- Use bottom watering if bottles are vertical—place in a shallow tray of water for absorption.
- Mulch with dry leaves or straw to maintain moisture in hot weather.
🌱 Step 7: Fertilizing Vegetables in Bottles
Vegetables in limited soil require regular feeding to grow healthy and productive.
Fertilization Tips:
- Start fertilizing 2 weeks after planting.
- Use organic fertilizers like:
- Compost tea
- Vermicompost extract
- Fish emulsion
- For leafy greens: high nitrogen fertilizers boost growth.
- For fruiting vegetables: potassium-rich fertilizers encourage flowering and fruit production.
🌿 Step 8: Providing Sunlight and Environment
Vegetables need sunlight for photosynthesis and growth:
- Place bottles in 4–6 hours of sunlight daily.
- Rotate bottles every few days for even light exposure.
- In hot climates, provide partial shade during peak afternoon hours.
- Indoor gardeners can use LED grow lights for 12–14 hours per day.
🌱 Step 9: Supporting Plants in Bottles
Some vegetables, especially tomatoes, chili, or tall herbs, need support:
- Use small sticks, bamboo stakes, or strings inside the bottle.
- Tie stems gently to prevent bending or breaking.
- For hanging bottles, ensure sturdy support to handle plant weight.
🌿 Step 10: Harvesting Vegetables
Plastic bottle gardening allows for a continuous harvest if managed correctly:
Harvest Tips:
- Leafy greens: Harvest outer leaves regularly to encourage new growth.
- Herbs: Pinch leaves frequently for bushier plants.
- Fruit vegetables: Pick fruits as soon as they mature to stimulate further production.
- Root vegetables: Harvest carefully when roots reach desired size.
Storage: Fresh vegetables can be used immediately or stored in the refrigerator for a few days.
🌱 Step 11: Troubleshooting Common Problems
1. Yellow Leaves
Cause: Nutrient deficiency or overwatering.
Solution: Apply organic fertilizer and adjust watering schedule.
2. Wilting Plants
Cause: Insufficient water or heat stress.
Solution: Water regularly and provide shade.
3. Pests
Cause: Aphids, mites, or caterpillars.
Solution: Use neem oil spray or introduce beneficial insects.
4. Poor Growth
Cause: Overcrowding or small soil volume.
Solution: Limit one plant per bottle or use larger bottles.
🌿 Tips for Success in Plastic Bottle Gardening
- Reuse bottles to save money and reduce waste.
- Choose compact vegetable varieties for better yield in small containers.
- Rotate bottles occasionally to ensure uniform growth.
- Keep bottles clean and soil fresh by replacing topsoil after each harvest.
- Combine vertical and horizontal setups to maximize space.
🌱 Final Thoughts
Growing vegetables in plastic bottles is an ingenious solution for urban and small-space gardening. It combines sustainability, practicality, and convenience, allowing anyone to enjoy fresh, homegrown produce regardless of space limitations.
From seed selection to soil preparation, planting, watering, fertilization, and harvest, every step is easy, efficient, and rewarding. With this method, you can grow leafy greens, herbs, and even small fruit vegetables, transforming your balcony, kitchen, or windowsill into a productive and eco-friendly vegetable garden.
Plastic bottle gardening proves that great things can grow in small spaces, and with care and patience, your home can produce fresh, healthy vegetables all year round.